


How to overwinter and divide your gladioli?
With just a few simple steps
Contents
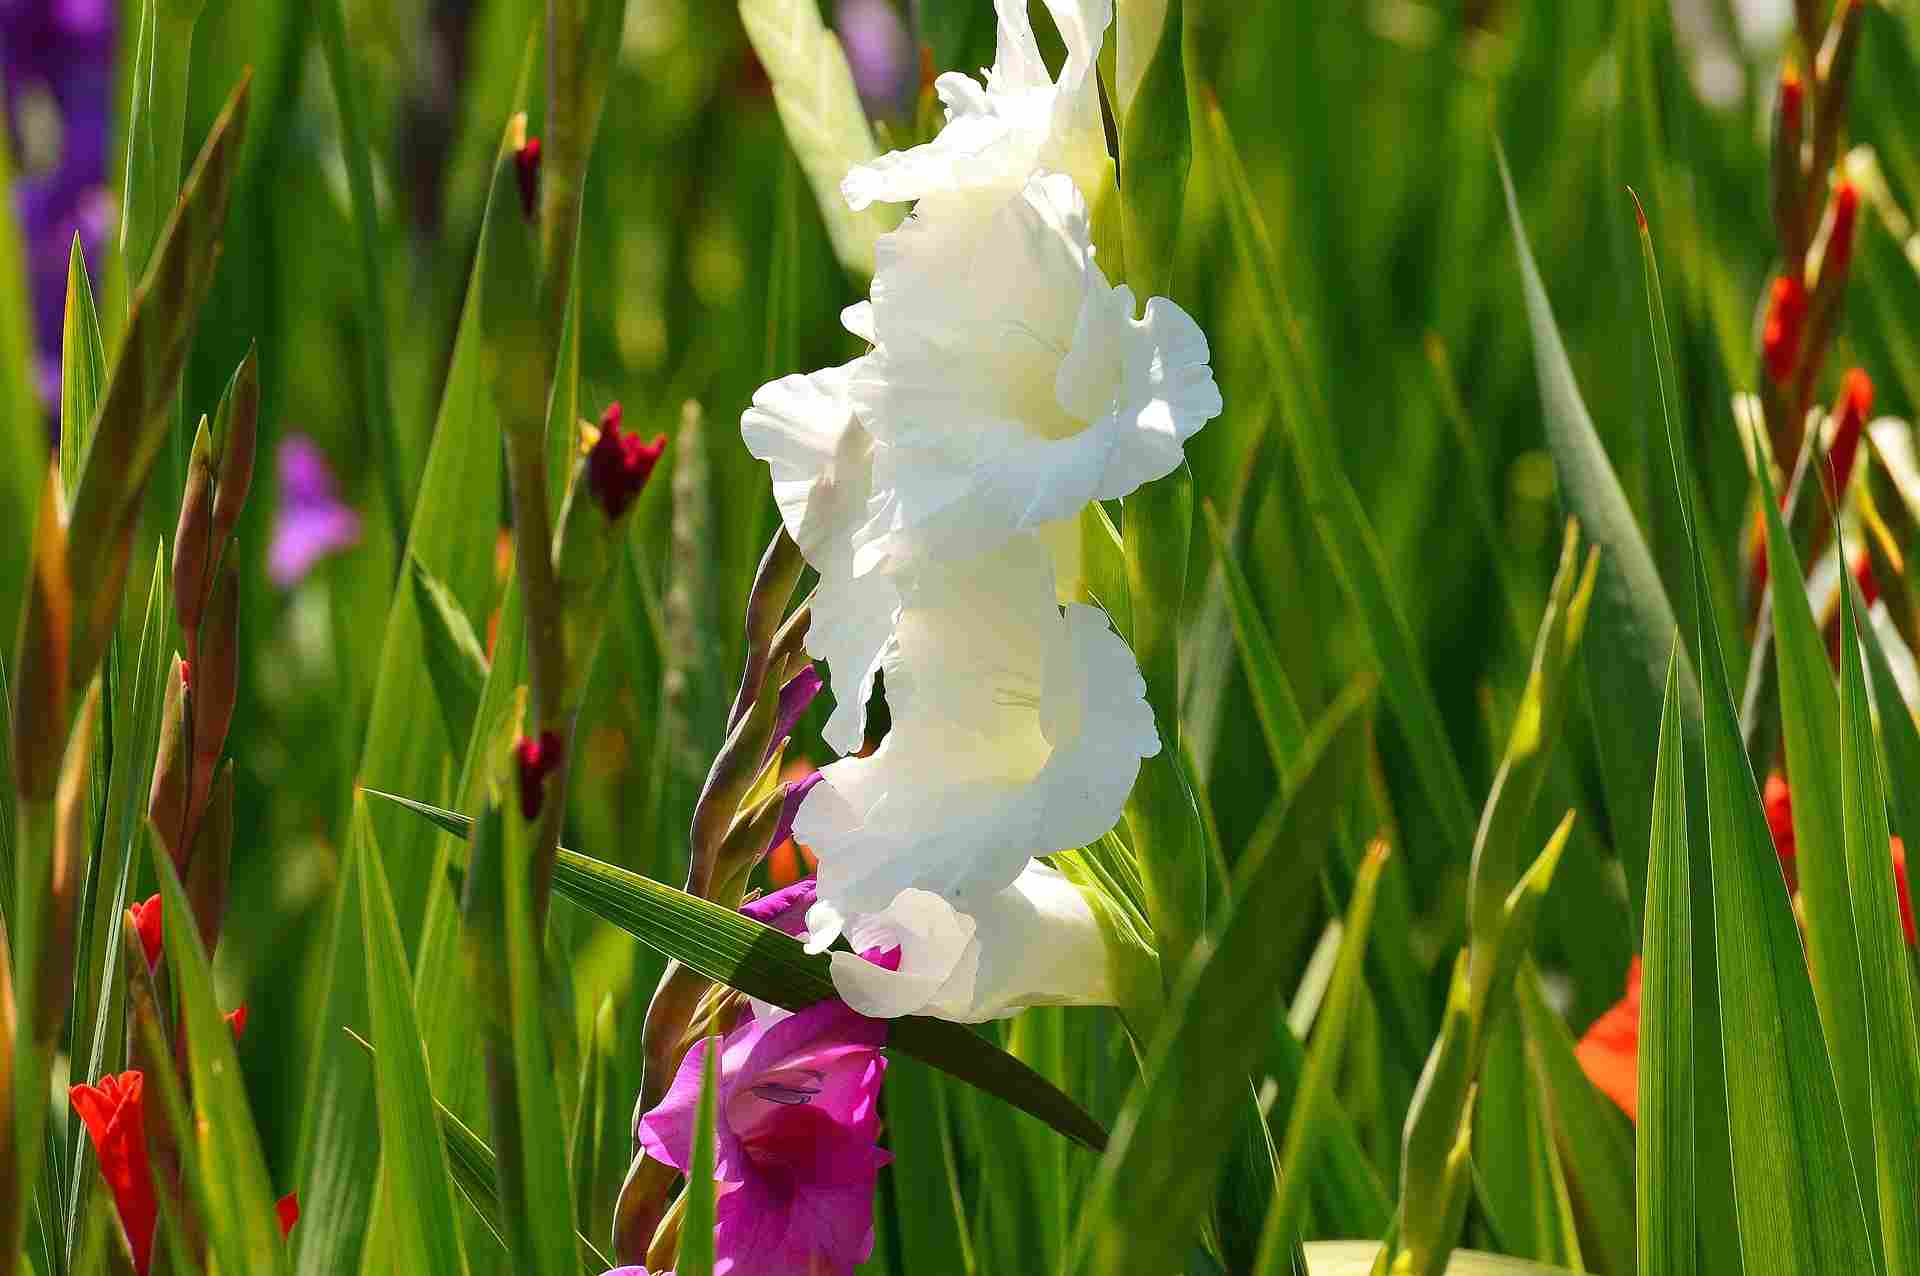
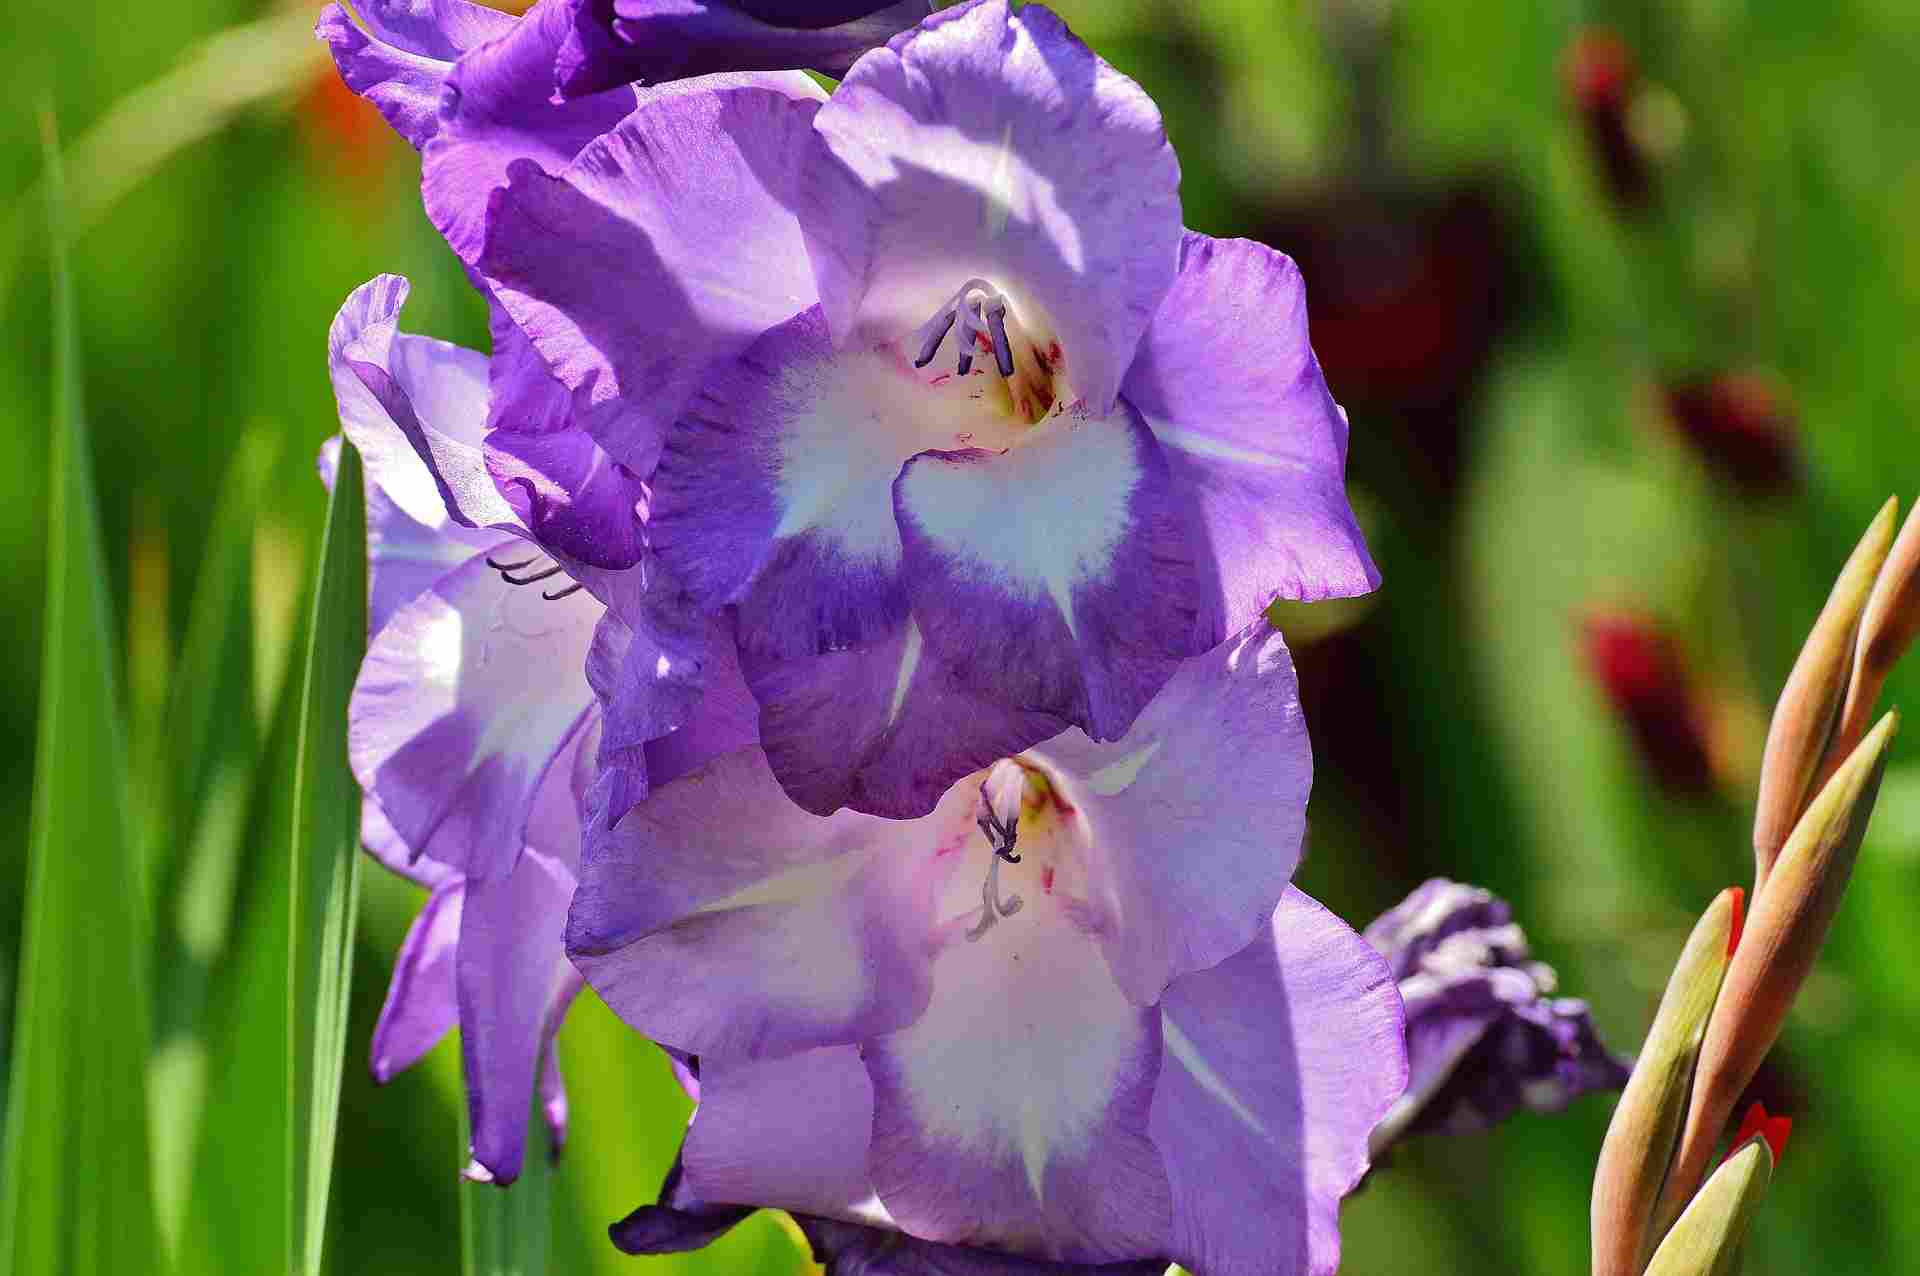
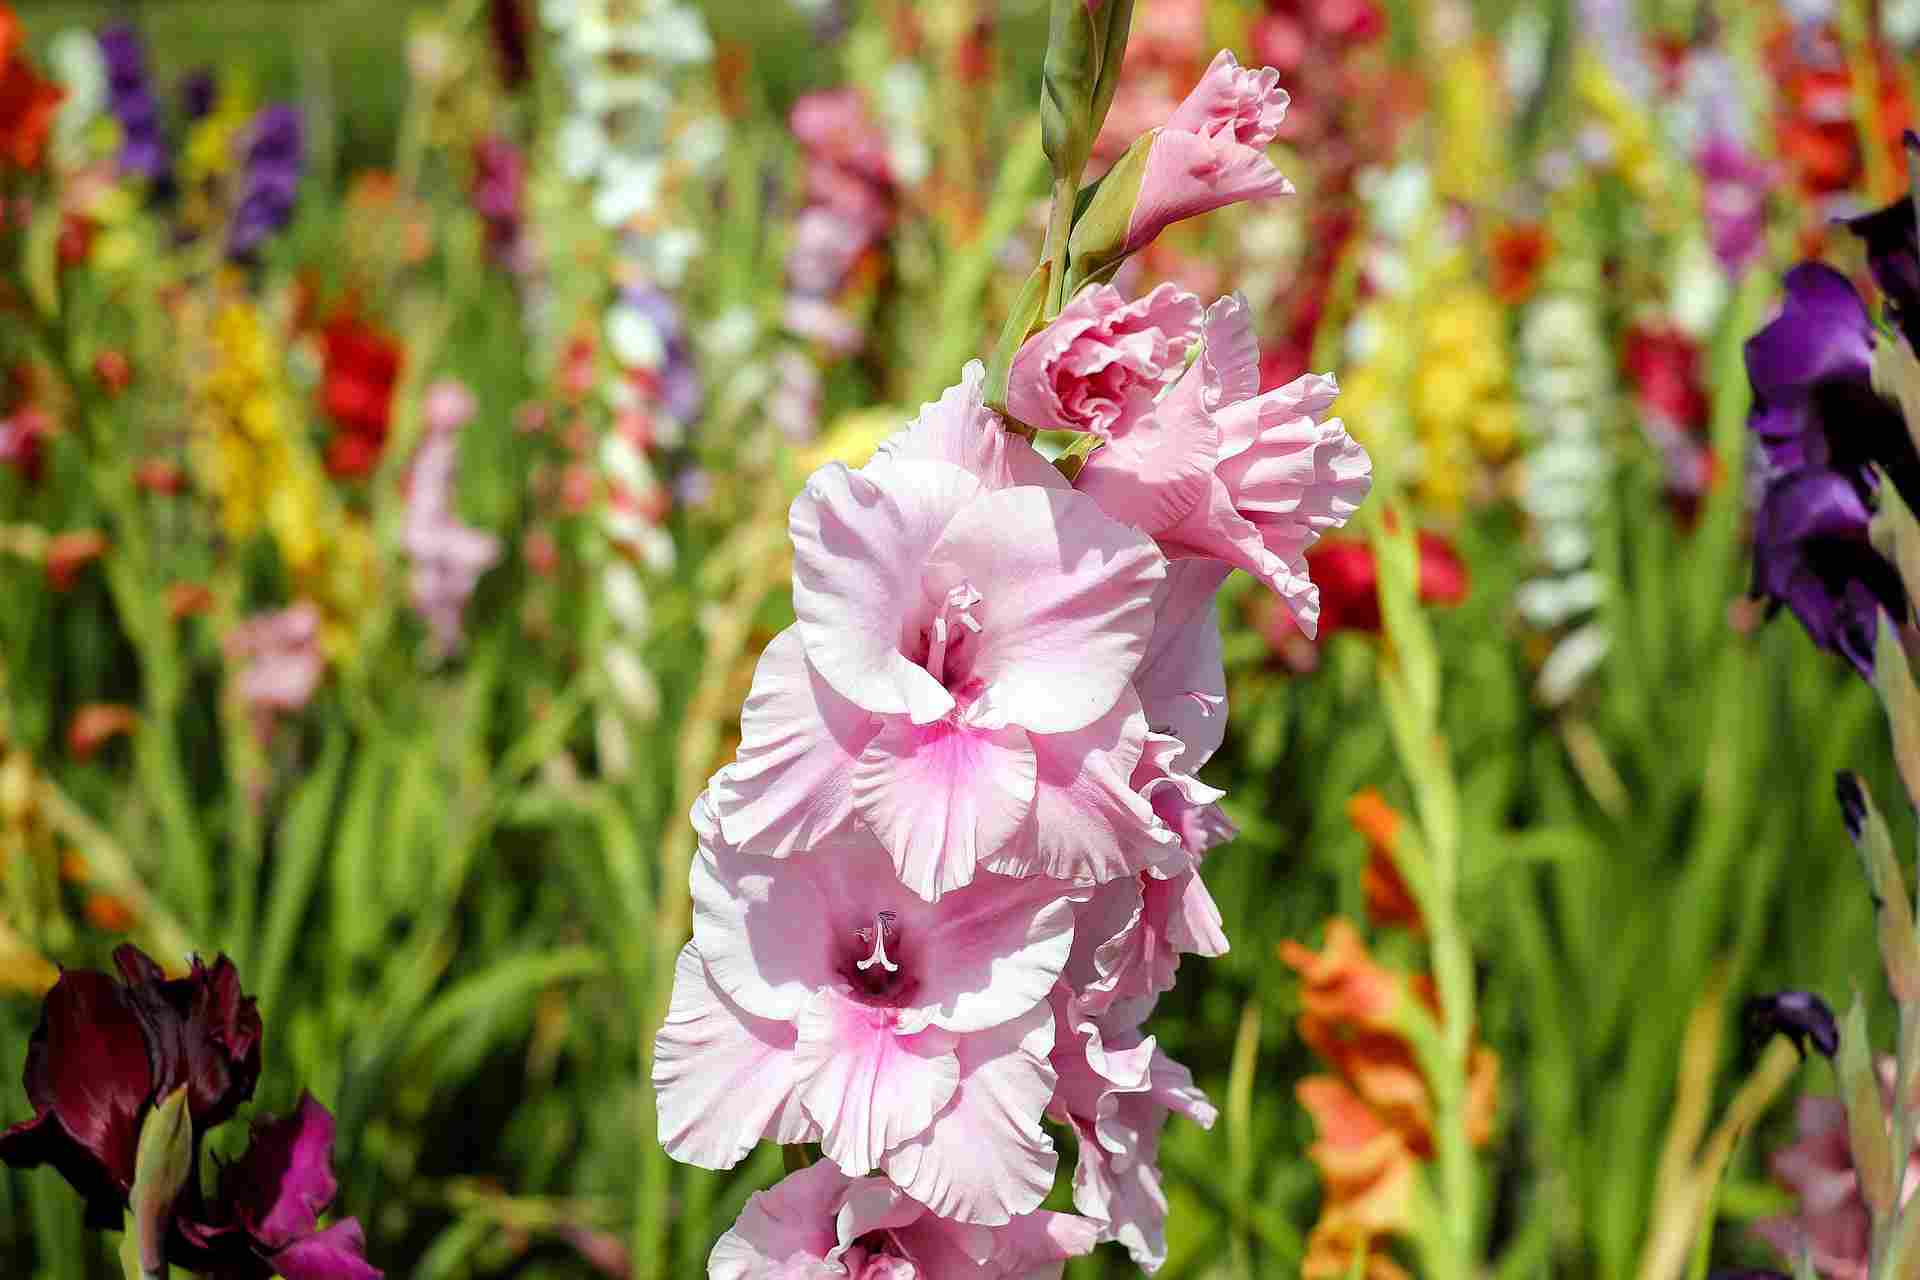
Gladioli, with their tall, colourful flower spikes, are summer garden essentials. But to enjoy their spectacular blooms year after year, proper post-summer care is crucial. Unlike other hardy bulbs, gladioli cannot tolerate freezing temperatures and must be protected from winter cold.
Overwintering not only safeguards the bulbs from frost and disease, but also ensures optimal flowering for the following season. It’s also the perfect opportunity to divide the bulbs, propagate your plants, and create an even more beautiful garden next year.
In this article, discover how to successfully overwinter your gladioli, with practical tips to keep them in perfect health until spring.

Why overwinter gladioli?
Gladioli are sensitive to cold and are not very hardy (down to -5°C). If you live in an area where temperatures regularly drop below -10°C, it is advisable to dig up the bulbs and store them away from frost. In winter, excessive soil moisture can also cause the bulbs to rot. By lifting them and storing them in dry, well-ventilated conditions, you prevent the development of fungal diseases and maximise their chances of vigorous reflowering the following spring.
Finally, overwintering your gladioli also allows you to select the healthiest bulbs and remove those that are damaged or diseased. This step contributes to the overall health of the planting and ensures a good start for the next season.
Read also
Planting GladioliWhen and how to overwinter gladioli?
Lifting the bulbs should be done after flowering, when the foliage begins to yellow and dry, typically between October and November. This yellowing indicates that the plant has completed its cycle and the bulbs have stored enough reserves for the next season. It’s important not to lift the bulbs too early, as this could weaken their future flowering. The ideal time is during dry, sunny weather to facilitate bulb drying and prevent rot.
To overwinter them, follow these steps:
- Use a garden fork to gently lift the corms from the soil, taking care not to damage them.
- Hold the gladioli by their foliage and shake gently to remove excess soil that could encourage moisture and rot.
- Allow the bulbs to dry in the open air for one day in a dry, well-ventilated area, out of direct sunlight.
- Trim the foliage to 5 cm above the bulb to minimise energy loss.
- Clean by removing any remaining soil and small dry roots, then sort the bulbs, discarding any that are damaged or diseased.
- Separate the new corm formed during summer from the old, spent corm underneath, which can be discarded. Also keep the bulbils (small bulbs formed around the main one).
- Replant the bulbs in spring, bearing in mind it will take 2 to 3 years before they produce beautiful flowers.
How to store bulbs during winter?
Once thoroughly dried and cleaned, gladiolus corms should be stored under optimal conditions to prevent rot and ensure good regrowth in spring. Here are the steps to follow:
- Choose suitable containers: opt for wooden crates, nets, paper bags, or even newspaper to allow air circulation. Avoid plastic bags, which retain moisture and encourage mould growth.
- Maintain a cool, dry environment: store the corms in a place with temperatures between 5 and 10°C, protected from frost and damp. A cellar, unheated garage, or well-ventilated attic are ideal locations.
- Space out the corms: avoid piling them up to prevent damage. If possible, spread them in a single layer or place them in compartmentalised trays.
- Protect against diseases: lightly dust the corms with sulphur powder or bicarbonate of soda to reduce the risk of mould and pest infestations.
- Check regularly: inspect the corms monthly to remove any that begin to soften or show signs of mould, preventing contamination of others.
When and how to replant bulbs in the garden?
Plant spring bulbs once the risk of frost has passed, typically between April and May depending on your region. The soil temperature should be at least 10°C to ensure proper establishment.
Tip: Stagger planting every two weeks for continuous blooms throughout the summer!
- Prepare the soil: Loosen the soil to a depth of 20 cm and enrich it with compost or organic fertiliser to promote growth. Well-drained soil is essential to prevent bulb rot.
- Plant the bulbs: Place each bulb 10-15 cm deep, pointed end up, spacing them 10-15 cm apart to allow proper development.
- Water lightly after planting to moisten the soil, but avoid overwatering. Subsequently, water regularly, especially during dry spells.
- Mulch around the plantings to retain moisture and suppress weeds.
- Stake if needed: In windy areas or for very tall varieties, install supports to prevent stems from bending under their own weight.
- Subscribe!
- Contents