Planting Rhodohypoxis
Where, when and how?
Contents
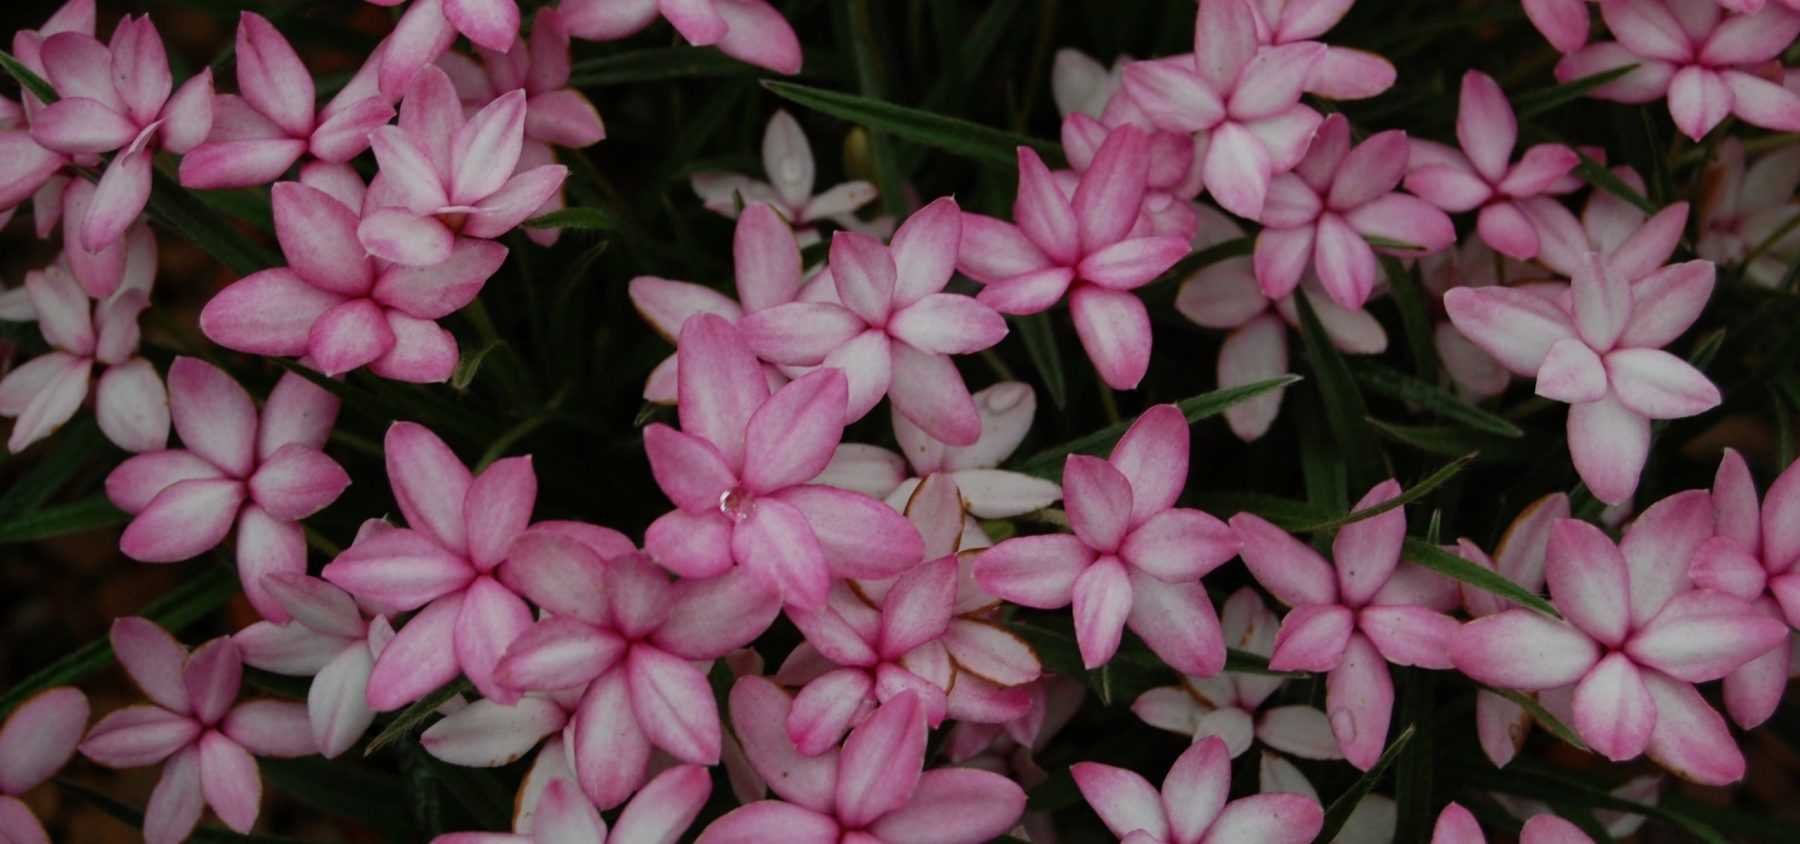
The Rhodohypoxis is a small perennial plant native to South Africa, often grown for its delicate and colourful blooms. These petite “bulbous” plants form clumps of lance-shaped green leaves from which flower stems emerge between June and August. Being frost-tender, they are best grown in pots in regions with harsh, wet winters. Their flowers, typically pink, white or red, add a touch of elegance to gardens and balconies. This compact plant is perfect for borders, rockeries or container growing. Let’s explore how and where to plant them?
When to plant Rhodohypoxis?
The ideal time to plant Rhodohypoxis is in spring, once all risk of frost has passed, typically between March and May. This is when the soil begins to warm up, promoting the plant’s establishment.
Where to plant rhodohypoxis?
Rhodohypoxis thrive in sunny spots in rockeries or along borders, but can also tolerate light shade. To grow them successfully, it’s essential to recreate conditions close to their natural habitat.
- Exposure: full sun or partial shade.
- Soil: they prefer well-drained soil, rich in organic matter. Slightly acidic to neutral soil is ideal. If your soil is heavy or clay-based, improve drainage with sand or gravel.
How to plant Rhodohypoxis?
In the ground
- Soil preparation: Loosen the soil to a depth of 15 to 20 cm, removing stones and weeds. Incorporate compost or organic fertiliser to enrich the soil.
- Planting the bulbs: Rhodohypoxis come as small rhizomes or bulbs. Plant them at a depth of about 3 to 5 cm, leaving a space of 10 to 15 cm between each bulb to allow for growth.
- Watering: Water immediately after planting to moisten the soil thoroughly. Thereafter, keep the soil slightly moist, but avoid overwatering which could cause the rhizomes to rot.
- Protection from cold: In regions with harsh winters, protect your Rhodohypoxis with a thick mulch or, ideally, dig up the rhizomes to overwinter them in a dry, frost-free place.
Pascal’s tip: For colourful flower beds, plant several varieties of Rhodohypoxis, playing with pink, white and red hues. Finally, pair Rhodohypoxis with other rock garden plants like saxifrages or sedums. Rhodohypoxis also combine beautifully with low-growing grasses or silver-leaved plants like lavender cotton, for a lovely contrast.
In pots
Rhodohypoxis are very well suited to container growing, which allows better control of moisture and drainage. They look stunning in pots or bowls, planted in groups of 5 or 10.
- Choosing a pot: Select a pot with good drainage (holes at the bottom).
- Growing medium: Use a mix of horticultural compost, sand and gravel for optimal drainage.
- Planting: Plant the rhizomes 3 cm deep, maintaining the same spacing as for in-ground planting (10 cm).
- Watering: Water moderately and ensure water drains freely through the pot.
Note: These flowers dislike cold winters with stagnant moisture. Consider lifting the bulbs before frosts, overwintering them dry and frost-free in preferably dry peat.
Common problems
- Rhizome rot: This issue often occurs due to excess water or poor drainage. Ensure the soil remains light and well-aerated.
- Diseases: Rhodohypoxis is relatively disease-resistant, but it can be susceptible to slug and snail attacks, especially during early growth stages.
Care of Rhodohypoxis
Rhodohypoxis offer a spectacular flowering display, typically from May to August, with delicate, colourful blooms that brighten gardens and balconies. During this period, proper plant care is essential to ensure abundant and long-lasting flowering.
Care During Flowering
To encourage beautiful blooms, especially in pots or containers, we recommend applying a liquid fertiliser for flowering plants every two to three weeks. This provides the plant with the necessary nutrients to produce vibrant, voluminous flowers.
Dormancy After Flowering
After the flowering period, Rhodohypoxis enter a dormant phase. At this stage, it’s important to reduce watering to avoid excess moisture. Allow the foliage to dry naturally before trimming it back. This process helps the plant replenish its nutrient reserves for vigorous regrowth the following season.
- Subscribe!
- Contents


Comments