Getting my tulips to bloom again
to enjoy it for a long time in the garden
Contents
Tulips are bulbs that delight us with their vibrant and colourful blooms in spring, perfect for brightening up flower beds, borders, and planters. Easy to grow and low-maintenance, they are planted in autumn to produce elegant flowers between March and May, sometimes lasting until June depending on the variety. Should you dig them up after flowering? Leave them in place? How can you encourage a beautiful return of blooms? Discover all our tips for caring for your tulips in the ground or in pots and enjoy their reblooming year after year!
What to do after tulips have flowered?
To encourage your tulips to rebloom, a few precautions are necessary as soon as their first spring flowering ends.
Once the tulip flowers begin to fade, carefully cut them off to prevent the plant from wasting energy on seed production. However, do not touch the leaves at this stage! Leave the foliage in place until it has naturally yellowed and dried. This step is crucial: the green leaves, even after flowering, continue to perform photosynthesis. They provide the bulb with the nutrients needed to replenish its reserves, ensuring next year’s blooms. Cutting the leaves too early deprives the bulb of this precious energy and may prevent it from reblooming.
The yellowing leaves may not look very attractive in your flower beds. To mask this temporary appearance, plant your tulips near perennials with dense foliage, such as hardy geraniums, hostas, or lady’s mantle. These neighbouring plants will hide the declining foliage while adding volume and greenery to your borders.
Once the leaves have completely yellowed and dried, you can cut them off at the base. By this stage, the bulb has absorbed all the energy it needs to prepare for the next flowering season.
In regions with wet winters, it may be wise to dig up the tulip bulbs after the foliage has yellowed. Store them in a cool, dry place over the summer, then replant them in autumn. This protects the bulbs from rot and encourages future blooms.
Read also
Tulips: Planting, Growing and CaringShould you dig up tulip bulbs?
Lifting Bulbs: A Practice for Purists
In the past, spring bulbs were planted in dedicated flowerbeds, either solely for bulbs or combined with biennials, creating seasonal displays that later made way for summer blooms.
The golden rule for garden tulips was to lift the bulbs once the foliage had turned yellow (not before!), then store them dry until replanting in autumn.
If you choose this method, it is advisable to proceed in dry weather. Gently lift the bulbs, then let them dry for a few days. Afterward, group them by variety (labelling them to avoid confusion) in nets or crates, and store them throughout the summer in a dry, well-ventilated place, such as a garden shed or garage. This process helps preserve the bulbs and reduces the risk of rot.
However, keep in mind that despite these precautions, bulbs will eventually deteriorate after a few years, producing smaller or less abundant flowers.
A Simpler Solution: Leave Them in the Ground!
Today, garden styles have evolved, and tulips are often integrated into mixed borders where they coexist with perennials, biennials, other bulbs, and various shrubs or climbing plants. This freer, more natural arrangement allows for harmonious colour and texture combinations without the need for annual replanting.
Planting tulips in autumn among other perennials and leaving them in place for a few years is a practical solution. As long as the blooms are satisfactory, there’s no need to lift them every season. When they start to weaken, you can simply remove the less floriferous bulbs and take the opportunity to redesign the border with new compositions or other tulip varieties.
In short, lifting bulbs isn’t essential for all garden styles; it depends on your planting approach and the desired effect. Remember that your soil type, local climate, and the tulip varieties you choose also influence the lifespan and quality of the blooms!

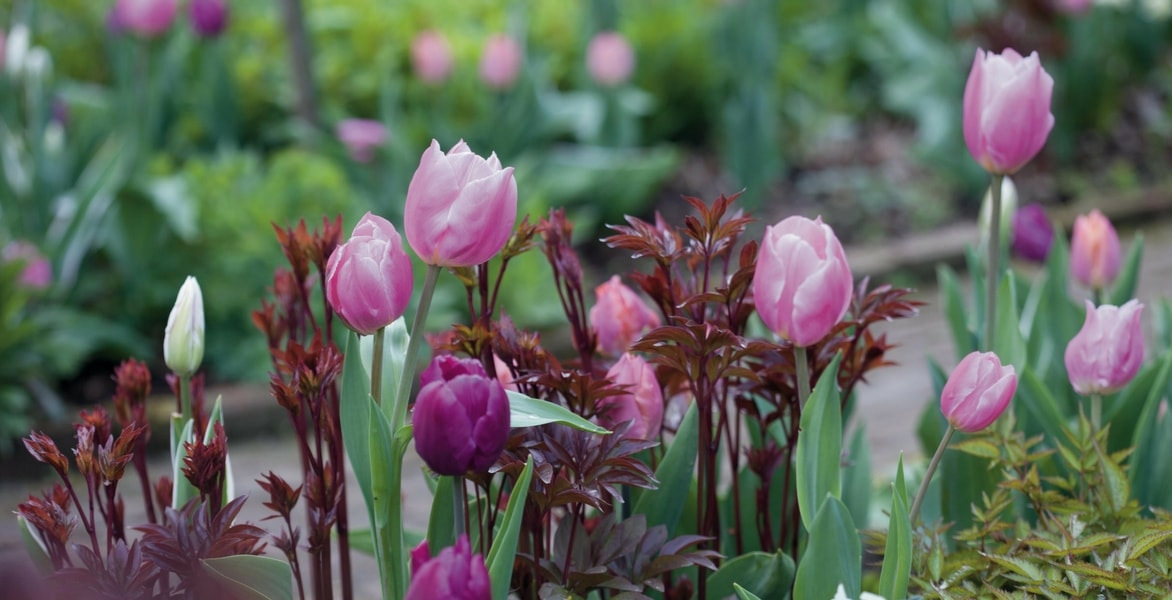
Tulips ‘Purple Prince’ and ‘Christmas Dream‘ paired with Peonies and Astilbes
Proper planting: an investment in the future!
If you decide to leave your tulip bulbs in place in your flowerbeds to simplify maintenance and save time, it is essential to provide them with ideal planting conditions. By taking a few precautions from the start, you maximise your chances of seeing your tulips bloom elegantly for several years.
To achieve this, two essential conditions must be met: plenty of light and well-drained soil. Without these two elements, tulips risk withering quickly, as they are particularly sensitive to shade and damp soils.
Choose a fully sunny location to plant your tulips, as they need maximum exposure to light to recharge their bulbs and produce abundant blooms the following spring. A lack of light will reduce their ability to rebloom or limit the quality of their flowers.
Next, prepare the soil carefully, as tulips thrive in fertile, well-drained soil. If your soil is rather poor, improve it by incorporating some well-rotted compost into each planting hole. This will provide the bulbs with the nutrients they need to flourish sustainably. In heavy or clay soils, add a 2 to 4 cm layer of coarse sand at the bottom of each hole to promote drainage and protect the bulbs from excessive moisture, which could cause them to rot.
Finally, if your soil is very clay-heavy and drainage remains an issue, it may be preferable to choose other bulbs better suited to damp soils, such as daffodils, which tolerate these conditions better and also offer a stunning spring display.
By caring for your planting in this way, you ensure a bright future for your tulips, with dazzling blooms that will return every spring!
The special case of pot-grown tulips
If you have planted tulips in pots or containers to enjoy a spring bloom, it is entirely possible to keep them for future flowering rather than discarding them once the flowers have faded. A few simple steps will help prolong their life.
One option is to transfer your tulips into the ground as soon as flowering ends. To do this, carefully remove them to preserve the roots and, most importantly, leave the foliage intact. This foliage, although not particularly attractive, is essential as it allows the bulb to replenish its nutrient reserves until it naturally yellows. Plant the bulbs in a sunny, well-drained spot so they can continue to develop undisturbed.
Another option is to leave your tulips in their pots until the foliage has completely yellowed. During this time, continue to water them regularly and provide a balanced fertiliser every two to three weeks. This will stimulate photosynthesis and help the bulbs store the energy needed to bloom again the following year. Once the foliage has yellowed and dried, cut it back to the base, dig up the bulbs, and let them dry in a cool, dry place over the summer, just as you would with tulips planted in the ground.
In autumn, replant them in fresh compost in pots or directly in the garden for a new flowering season. This method can yield two to three quality blooms, but it is rare for potted tulips to flower as vigorously beyond this period.
To try: botanical tulips
If you haven’t discovered them yet, it’s time to explore botanical tulips! These petite tulips, more understated than their larger horticultural counterparts, bring a touch of lightness and charm to the foreground of flower beds, along pathways or terraces, in rockeries, and even in wild gardens. They reliably rebloom without requiring any effort, and can even naturalise and multiply over time when growing conditions are favourable.
They thrive in sunny spots, in well-drained soil, and can even tolerate slightly poor soils, making them perfect for many types of gardens.
For a striking visual effect, plant them in small groups of at least 5 to 7 bulbs in autumn. This arrangement will highlight their delicate beauty and ensure their flowers don’t get lost in the landscape. Once established, these charming tulips will reward you with long-lasting, effortless blooms year after year!
- Subscribe!
- Contents


Comments