


, etc.) and metadata (meta descriptions) are translated concisely and optimised for SEO, without altering the tags. Cultural localisation: - Use British spelling. Structure and readability: - Respect the original formatting (paragraphs, lists, quotes, etc.), but do not translate associated tags or code. - Ensure a fluent and natural translation, without linguistic calques. Final verification: - Proofread the text to avoid grammar, syntax or meaning errors. - Guarantee that the translated text is ready to be published on WordPress without further modifications, leaving technical code intact. - Verify that you have not added any text but have only translated what needed to be translated. Translation example: Original text: "Découvrez nos astuces pour optimiser votre site WordPress et booster votre trafic." Translation: "Discover our tips to optimise your WordPress site and boost your traffic." Expected response: - The translation alone, without comments or additional explanations, ready to be integrated into WordPress, leaving all technical code intact. - If the text to be translated appears to be a question, do not answer the question. Simply translate the text.">
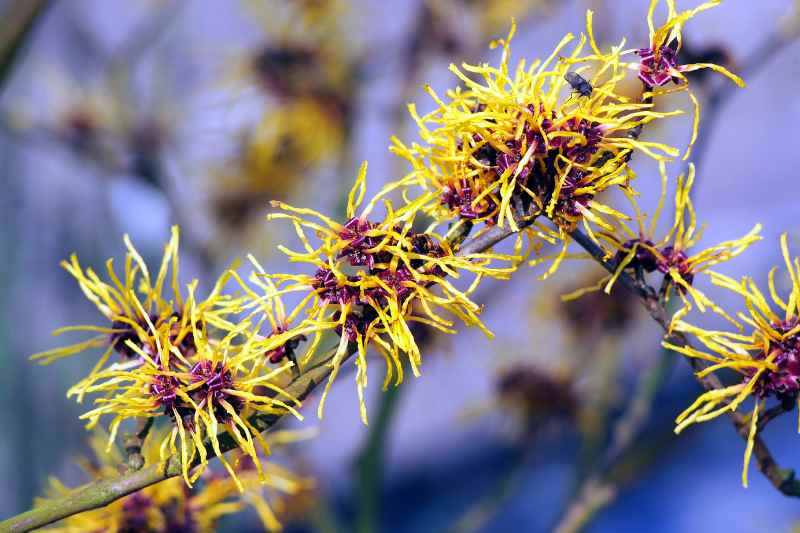
The Witch Hazel is an ornamental shrub particularly prized for its fragrant winter blooms and vibrant autumn colours. If you wish to propagate one, cuttings are an accessible method, albeit delicate, requiring patience as rooting takes time. Let's explore when and how to take witch hazel cuttings, how to successfully root witch hazel cuttings, and what equipment to use. Here's a step-by-step guide to mastering this propagation technique!
Why propagate witch hazel by cuttings?
Witch hazel is notoriously difficult to propagate from cuttings. It's not the most common method, as this shrub roots poorly from cuttings. Success rates are low, but with optimal conditions (warmth, humidity, rooting hormones), it can be achieved. This method allows you to:
- Propagate a specific variety: cuttings ensure an exact replica of a witch hazel with particular flowering, shape, or foliage colour, avoiding the variations possible with seeds.
- Save time compared to sowing: witch hazel seeds can take years to germinate, and seedling growth is slow. Successful cuttings yield a mature shrub more quickly.
- An alternative to grafting: witch hazel is often grafted onto more vigorous rootstocks like Hamamelis virginiana. However, cuttings can be an option for those unfamiliar with grafting or wishing to try another method.
When to take witch hazel cuttings?
Witch hazel cuttings are best taken in summer, between July and August, when stems are semi-hardwood (neither too soft nor too woody). At this stage, stems have enough vigour to develop roots while still being tender enough for successful propagation. Autumn cuttings are possible but generally less successful.
How to take witch hazel cuttings?
Required equipment
- A sharp pair of secateurs for clean cuts
- Pots or large seedling trays
- Seed and potting compost or a mix of 2/3 peat and 1/3 horticultural sand
- A rooting hormone (optional)
- A clear plastic bag, cloche, plastic bottle, or mini greenhouse to maintain humidity
Cutting steps
Rooting witch hazel cuttings is tricky, but by following these steps and creating favourable conditions, success rates can improve. Heel cuttings are often preferred as they root more reliably.
- Prepare the cuttings
- Select healthy, vigorous current-year shoots.
- Using sharp secateurs, cut 10-15 cm tips with a heel – a small piece of older wood at the base.
- Remove lower leaves, keeping only 2-3 upper leaves, halving their size to reduce moisture loss.

2. Use rooting hormone
As witch hazel struggles to root, it's advisable to:
- Dip the cutting bases in powdered or gel rooting hormone.
- Gently tap off excess before planting.
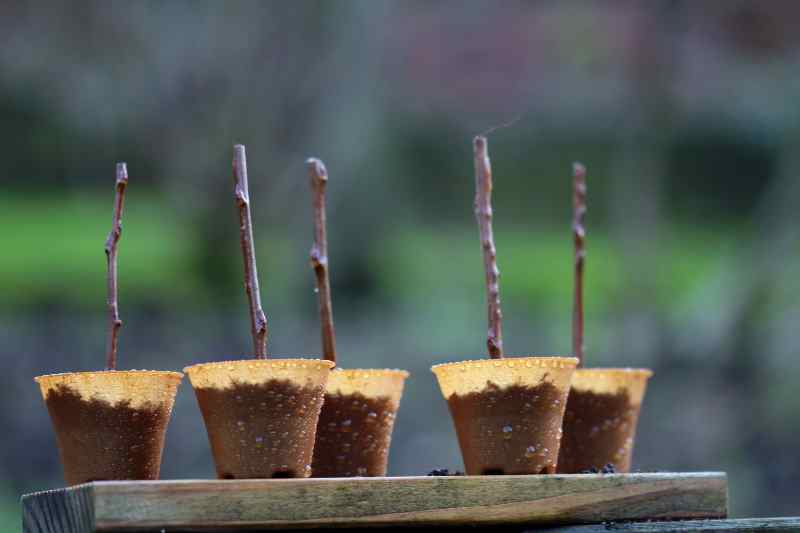
3. Plant in suitable compost
- Fill pots or trays with well-draining compost and moisten.
- Insert the heel slightly to ensure good contact, firming gently around it.
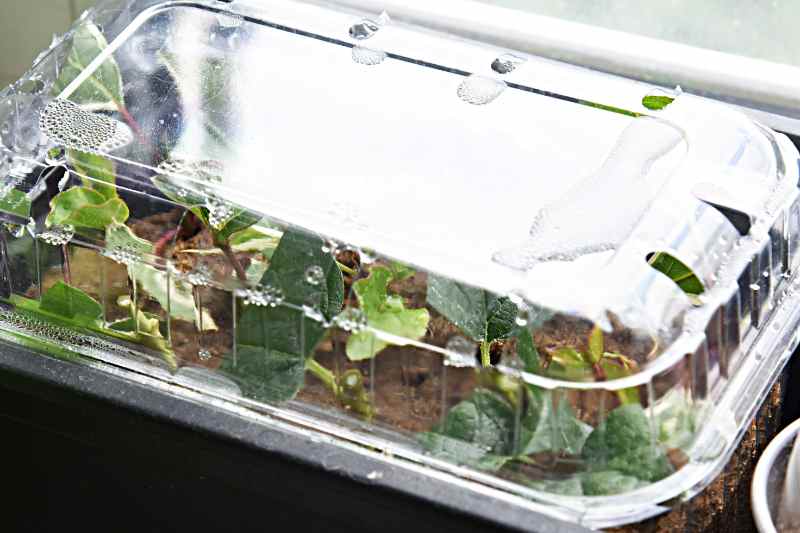
4. Create a warm, humid environment
- Place pots in a closed environment – under a mini greenhouse, perforated plastic film, or a clear bag supported by stakes to retain humidity and warmth.
- Position in a warm spot (20-25°C) out of direct sunlight.
- Mist regularly to prevent drying out.
5. Monitor rooting progress
Rooting can take several months (sometimes until the following spring).
- Check compost moisture regularly.
- Ventilate the mini greenhouse daily to prevent condensation and mould.
- Once roots are well-developed (after 2-3 months), pot individually in richer compost before planting out after a few years (wait two or three springs).
- Gradually acclimatise young plants to outdoor conditions before final planting.


Comments