


Spurges are highly ornamental and decorative plants for the garden. They come in over 2000 species and different categories: perennial plants, annuals and biennials. With great variety, they offer a whole palette of shapes and colours, from green to purple, including yellow and variegated. Vigorous and low-maintenance, they thrive with minimal care. Gardeners can propagate them through several methods: sowing, propagation by cuttings and division. Let's discover how to propagate spurges.
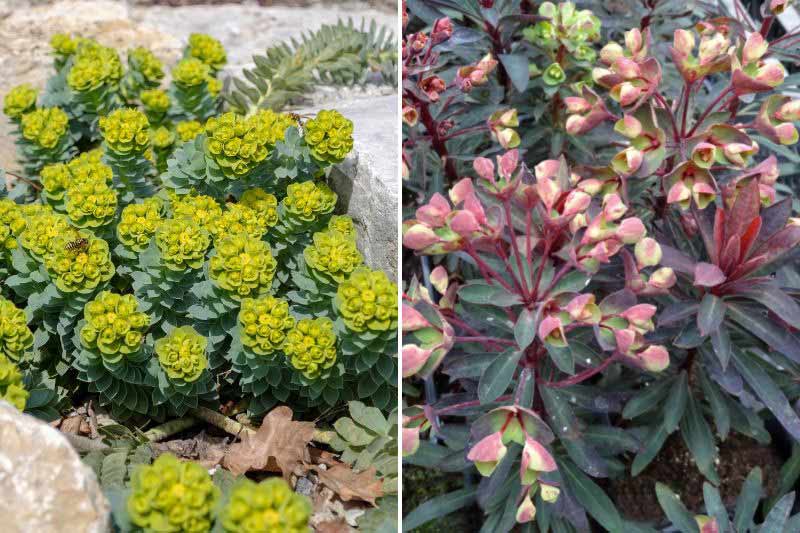
Euphorbia myrsinites and 'Black Bird'
Sowing spurges
- Spurges self-seed readily, but once established, they dislike being moved.
- After flowering, which generally occurs from spring to summer, you can harvest their seeds to sow in your preferred location, in a sunny spot with well-drained soil. The seed capsules must be dry.
- Annuals can be sown directly in the ground, while for perennial plants, sowing in trays or buckets under a cold frame is preferable.
- When handling spurges, always wear waterproof gloves, as they contain toxic and irritating white latex. Never touch your eyes during handling.
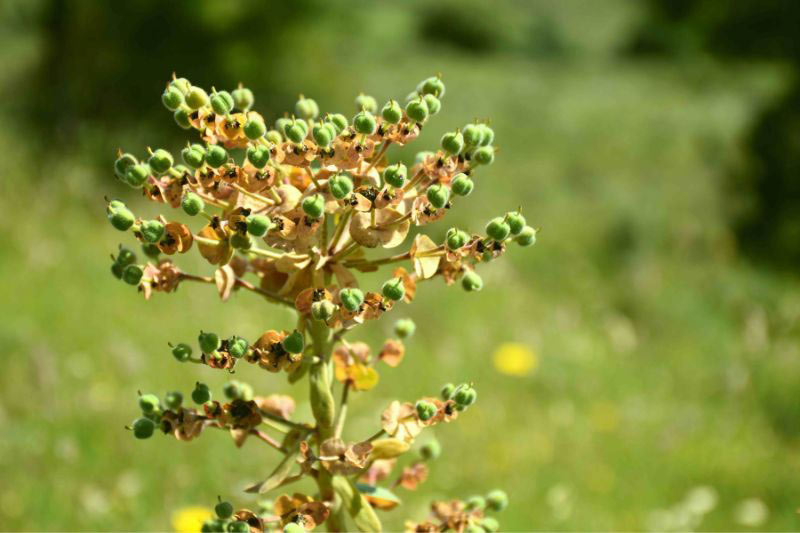
Spurge seeds before harvest
When to sow spurges?
Sowing is generally done in spring, but given the variety of spurge species, we recommend checking your seed packet for the recommended sowing period for the specific plant.
Equipment needed for sowing spurges
- Waterproof gloves to avoid contact with latex
- Buckets: conventional, biodegradable or a seed tray
- Light, fertiliser-free compost
- Spurge seeds
- Labels
- A cold frame
Steps for sowing spurges
- Harvest the seeds and store them in an airtight container in a dry, dark place.
- Fill a bucket or tray with compost and attach a label
- Moisten the compost
- Scatter a few seeds on the surface and cover with a thin layer (about twice the size of the seed) of sieved compost
- Lightly firm the compost
- Water gently with a watering can rose or spray bottle
- Place your buckets or tray under a cold frame at a temperature between 18 and 22°C, in a bright location but out of direct sunlight
- Ensure the substrate remains slightly moist.
- To prevent the compost from drying out, you can cover the bucket or tray with plastic film if needed.
- Once the seedling has emerged and developed sufficient roots, it can be transplanted.
Propagating spurges by cuttings
Taking cuttings from spurges produces plants identical to the parent plant, unlike sowing.
For this operation, always wear waterproof gloves to avoid contact with the plant's toxic latex and do not touch your eyes.
When to take spurge cuttings
- Spurges can be propagated by cuttings in spring (April-May) or late summer
- The stems taken should be healthy and free from flower buds, flowers or fruits
- Use tools disinfected with alcohol for taking cuttings
Equipment needed for taking spurge cuttings
- Waterproof gloves to avoid contact with latex
- A perforated bucket, plastic or turf
- A spray bottle
- A pencil or stick
- A pruner
- A well-draining substrate made of half compost and half sand
Steps for taking spurge cuttings
- Take a bucket and fill it with the well-draining substrate;
- Put on your gloves;
- Identify a young shoot 7 to 10 cm long at the base of the plant and cut it, preferably just below an eye;
- Place the stem in a container of water to stop the latex flow;
- Remove leaves from the lower part of the stem, leaving leaves only on the upper part;
- Make a hole in the compost with a pencil and insert the cutting into the substrate, firming gently;
- Place the pot in a bright location but out of direct sunlight;
- Water and keep the substrate slightly moist while the plant establishes.
Note that Euphorbia myrsinites roots very easily from cuttings. Simply bury stems in light, sandy soil kept moist.
Dividing spurges
Division is practised on perennial plants, already established for several years and vigorous. It's a quick propagation method. Again, don't forget to wear gloves to protect yourself from spurge latex. Tools should be disinfected before the operation.
When to divide spurges
Division can be done during the plant's dormancy period, in autumn or late winter (March) for Euphorbia characias or griffithii.

Euphorbia characias
Equipment needed for dividing spurges
- Waterproof gloves to avoid contact with latex
- A spade
- A pruner
Steps for dividing spurges
- Dig up the stump with a spade to expose the roots without damaging them
- Cut a portion of the stump with the pruner
- Replant the stump fragment in a new location immediately
- Water
To go further
Discover our complete guide on spurges, as well as our complete collection of spurges!
To learn all about plant propagation, here's an article summarising the main principles.
And to avoid any failures, we recommend planting suitable varieties and downloading our Plantfit web app!

![[multiply] Euphorbia](https://en.promessedefleurs.eu/blogwp/wp-content/uploads/2022/07/multiplier-euphorbe.jpg "[multiplier euphorbe=\"division\"]")
Comments