


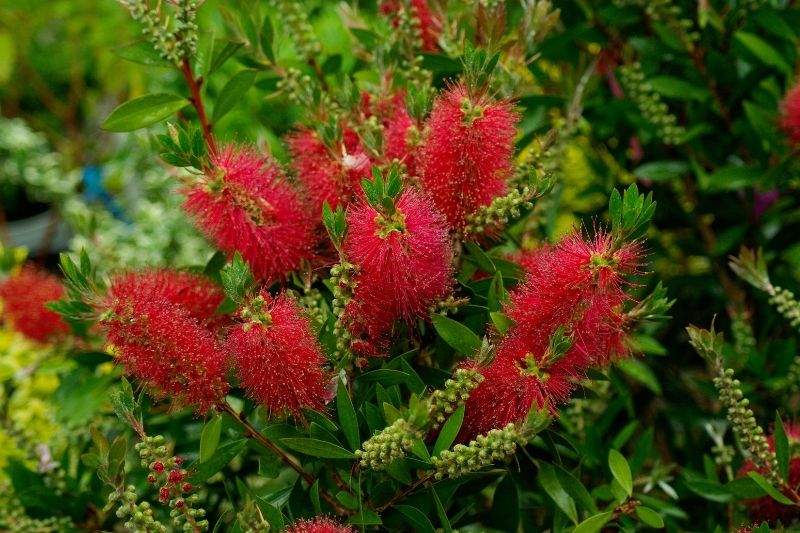
The Callistemon, also known as bottlebrush, is a melliferous and nectariferous bush that produces a stunning and spectacular flowering with its long stamens gathered into dense brushes. Although somewhat tender, it is highly resistant to heat, and is frequently found in Mediterranean regions as well as along the Atlantic coast. Easy to cultivate, the Callistemon is also very simple to propagate by semi-woody stem cuttings.
Here are all our detailed tips for taking Callistemon cuttings from semi-woody stems!
Tips for Successful Callistemon Propagation by Cuttings
Why Choose Propagation by Cuttings?
Propagation by cuttings remains the preferred method for Callistemon, due to its simplicity of execution and high success rate. Indeed, although root development can sometimes take time, it almost always occurs eventually. In contrast, sowing bottlebrush seeds is a much more unpredictable method. Moreover, while flowering occurs in the first year with cuttings, it takes between 3 and 6 years when grown from seed.
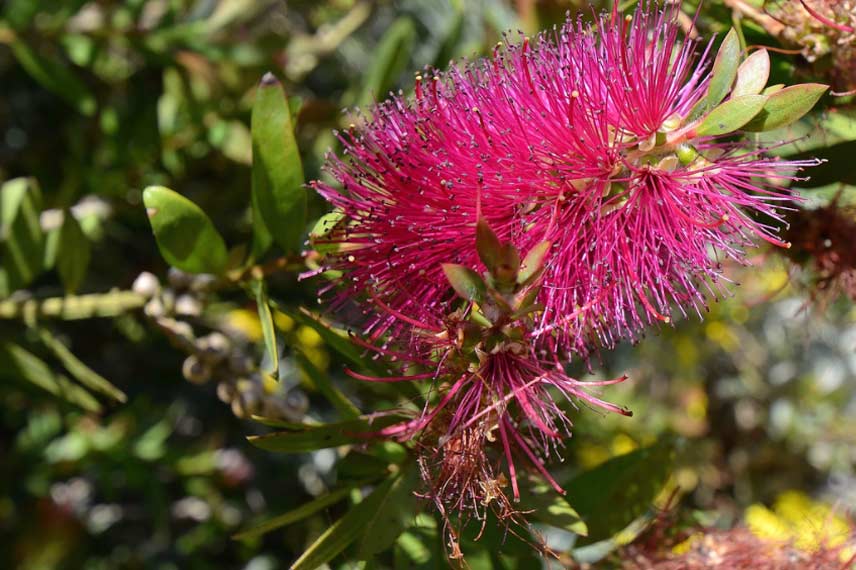
Bottlebrush in flower - © Patrick, Jardin botanique de Vauville (Manche) - Flickr
What Precautions Should Be Taken?
Always ensure you use tools that are both clean and sharp. This ensures a clean, healthy cut and helps prevent disease. Additionally, choose a perfectly healthy growing medium for your Callistemon cuttings. Similarly, make sure that the semi-ripe stems selected from your bottlebrush plant show no signs of disease or damage. Furthermore, they should not yet have produced flowers.
What Is a Semi-Woody Stem?
Semi-woody cuttings, also known as semi-herbaceous or semi-ripe cuttings, are taken from stems that grew in spring and have just begun their transition from softwood to hardwood. This lignification process typically begins around July-August.
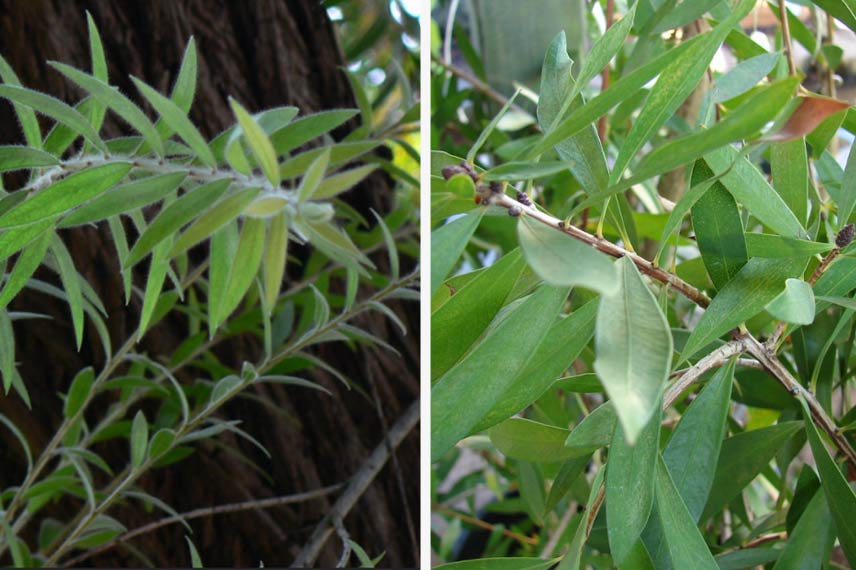
Flexible stems of Callistemon citrinus - ©Dinesh Valke | Woody stems of Callistemon citrinus - ©Forest and Kim Starr - Flickr
When to Take Callistemon Cuttings?
Bottlebrush cuttings are taken in late summer. At this stage, the cutting is semi-woody, as it is taken from softwood that is beginning to harden.
How to Take Callistemon Cuttings?
Materials Needed
- A sharp and clean secateurs
- A well-sharpened and sterilised knife
- Perforated buckets
- Healthy compost and sand
- Clay pebbles
- Plant hormone for cuttings
- Organic mulch
- A watering can filled with water
Semi-Woody Stem Cutting Method
- Take your semi-ripe stems by cutting just below an eye (or bud). The cutting should measure between 10 and 15 cm in length.
- Make a 5 cm slit along the length of the stem.
- Remove any leaves from the lower part of the stem.
- Dip the cutting in plant hormone.
- Prepare a mix of compost and sand and fill your buckets with it.
- Plant your cuttings in the centre of the growing medium, one per bucket.
- Moisten the growing medium.
- Place the buckets outdoors in a bright spot, sheltered from direct sunlight, wind, and harsh weather.
- In autumn, bring the cuttings under cover before the first frosts, ready for transplanting the following spring.
Solenne’s tip: It is essential to keep the growing medium for your Callistemon cuttings consistently moist to encourage rooting. However, reduce watering during winter. Be patient, as root development can take several months.
Transplanting Callistemon Cuttings
Transplant your Callistemon cuttings that have developed roots in spring, after the last frosts. You can then plant them in the ground or in pots, depending on available space and your region. The bottlebrush prefers mild winter climates, as it is not very hardy, tolerating temperatures of around -4°C to -6°C for most varieties, and down to -12°C for Callistemon rigidus. Note that bottlebrush does not tolerate chalky soils and requires well-draining growing medium.
Transplanting Callistemon Cuttings in the Ground
- Dig a hole three times the size of the root ball.
- Place a layer of clay pebbles or gravel at the bottom of the planting hole.
- Prepare the growing medium by mixing compost, sand, and garden soil.
- Position the Callistemon in the centre of the hole, taking care with its fragile young roots.
- Fill in around the plant up to the collar and firm gently.
- Apply a layer of organic mulch around the base of the young bottlebrush.
- Water thoroughly.
Transplanting Callistemon Cuttings in Pots
- Use a large pot with drainage holes.
- Place a layer of clay pebbles or gravel at the bottom of the container.
- Use a mix of compost, sand, and garden soil for the growing medium.
- Position the young Callistemon and fill in up to the collar.
- Firm gently, apply mulch, and water generously.
Solenne’s tip: Whether planted in the ground or in pots, water regularly throughout the growing season to help the bush acclimatise. Pay particular attention to soil moisture during the first two summers after planting your young Callistemon plants.
Further Reading
- Virginie explains how to protect a Callistemon from winter cold.
- Discover all our tips for pruning a Callistemon.
- Finally, Sophie shares advice on how to choose a Callistemon to suit your needs.


Comments