


Mint: Planting, Growing, and Propagating
Contents
Mint in a nutshell
- Mint, or rather mints, as there are many varieties, are perennial, aromatic and medicinal plants with a refreshing fragrance.
- They can be grown in the garden or in pots, in full sun or partial shade, in rich, fertile and fairly moist soil.
- They are easy to grow and maintenance simply involves keeping their spread in check.
- Their leaves can be harvested from April to October and are used to make tea, as well as to flavour dishes, desserts and drinks.
Our expert's word
Mint is not difficult to grow, it thrives and spreads easily in the vegetable garden, which is both its main quality and its main drawback! Indeed, mint tends to become invasive, especially if the soil and exposure suit it. However, not all species are as colonising: deer mint, for example, behaves more modestly!
Easy to grow, mint is also known for attracting beneficial insects and repelling unwanted garden pests like aphids, ants, and even some rodents. In my garden, I grow it beneath my fruit trees, and when it flowers, I can observe many beneficial insects such as hoverflies, tachinid flies, etc.
There are numerous species and varieties of mint, each offering distinct fragrances and uses. Among the most commonly cultivated are peppermints, spearmints, and round-leaved mints.
In cooking, the use of fresh mint is relatively uncommon, yet it can enhance the flavour and freshness of many dishes, from tabbouleh to chocolate mousse! Mint harvested at the right time and then dried is also a true delight in the heart of winter!

Description and botany
Botanical data
- Latin name Mentha spp.
- Family Lamiaceae
- Common name Mint
- Flowering Perennial
- Height 5 years
- Exposure Sun - Partial shade
- Soil type humus-rich, well-drained, moist, non-calcareous
- Hardiness -15°C
Mints originate from Europe and Asia, and more generally from temperate zones. The genus name Mentha is said to come from Greek mythology. Indeed, we find the name Menthe (or Mentha or even Mintha), which was the name of a naiad who fell in love with Hades, the ruler of the Underworld. Persephone, Hades’ wife, took revenge for this relationship by transforming Menthe into a plant.
The French vernacular names for mint were numerous and varied according to regions, uses and mint species. However, the root “ment” was often present; another common name was “baume” (balm), referring to its use as an ointment.
From folk knowledge to beliefs and superstitions, mint has accompanied mankind through the centuries. It was used for its calming or stimulating, aphrodisiac and refreshing properties, and in certain rituals for its purifying qualities.
Mints (Mentha spp.) are aromatic, perennial herbaceous plants from the Lamiaceae family. They grow between 10 and 90 cm tall depending on the variety and growing conditions. The diversity of wild and cultivated species is very significant, with no fewer than 18 species and numerous hybrids. Among cultivated species, the four most common are:
- Peppermint (Mentha x piperata)
- Spearmint (Mentha spicata)
- Round-leaved mint (Mentha rotundifolia)
- Pennyroyal (Mentha pulegium)
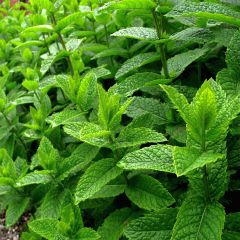
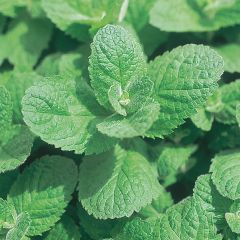
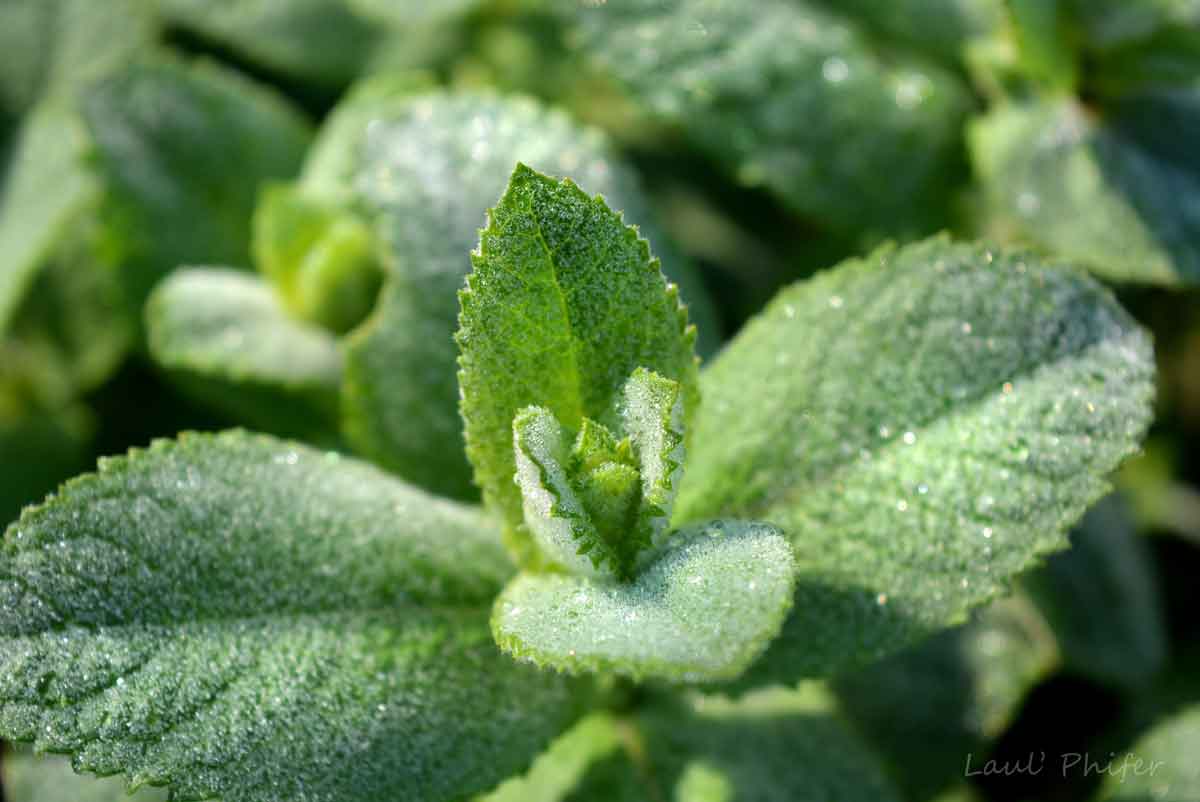
Botanical aspects vary but they all share one common feature: they produce upright stems, branched, more or less hairy, with a square cross-section, a typical characteristic of the Lamiaceae family. The stems are green (reddish for peppermint) and bear round to oval lanceolate leaves, serrated, more or less crinkled and highly aromatic. Flowering occurs from June to September. The flower stalks stand upright and bear spikes, capitula or whorled inflorescences of small pink-mauve flowers. They require insects to carry pollen and effect pollination. Fertilised flowers develop into small seeds.
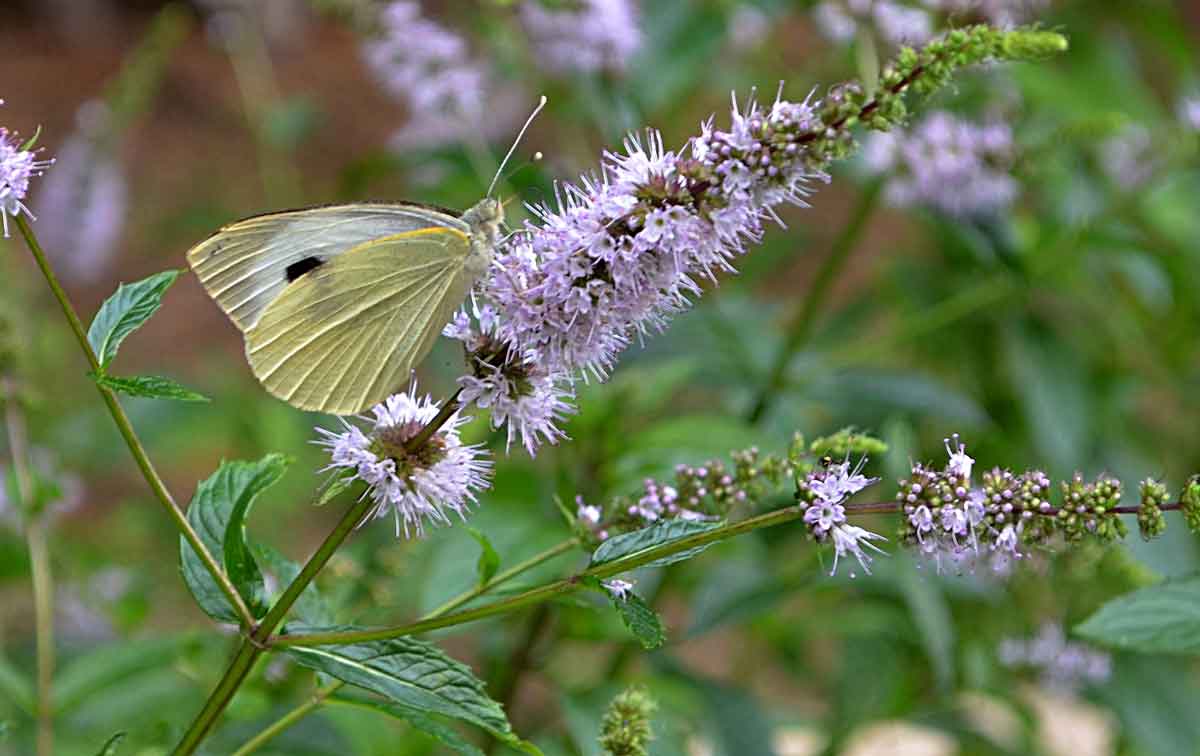
Flowering mint, particularly attractive to pollinators, draws a great diversity of insects
The main varieties of mints
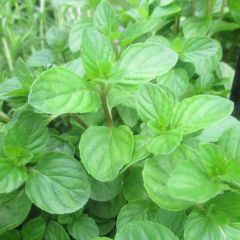
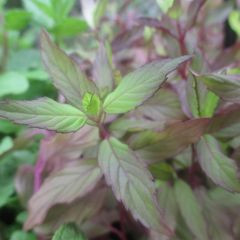
There are many varieties of mint, the most well-known being spearmint, peppermint, pennyroyal, and round-leaved mint. Depending on the variety, the leaves will offer you a whole palette of fragrances.
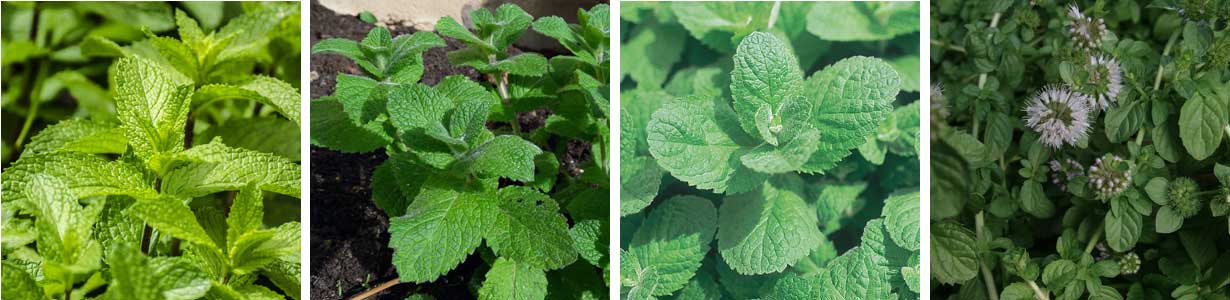
Peppermint – Spearmint – Round-leaved mint – Pennyroyal
Mentha spicata Nannah
- Flowering time July to September
- Height at maturity 50 cm
Mentha spicata Wintergreen - Mint
- Flowering time July to September
- Height at maturity 50 cm

Mentha espagnole
- Height at maturity 50 cm
Mentha piperita
- Flowering time July to October
- Height at maturity 50 cm
Mentha piperita chartreuse
- Flowering time September, October
- Height at maturity 50 cm
Mentha piperita officinalis Alba - Mint
- Flowering time September, October
- Height at maturity 50 cm
Mentha rotundifolia Ananas
- Flowering time August, September
- Height at maturity 50 cm
Apple Mint
- Flowering time August, September
- Height at maturity 50 cm
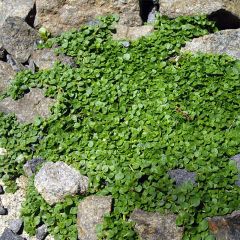
Mentha requienii - Mint
- Flowering time August to October
- Height at maturity 5 cm
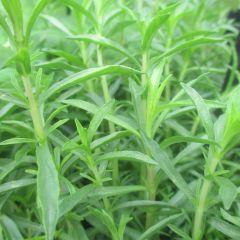
Hart's Pennyroyal - Mentha cervina
- Height at maturity 50 cm
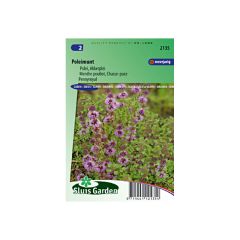
Mentha pulegium seeds
- Flowering time August to November
- Height at maturity 50 cm
Discover other Mint seeds
View all →
Available in 1 sizes

Growing Mint
Mints are perennial plants typically cultivated for two to three years, as beyond this period they tend to become exhausted and less productive. Choose the planting location carefully: mint spreads rapidly via its creeping roots. You can also grow it in pots, which helps control its expansion.
Soil and exposure
Mints thrive in all exposures, but they prefer partial shade. They appreciate humus-rich, well-draining, and cool soils, even tending towards moist and non-calcareous conditions. If your soil is poor, add well-rotted compost in the previous autumn by lightly working it into the top 5 cm of soil after loosening the ground.
Mint can be established from seeds or plants in previously loosened and thoroughly weeded soil. To do this, loosen the soil with a garden fork or spade, carefully removing weeds and unwanted plants.
Mint care
Mint maintenance is straightforward:
- Water frequently during hot spells and in drying soils.
- After flowering, cut back the plants to encourage new growth.
- Control its spread once a year if it becomes too invasive in your vegetable garden or herb patch.
Companion planting with mint
Mints pair well with fruit trees, benefiting from the cool shade of their canopy without negatively affecting fruit harvests. On the contrary, mints are useful during flowering as they attract numerous beneficial insects that help control fruit tree pests.
However, I do not recommend mixing them with vegetable beds unless grown in buried pots placed strategically, such as near carrot rows to deter carrot flies or between cabbages to discourage cabbage whites from laying eggs under their leaves.
Planting mint in the garden
Mint plants from pots should be planted in spring, ideally in April and May, although they can be planted later in the season. There is no ideal exposure for mint as it thrives in all conditions, though it has a slight preference for partial shade.
Planting in the ground
When planting in the ground, allow for a spacing of 30 cm between two clumps of plants. As with sowing, planting should be done in loosened and weed-free soil. To plant:
- Dig a hole the size of the plant, enriching it with mature compost if needed.
- Place two to three mint plants per planting hole.
- Fill the gaps with soil.
- Water thoroughly. Rainwater warmed by the sun is preferable.
Positioning in the vegetable garden
I do not recommend planting mint in the middle of vegetable beds, unless it is contained in a buried pot as mentioned earlier. If you want it to spread more freely (without root barriers), it is wiser to grow it in a herb square or under fruit trees with larger growth.
Mint in pots, for balconies or terraces
On the terrace or balcony, mint grows easily in pots. Here’s how to plant and care for it properly.
How to plant mint in a pot?
To plant mint in a pot:
- Place one to two centimetres of clay pebbles or pozzolan at the bottom of a pot (with drainage holes) for drainage.
- Fill your pot with universal potting soil, which you can enrich with homemade compost, using a ratio of 1/3 compost to 2/3 potting soil.
- Transplant one to three young plants in the centre of the pot (depending on the pot size) to form lush clumps.
- Water with a watering can—lukewarm water is always preferable.
Care tips for pot cultivation
To keep your mint plants healthy:
- Initially, when the plants are young, submerge the pot in a bucket of water for a few minutes once a week (or more during dry spells).
- Once the plants are well-established, water from above or soak your pots in sun-warmed water, preferably rainwater.
- As in the vegetable garden, choose a sunny or lightly shaded spot and ensure the soil never dries out too much.
If you start with store-bought plants, don’t hesitate to cut half the stems before repotting. This will stimulate the plant, encouraging new roots and shoots.
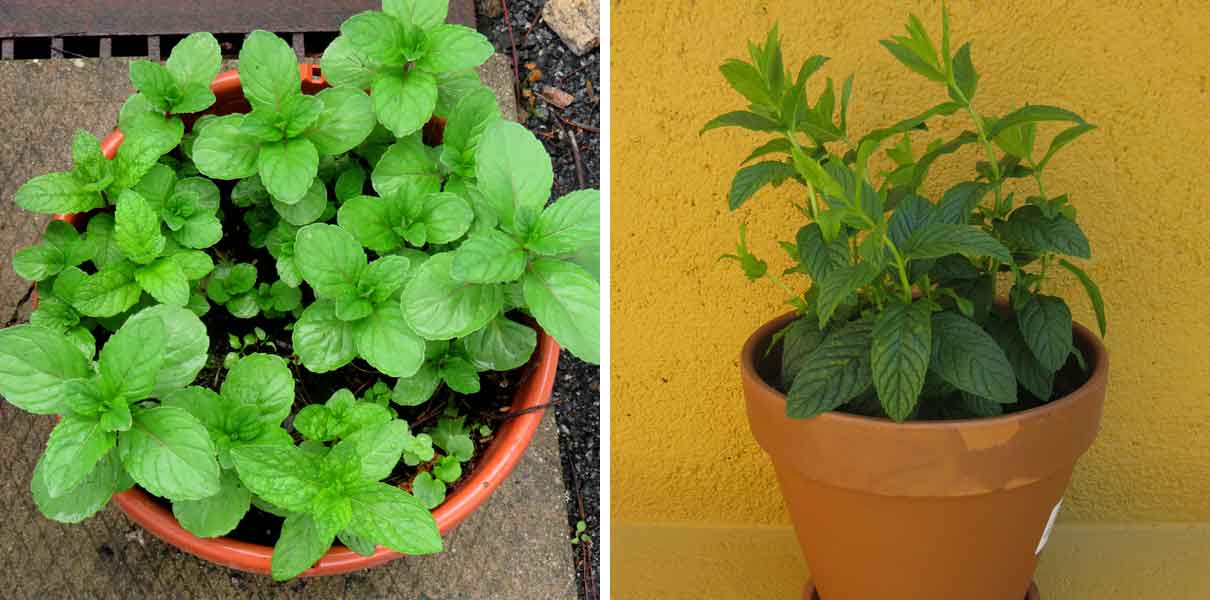
Mint adapts very well to pot cultivation
Sowing mint
Sowing mint is less common than direct planting, but it is useful for obtaining rare species and varieties or a large quantity of plants. Sowing takes place from March to July and can be done in a nursery under cover or directly in the ground.
Sowing under cover in pots
Sowing under cover in pots is done from March to May.
- Fill pots with special seed compost.
- Sow the seeds in clusters, with 4 to 5 seeds per cluster.
- Cover with a layer of seed compost (ideally using a sieve), and lightly firm with your fingers.
- Water lightly using a spray bottle.
- To encourage germination, cover the pots with a pane of glass. Ventilate during the day by lifting the glass once seedlings appear.
- After germination, thin out to keep only one seedling per pot.
- In autumn or the following spring, depending on plant growth, transplant the seedlings into the ground. Allow 30 cm in all directions between plants. Water to keep the soil moist.
Direct sowing in the ground
- Sow very thinly from mid-May, when the soil is sufficiently warm.
- Cover very lightly with fine soil (only 1 to 2 mm).
- Firm down lightly with the back of a rake.
- Water gently and keep the soil moist. After germination, thin out to maintain 30 cm spacing in all directions between plants.
Propagating Mint: Sowing and Cuttings
Sowing your own mint seeds (collected by yourself) is not commonly practised because the species hybridise very easily with each other. If curiosity still drives you to try, don’t hesitate – you might make some wonderful discoveries! You can then propagate these beautiful creations vegetatively, as we’ll see with these three techniques.
Transplanting rhizomes
- In spring, dig up last year’s clumps and harvest the rhizomes.
- Simply cut 5 cm sections of rhizome with secateurs. It’s best to ensure the rhizomes have some roots.
- Plant them in pots or directly in the ground at a depth of 5 cm.
- Water well to encourage successful establishment.
Dividing clumps
- In autumn or spring, dig up the clumps and divide them into several sections using a sharp knife.
- Replant them in pots or directly in the ground after enriching the new planting site.
- Water thoroughly to help the plants establish.
→ Learn more in our tutorial How to Easily Divide Mint?
Stem cuttings
- Take several non-flowering stems about 10 cm long. Remove the lower leaves.
- Place them in a glass of clean rainwater (preferably).
- Change the water regularly (twice a week) to prevent mould growth.
- After about 1 month, pot up the cuttings.
- Plant them out the following spring, in April-May when all risk of frost has passed.
Harvesting, Storing and Using Mint
Harvesting Mint
Mint leaves can be harvested as needed from April to October. Choose the largest, undamaged leaves and cut the entire stem to encourage regrowth. Harvest preferably in the morning to best preserve the aromatic qualities of the mint.
Mint stems generally do not withstand winter frost, unless the winter is mild, but in this case, their fragrance is significantly diminished. It is possible and even recommended to harvest the stems in summer, just before flowering, dry them, strip the leaves, and store them to have mint available during the winter months.
Storing Mint Properly
It’s great to use freshly cut mint leaves, but even better to make your own dried mint!
To preserve mint leaves, dry them on racks away from light until they lose as much moisture as possible. They should be completely dry and crumble easily between your fingers. They are then stripped (separated from the stems) and stored in airtight containers or kraft tea bags, kept away from light.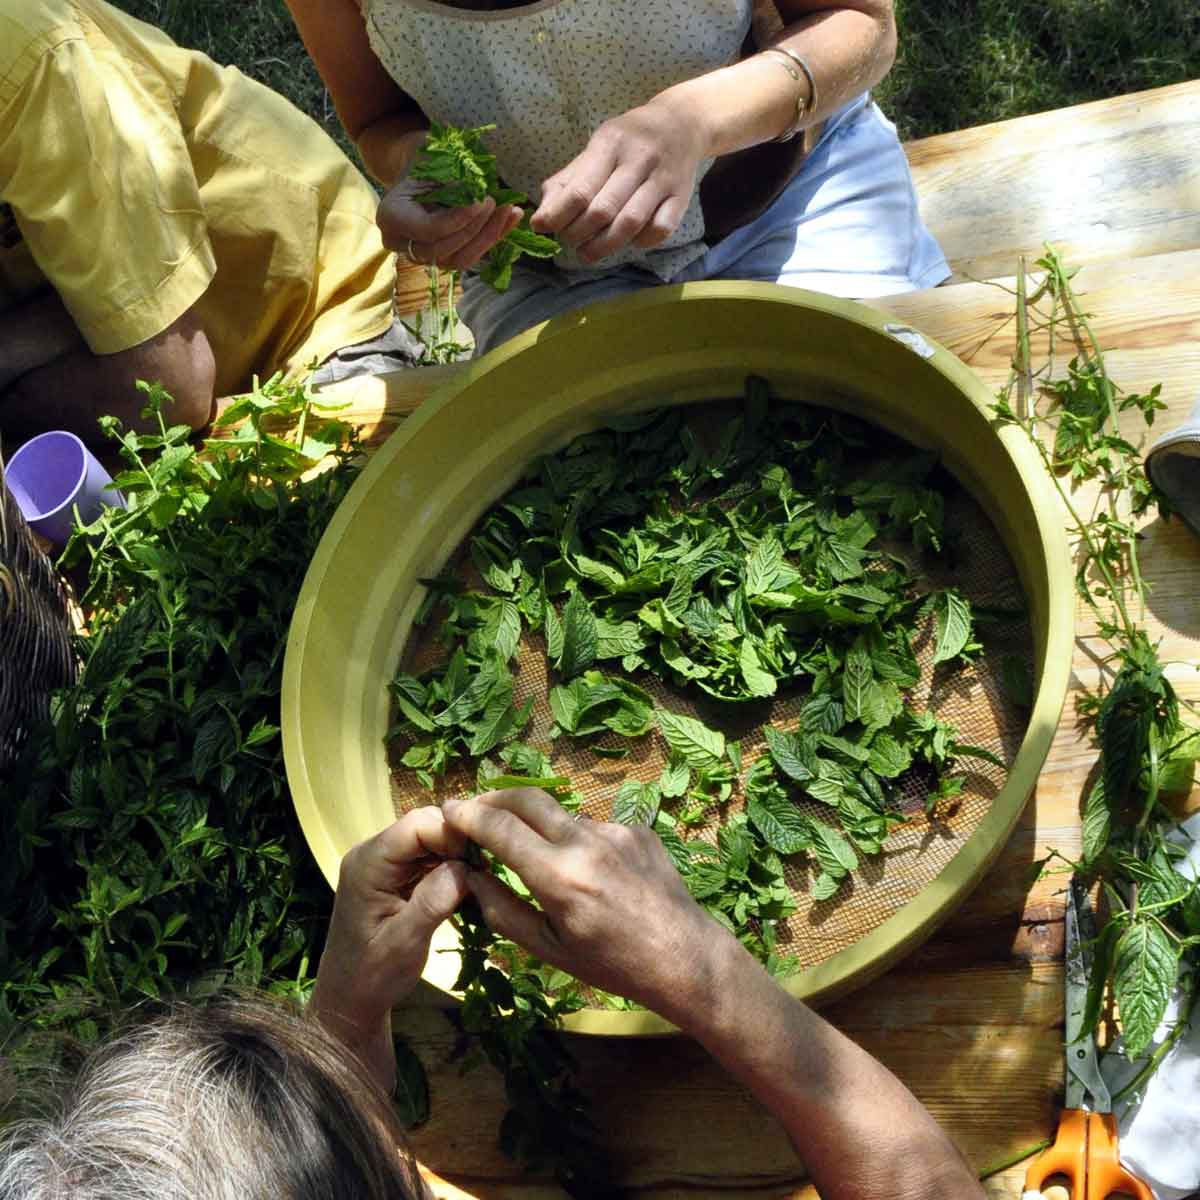
Using Mint in Cooking or as Herbal Tea
- Fresh Leaves
In cooking, use them from starters to desserts, to flavour salads and raw vegetables, peas, Lebanese tabbouleh, summer grills, yogurt-based sauces, or fruits. The leaves are also delicious infused in hot chocolate or for making your homemade mint syrup.
- Dried Leaves
Dried peppermint leaves can be used to prepare herbal tea, taken before or after meals to aid digestion. To prepare, use a pinch of leaves per cup, steeped for 5 minutes. This infusion also serves as a caffeine-free stimulant, replacing coffee. Use green mint leaves (such as the Nannah variety) to prepare Moroccan mint tea. This tea is made with green tea, like Gunpowder, and sugar. In the warmer months, it can also be prepared with fresh leaves.

Dried Mint – Mint Tea
The Benefits of Mint
Mints are refreshing, a property we owe to menthol, the molecule that triggers this cooling sensation. Peppermint is the species with the highest concentration of menthol.
Mint has antispasmodic and antiseptic properties, along with tonic and calming virtues. Mint stimulates digestion and can be used as a leaf infusion after a heavy meal for this purpose. The same use applies to preventing insomnia. Its stimulating properties are also considered aphrodisiac.
Peppermint essential oil is valued for its tonic, antiseptic and decongestant benefits. A single drop of peppermint essential oil applied to the temples and along the forehead works wonders for relieving migraines. Be sure to research precautions regarding this essential oil, as it can be toxic for babies.
Useful resources
- Discover our wide range of mints: we offer numerous varieties as seeds or plants.
- To delve deeper, also explore the excellent book, Fragrance of Mint by Bernard Bertrand, published by Éditions de Terran.
- Discover 6 must-have mints
- Discover how to successfully grow mint in pots
- Learn more about mint cuttings
- Discover the homemade mint syrup recipe
- Discover our video on garden essentials: mint.
- Mint is an ally for your hair! Learn more with Gwenaëlle in Healthy, Vibrant Hair Thanks to Plants from Your Garden.
Frequently asked questions
-
How to control mint spread in the vegetable garden?
Mints are invasive with their spreading underground rhizomes. To prevent them from taking over your vegetable beds, you can sow (or plant) them in a terracotta pot that you bury completely – or leave a few centimetres of the pot protruding above the soil surface. Choose a fairly large pot with drainage holes in the bottom and divide the clumps regularly, in autumn or spring.
To allow for a wider growing area while still limiting their spread, you can also define a space with 20 cm tiles buried vertically.
-
Why are my mint plants turning yellow and losing their leaves?
Most of the time, yellowing mint leaves indicate a lack of water. Indeed, mint requires a cool, even relatively moist soil to thrive. In this case, water more regularly with lukewarm rainwater, apply mulch to retain soil moisture, and remember that this aromatic herb flourishes in partial shade!
If the terminal leaves turn yellow (or red) first, it may be due to pathogenic nematodes in the soil. In this case, take cuttings and replant them in a different location the following year.
-
The leaves on my mint plant are turning black... What should I do?
Mint leaves can turn black when the plant is overexposed to sunlight. In autumn, this phenomenon is completely normal. In the vegetable garden, plant it in partial shade instead, for example under fruit trees. On a terrace or balcony, move your pots to a location that isn't in full southern exposure or protect them with larger, more developed plants.
-
There are white spots on my mint leaves... Is this serious?
Two possibilities for white spots on mint leaves: It could be powdery mildew, which usually appears late in the season. In this case, cut off the infected stems and compost them.
More rarely, if the white spots resemble tiny punctures, it may be caused by the Mint Leafhopper (Eupteryx melissae), a 3mm-long insect. Inspect your mint plants to confirm its presence. A good diversity of plant species and flowers, along with avoiding chemical treatments in the vegetable garden, helps regulate them naturally. Ladybirds, spiders, lacewings and micro-wasps are all effective natural predators for controlling this leafhopper.
- Subscribe!
- Contents
Comments