


"Pompons and balls", "collarettes", "single-flowering", "giant" or "dwarf"... Dahlias are garden essentials, cherished for their long-lasting flowering (from June-July to September-October) and the range of shapes, colours and sizes they offer to gardeners.
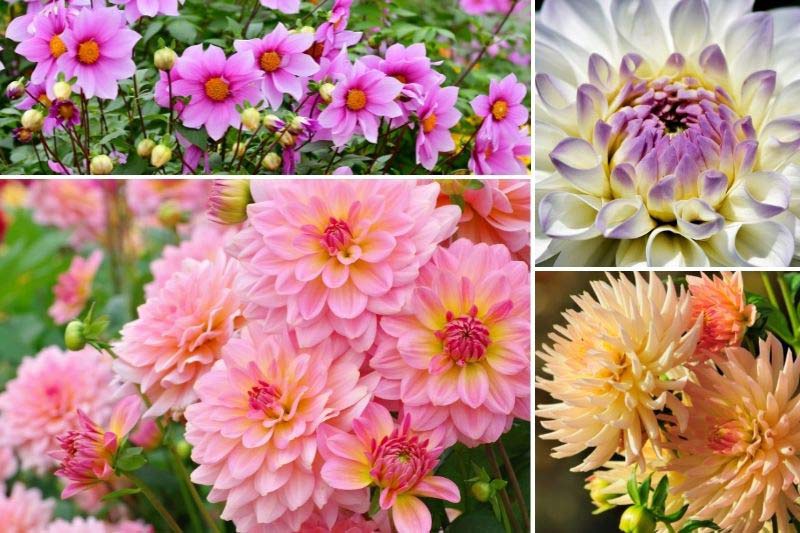
Offering a multitude of blooms and colours, Dahlias can be easily propagated
Dividing Dahlias
Dahlias are perennials with tuberous roots, swollen and clustered in bundles. Dahlia enthusiasts are familiar with this root system, as this plant from the Asteraceae family, native to warm regions of Central America, fears frost. In most regions, the tubers must be lifted and stored over winter and the starches, sugars and minerals stored inside will help the plant survive this dormant period. They are replanted in early spring when the risk of frost has passed, with possible cultivation under cover a month earlier to hasten growth. Division therefore takes place when the bulbs have been lifted from the ground.
Dividing a dahlia clump has two advantages:
- it allows you to increase the number of plants
- it rejuvenates the plants, making them more floriferous
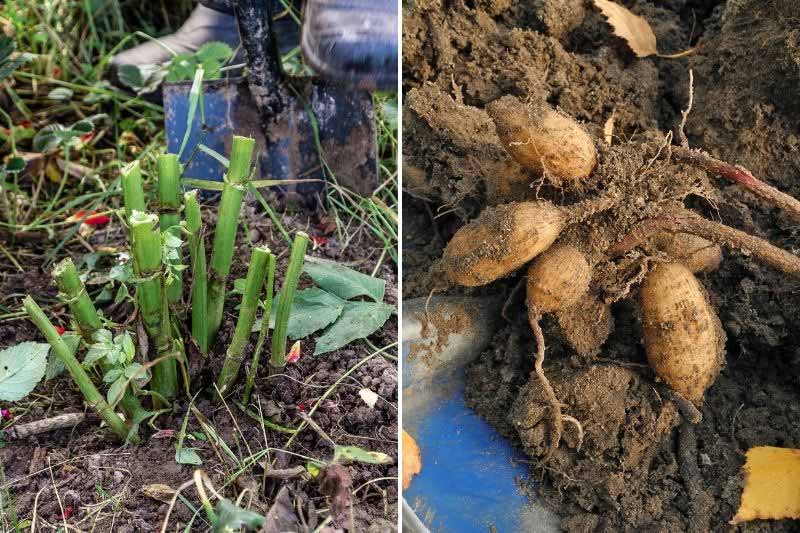
After flowering, Dahlias are lifted to overwinter frost-free. Right: detail of tubers
How to divide Dahlia tubers?
Be careful, this does not mean separating individual tubers to then replant them; Dahlias are not potatoes and the eyes (buds) do not appear directly on these tubers. They grow at the crown, the base of the stem just above. Make sure to leave a section of stem and dormant buds on each cut portion, as a severed tuber without any buds at the base will not regrow.
When to divide Dahlia tubers?
You can divide dahlias in autumn, when you bring them under cover for winter, or in spring before replanting them.
- Dividing dahlias in autumn
- Dividing dahlias in spring
Equipment needed for dividing Dahlias
- a multi-purpose knife
- pruners
- terracotta pots or deep enough crates
- compost or soil mixed half and half with coarse sand to obtain a well-draining substrate
- a small hand trowel
- a pencil and labels
Steps for dividing Dahlias
- If dividing in spring, from March, remove the Dahlias from their winter storage. If working in autumn, lift them as you would for overwintering;
- Cut back faded stems with pruners;
- Using a previously disinfected knife, cut the dahlia clump in the centre, between two stems, ensuring the pieces contain eyes (buds);
- Separate the pieces carefully so as not to damage the tuberous roots;
- Divide as many times as possible and according to the number of plants you wish to obtain, always ensuring the pieces contain eyes;
- Plant the resulting clumps directly in the ground after the last frost or start them in pots or crates under cover, covering them with compost or the soil/sand mix if dividing in spring. For autumn division, overwinter the tubers as usual;
- Note the variety names on the labels.
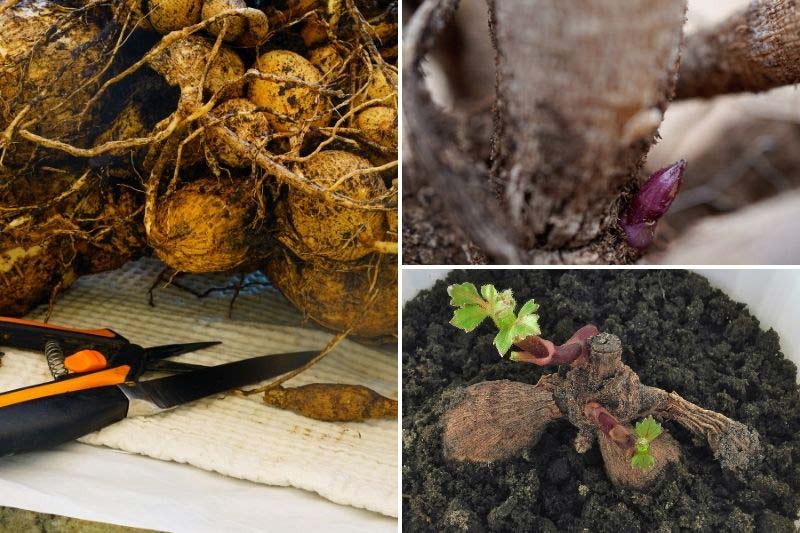
The lifted tubers will be divided keeping at least one eye per section. Detail of an eye top right. Divided tuber forming new buds bottom right
→ See our advice for then planting Dahlias correctly
Taking Dahlia cuttings
Propagation by cuttings is an excellent method to rejuvenate a clump and obtain new Dahlia plants which easily multiply this way. Taking cuttings allows you to obtain more plants than with division, as you get one plant per cutting. This method also avoids transmitting diseases, often harboured in the tubers.
When to take Dahlia cuttings
Cuttings can be taken in spring, when Dahlias produce their first shoots, or later in summer.
Equipment needed for taking Dahlia cuttings
- a knife or pair of scissors
- plastic pots about 20 cm
- a rooting hormone (facultative)
- compost or soil mixed half and half with coarse sand to obtain a well-draining substrate
- a dibber
- a pencil and labels
Steps for taking Dahlia cuttings in spring
- Fill your pot with light compost (sowing and cuttings type);
- Using a knife, take the cutting with a small piece of tuber (as for a heel cutting);
- Prepare the cutting by trimming and cut all leaves in half with the knife or scissors to limit transpiration;
- Dip the base of your cutting in some rooting hormone powder;
- Make a hole with a dibber around the edge of your pot and insert your cutting;
- Firm lightly to ensure good contact between compost and cutting, water;
- Repeat for all other cuttings and don't forget to label!
Steps for taking Dahlia cuttings in summer
- Cut shoots about 10-15 cm long from the axil of flower stems;
- Cut all leaves in half;
- You can dip the base of the stems in rooting hormone solution, which will encourage root development and increase the chances of your cuttings taking;
- Fill pots with compost;
- Plant cuttings around the edge of the pot;
- Summer heat can dry out your cuttings, we recommend propagating under cover, placing a cloche over your cuttings and keeping them in a shady spot;
- Water regularly, do not let the compost dry out.
Rooting occurs after about 3 weeks, after which you can pot up your cuttings individually for planting out in the garden the following spring.
Sowing Dahlias
There are two main types: large-flowered tuberous Dahlias and dwarf bedding Dahlias, easily propagated by seed. Rarely practised, sowing is a very economical way to propagate Dahlias. We offer a lovely selection of Dahlia Seeds for you to try this technique. The varieties to sow are less diverse, but flower just as generously as tubers and reach only about 50 cm in height, making them valuable for container growing or the front of borders.
When to sow Dahlias
Equipment needed for sowing Dahlias
- Dahlia seeds
- pots or seed trays
- seed compost
- a small hand trowel
- a pencil and labels
Steps for sowing Dahlias
- Fill pots or trays with compost;
- Sow seeds and cover with 1.5 mm of fine compost;
-
Moisten regularly, allowing to dry between waterings;
-
Transplant seedlings into larger pots when they are large enough to handle, taking care not to damage the roots;
-
Harden off these young plants gradually, and transplant them into the garden or outdoor containers when all risk of frost has passed, spacing 30 cm apart;
-
Water thoroughly and repeat regularly for the first 6 weeks to aid establishment.
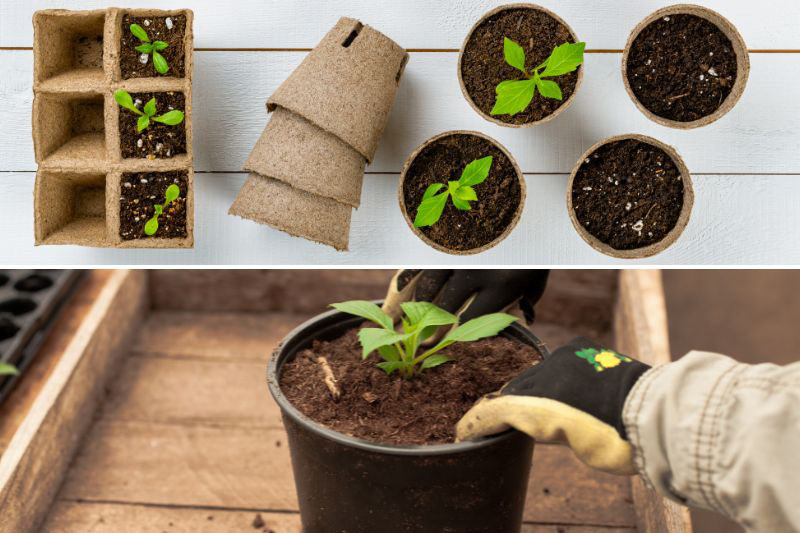
Young seedlings will be potted on into larger pots then planted outdoors, in large containers or in the ground.
Also read our tutorial How to sow dahlias?
→ Discover all our sowing equipment

Comments