


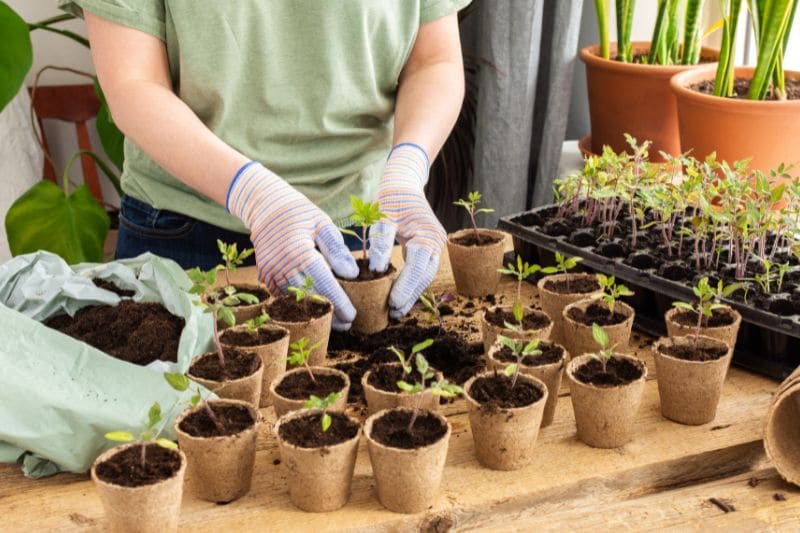
You have sown your seeds carefully, in pots or trays, and now little shoots are appearing? Congratulations! But for them to become beautiful vegetables or flowers, an essential step is required: transplanting.
Transplanting involves moving a young plant into a larger pot or directly into the ground to provide it with more space and nutrients.
Why transplant young plants?
Transplanting is essential for:
- Providing more space for the roots and preventing them from becoming tangled.
- Strengthening the plant by stimulating its root system.
- Encouraging vigorous growth with access to more nutrients.
What happens if you don't transplant?
- The plants remain weak, fragile, and their growth slows down.
- They grow poorly due to a lack of nutrients.
- The roots lack space and become intertwined.
- They are more susceptible to diseases and moisture.
The necessary equipment for successful transplanting
For pot transplanting
- Larger pots, with drainage holes at the bottom.
- Light and draining potting soil.
- Clay balls (if transplanting into a large permanent pot).
- A transplanter or a small shovel.
- Water (preferably rainwater).
- A spray bottle to gently moisten the young plants.
For outdoor transplanting
- A transplanter or a small shovel.
- Rainwater for watering.
- A spray bottle or a watering can with a fine rose to gently water the young shoots.
The 5 steps to successfully transplant your plants
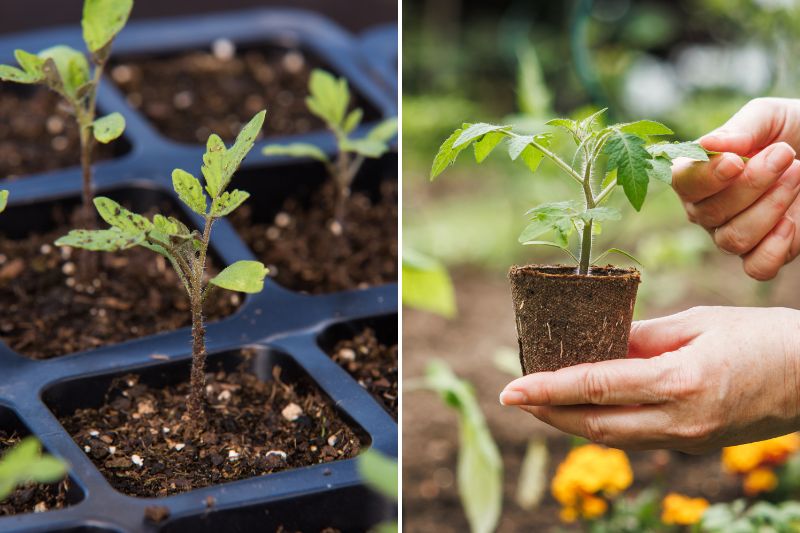
Step 1: Know when it's time to transplant
Some signs to know when to transplant:
- The young plants have at least two true leaves (the ones that grow after the first germination leaves, called cotyledons).
- Roots start to come out through the bottom holes (drainage holes), indicating they lack space.
- Growth slows down because the plant lacks space.
When to transplant?
- For indoor transplanting: You can transplant at any time of the year, as soon as the plants have several true leaves or seem cramped in their pot.
- For outdoor transplanting: after the last frosts, usually after mid-May in most regions (or as soon as night temperatures exceed 10°C).
- Vegetables from the vegetable garden: generally, frost-sensitive vegetables (tomatoes, eggplants, peppers, etc.) are transplanted from March-April under cover, and from mid-May outdoors.
Step 2: Acclimatise the plants before outdoor transplanting
If your plants have grown indoors or under cover, they are not used to temperature variations, wind, and sunlight. A sudden change could weaken them.
How to acclimatise a young plant before putting it in the ground?
- 7 days before: Take the plants outside for a few hours each day, in a sheltered spot away from direct wind and sunlight.
- 4 days before: Gradually increase the duration of outdoor exposure (one hour more each day) and start exposing them to sunlight.
- 2 days before: Leave them outside all day, but bring them in at night.
- On the day: Plant them in the ground at the end of the day or on a cloudy day to minimise stress.
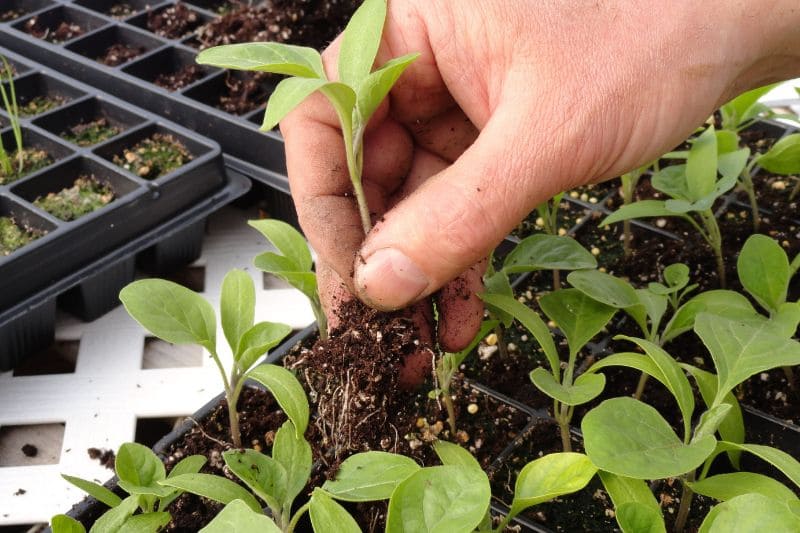
Step 3: Prepare the young plants before transplantation
- Water the young plants a few hours before transplanting to facilitate their extraction.
- Gently remove the plant from its bucket or tray, holding it by the base (avoid pulling on the stem).
- Gently untangle the roots if they are intertwined.
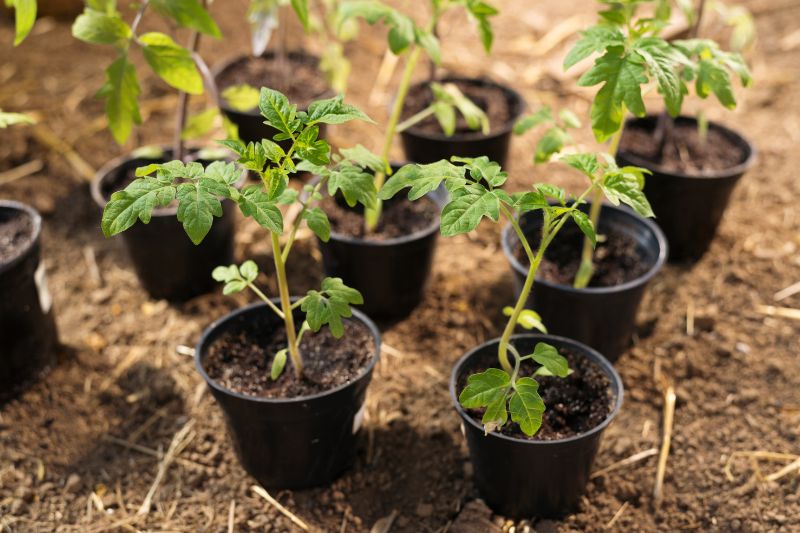
Step 4: The transplanting
In pots:
- If the plant is intended to remain permanently in the pot: Place a layer of drainage at the bottom of the pot: clay balls or gravel.
- Fill the pot with rich and draining potting soil, ensuring to leave enough space for the root ball of the plant.
- Place the root ball, keeping about 1 cm margin between the edge of the pot and the top of the root ball.
- Then fill the gaps with potting soil, and lightly press around the plant to ensure good root contact.
- Place the pot in a bright location, but avoid direct sunlight during the first week, so the plant can adapt to its new environment.
In the ground:
- Using the transplanter, dig a planting hole about twice as wide as the root ball of the plant. Weed the surrounding area and remove stones.
- Add some compost to the bottom of the hole to enrich the soil.
- Lightly moisten the bottom of the hole before placing the plant.
- Place your root ball in its hole. The base of the stem should be level with the soil.
- Fill the hole with garden soil or potting soil and lightly press down.
Step 5: Post-transplant care
- Water abundantly just after transplanting to thoroughly moisten the roots.
- In the following days and weeks, water regularly, but without excess to avoid root rot.
- Preferably use rainwater at room temperature to avoid thermal shock.
- A slight wilting is normal just after transplanting. Generally, plants need about a week to recover.
- Fertiliser: After 2-3 weeks of growing in the garden, add some compost or a natural fertiliser (nettle manure, banana peel infusion).
Tip: Add a mulch (straw, dead leaves, chips) to limit water evaporation and protect the roots from temperature variations.


Comments