


The Photinia is a bush valued for its bright red young shoots, its evergreen foliage, and its rapid growth. Suitable for hedges, it combines aesthetics and efficiency. Additionally, its resistance to varied conditions makes it an excellent choice for many gardens. Whether in a free or trimmed hedge, isolated or in a mass planting, the Photinia offers decorative interest all year round, while also forming an excellent screen. Discover our tips for successfully planting Photinias in your garden.
When to plant a Photinia?
The best time to plant a Photinia is in autumn, between October and November, as the milder temperatures and natural soil moisture promote good rooting before winter.
It is also possible to plant in spring, from March to May, provided you water well during the first few weeks and remain vigilant in case of heatwaves during the summer.
It is advisable to avoid periods of frost or extreme heat that stress the plant and hinder its rooting.
Choosing the location to plant the Photinia
The Photinia prefers sunny to partially shaded locations, sheltered from cold winds. It grows in most soils as long as they are well-drained.
Note: Soil that is too compact or waterlogged should be improved by mixing it with potting soil, compost, and gravel (or pumice) to avoid root asphyxiation.
Steps for planting the Photinia
1- Prepare the soil: work the soil to a depth of about 40 cm, removing larger stones and weeds. Incorporate well-rotted compost or well-decomposed manure to enrich the soil.
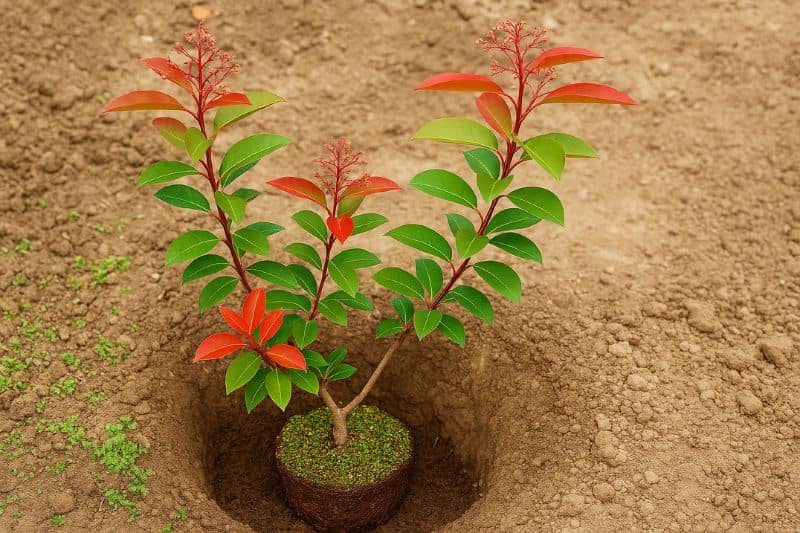
2- Dug a planting hole twice as wide as the root ball to encourage good root development.
3- Soak the root ball in a bucket of water for a few minutes before planting to thoroughly rehydrate the roots.
4- Remove the pot and position the Photinia in the hole without burying the collar (base of the trunk). Fill in with a mixture of soil and compost, then lightly firm down.
5- Water generously after planting, even if it rains. This initial watering helps to eliminate air pockets and ensures contact between the roots and the soil.
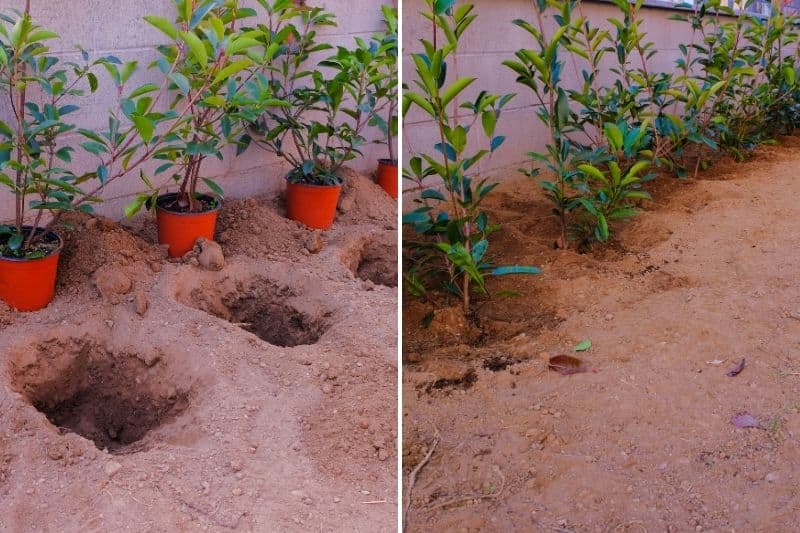
How to successfully plant a hedge of Photinias?
To form a hedge of Photinias, it is important to manage the planting distances well:
- Space the plants 80 cm to 1 m apart, depending on the desired height, the chosen variety, and the size of the bushes.
- For a free hedge, space the bushes a bit further apart to allow them to maintain their natural habit.
- For a dense and screening hedge, you can plant them closer together to achieve a quicker mass effect.
Care tips for Photinias after planting
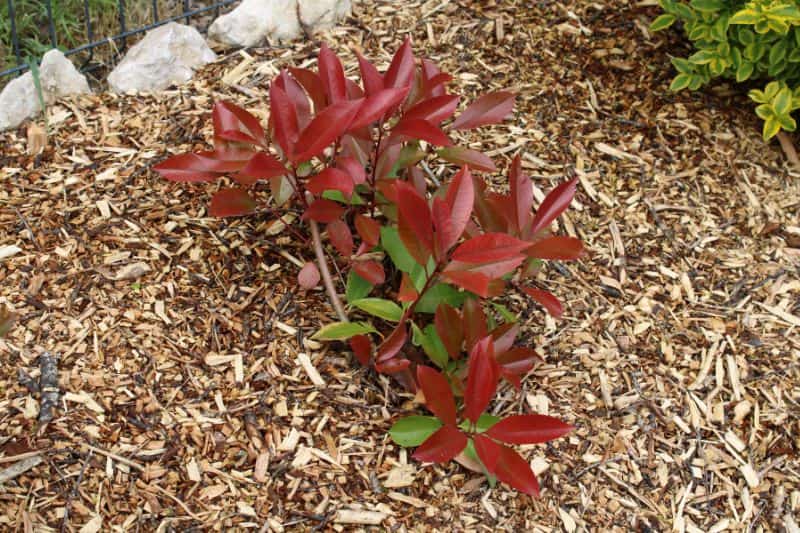
After planting, a mulch (bark, wood chips, straw…) helps to limit evaporation, keep the soil cool, and reduce the growth of unwanted herbs. It’s a simple but very effective gesture, especially during the first two years.
Watering
During the first year, be sure to water regularly, especially during dry periods (once a week in dry weather). Photinias planted in spring will require increased attention until the following autumn. In the second year, water only in case of prolonged drought in summer.
Pruning
Every year, at the end of winter, carry out light pruning to stimulate the appearance of new red shoots and encourage the bush to branch out.
Fertilisation
Lightly fertilise in spring with an organic fertiliser (well-rotted compost is perfect) suitable for bushes.

Comments