


Long neglected in favour of heated shelters, the hotbed is making a grand comeback in our organic vegetable gardens.
And for good reason, this cultivation technique which requires no energy expenditure, creates an environment conducive to the healthy development of your outdoor young plants, even in mid-winter. A medium with a rich substrate and ideal temperatures, between 15 and 25°C.
In the following lines, discover therefore why, when and how to make a hotbed.
Why make a hotbed?
Providing a rich and warm medium, the hotbed can be used in three different ways:
- As a nursery
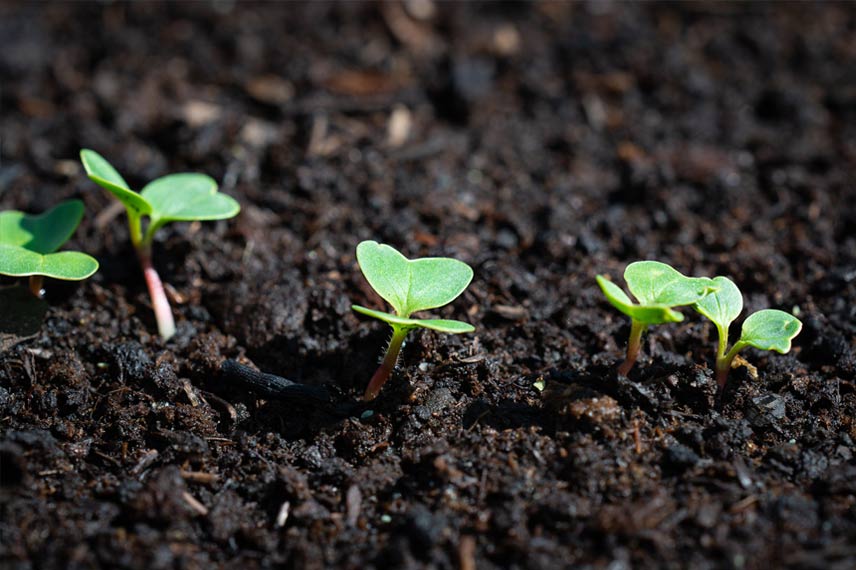
When temperatures are still very low, the hotbed aids the development of your vegetable young plants. Thus, once its temperature stabilises between 20 and 25°C, you can place your seed trays and buckets started beforehand indoors. It is also possible to transplant your young plants directly into this bed.
- For early crops
But the hotbed can also be used to hasten your crops, allowing you to harvest certain vegetables early. Early varieties of carrots, turnips, radishes, spinach and lettuces can thus be cultivated there from January onwards.
- For the most demanding vegetables
Finally, the hotbed allows the cultivation of the most demanding vegetables. The decomposition of organic matter contained in the hotbed produces the same type of phenomenon as composting. The richness of the resulting substrate is thus perfectly suited for cultivating your aubergine, tomato or pepper young plants.
When to make a hotbed?
The hotbed should be ready by January to welcome your early vegetable sowings. Knowing that you can only sow 3 weeks after its installation, that is when the temperature under the frame will have dropped back to around 20 to 25°C, you should therefore prepare your hotbed around mid-November.
How to make a hotbed?
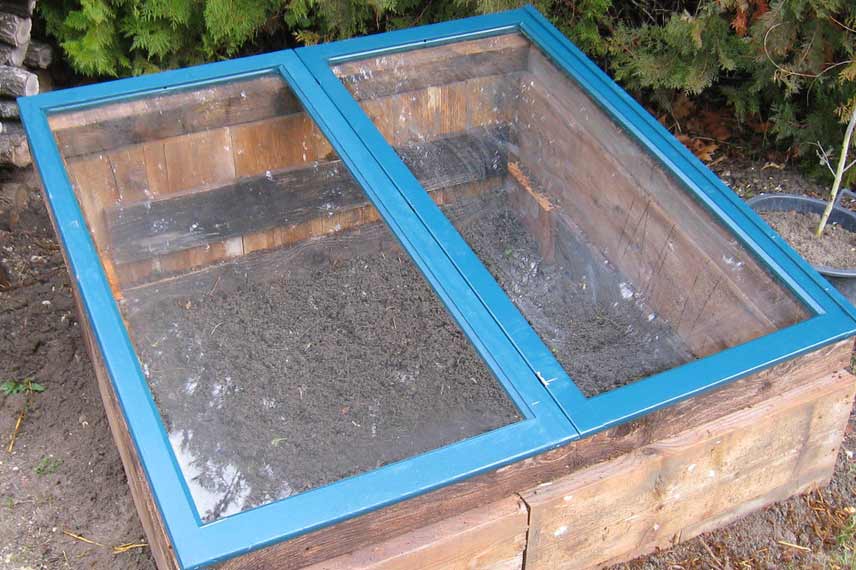
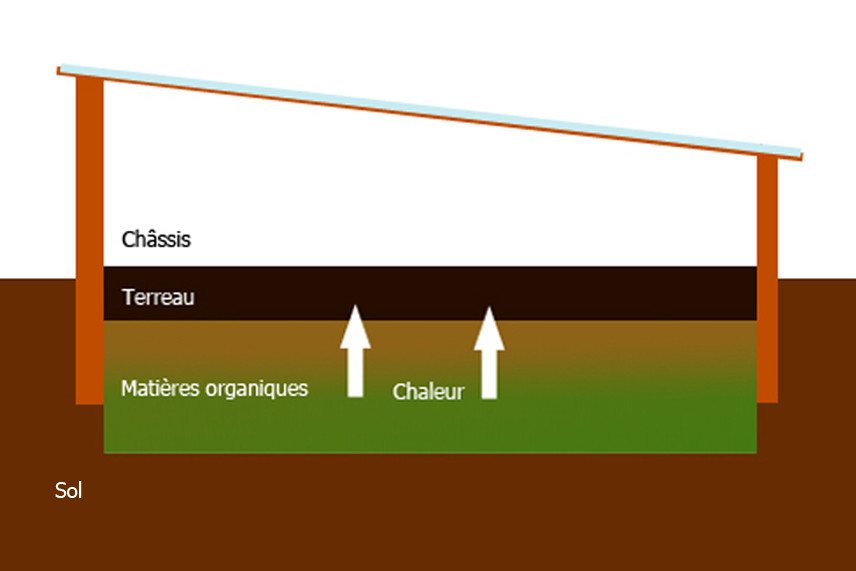
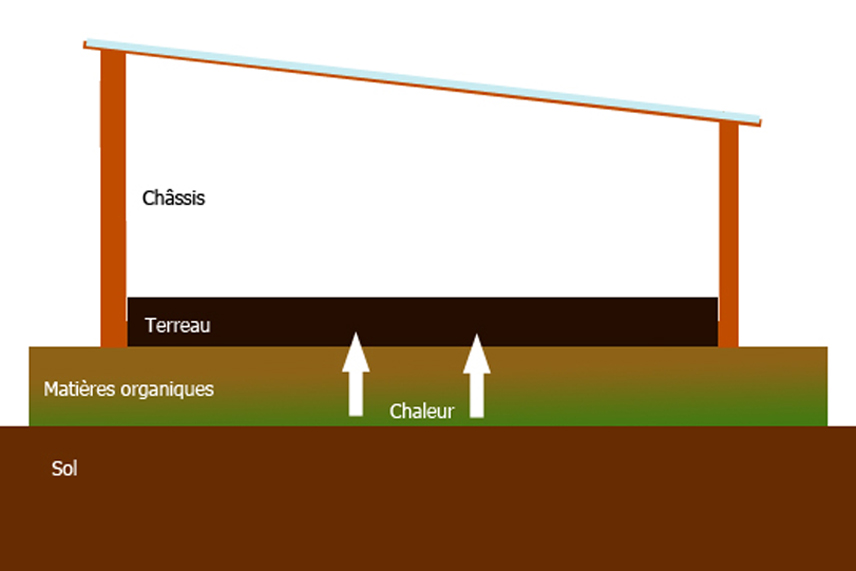
Although there are two distinct techniques, the overall methodology of the hotbed remains the same: you must delimit a cultivation bed before covering it with a glazed frame, itself filled with a mixture of manure and plant waste. It is these decomposing organic materials that produce heat.
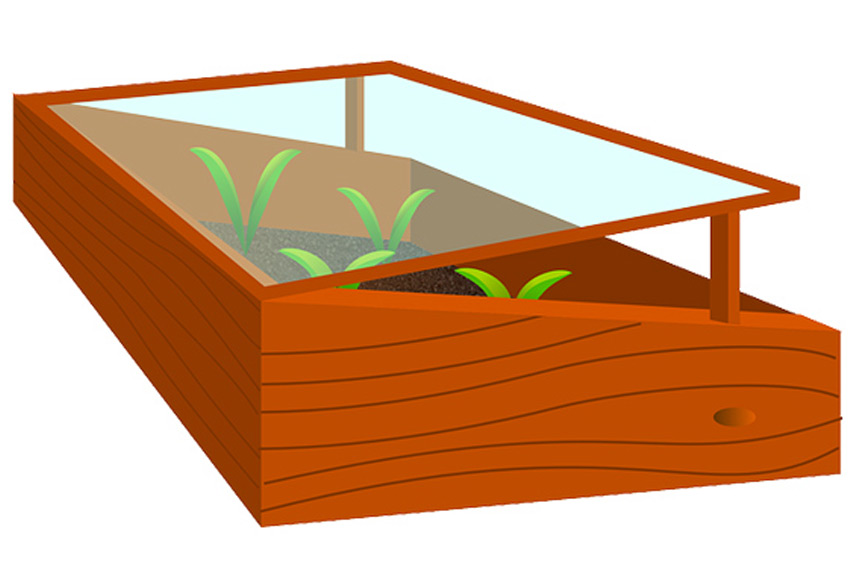
Thus, the hotbed can be buried or raised, and must be covered with a frame box 80 to 90 cm high. In either case, the organic materials are covered with 15 cm of compost, the latter forming the substrate in which your vegetables are sown or transplanted.
Making a buried hotbed under a frame
The buried hotbed provides good inertia to the system. This is moreover superior to that of the raised hotbed. On the other hand, its installation is more complex than the latter, and requires more effort.
Start by choosing the "ingredients" that will make up your hotbed. It is generally recommended here to use fresh horse manure mixed with straw, dead leaves or RCW (ramial chipped wood).
Note: sheep or rabbit manure can be substituted for horse manure here.
- First define the surface area of your hotbed according to your needs and the dimensions of your frame.
- Dig a pit 50 cm deep using a spade.
- Install the frame of your frame at the bottom of the pit.
- Then place your mixture of organic materials at the bottom of the pit.
- Trample the mixture with your feet. A crucial step that removes air from the mixture to promote its fermentation.
- Water this first layer evenly with a hose.
- Cover the whole thing with a good layer of compost about 15 cm high. The substrate level should now reach that of the soil.
- Fix the glass of your frame onto its frame and close it.
- You must now wait about ten days without touching your hotbed again.
- After this period, scratch the surface of the hotbed, then level it using a small board (without compacting it).
- You can now proceed with your sowings, or transplant your vegetable young plants sown indoors.
Making a raised hotbed under a frame
The raised hotbed has the advantage of being more comfortable, since the cultivation work is done at height. Similarly, its installation is much simpler since you don't need to dig a pit. This technique should be preferred if you want to avoid constantly bending down to garden.
- At the bottom of the frame, install a 30 cm layer of organic materials composed of a mixture of horse manure, leaves, grass, straw, or even shredded green waste.
- Compact the whole thing by trampling the mixture with your feet and water.
- Cover the mixture with a thin layer of soil and mature compost and sieved.
- Wait a good ten days, until the "heat wave" is over.
- Scratch the surface of the compost and level it without compacting it using a very flat wooden board.
- You can now proceed with your sowings.
Solenne's tip: after your sowings, keep the frame closed unless the weather is sunny and outdoor temperatures reach 20°C. Your plantings will however need water. Water with a fine spray, without leaching the substrate, and then close the frame again to protect your crops from the cold and pests (especially cats who won't fail to confuse your compost with their litter layer).


Comments