


Giving a seed card is a very original, fun, and eco-friendly way to send your wishes. There are plenty of occasions to give one: birthdays, Christmas, New Year, Mother’s Day, Father’s Day, Grandparents’ Day, thank-you gifts for teachers, retirement, weddings, and more. The seed card is made from recycled paper or cardboard infused with seeds. The seeded paper can then be planted in the soil, where it will decompose as the seeds germinate. A wonderful way to extend the joy and memories. Follow our step-by-step tutorial to make your own seed card!
What do you need to make a seed card?
Here’s a non-exhaustive list of materials needed to make seeded paper:
- Recycled paper or cardboard
- Seeds
- Water
- A mixing bowl
- A saucepan
- Flour
- A whisk or blender
- Towels
- A sieve
- Optional: food or natural dyes
Which paper or cardboard should you choose for making seeded paper?
You can use biodegradable paper, such as newspapers, paper bags, cardboard from egg boxes, or toilet paper rolls. Even the cardboard from your "Promesse de Fleurs" plant deliveries! Avoid glossy magazine paper, though.
Which seeds should you choose for your plantable card?
Always opt for small seeds. For example, avoid pumpkin seeds, which are too large, and instead choose seeds like tomatoes, radishes, lettuce, or other small vegetable seeds. For flower lovers, consider a wildflower seed mix or other small flower seeds. For aunts or teachers, herb seeds are a great choice.
How to make a seed card?
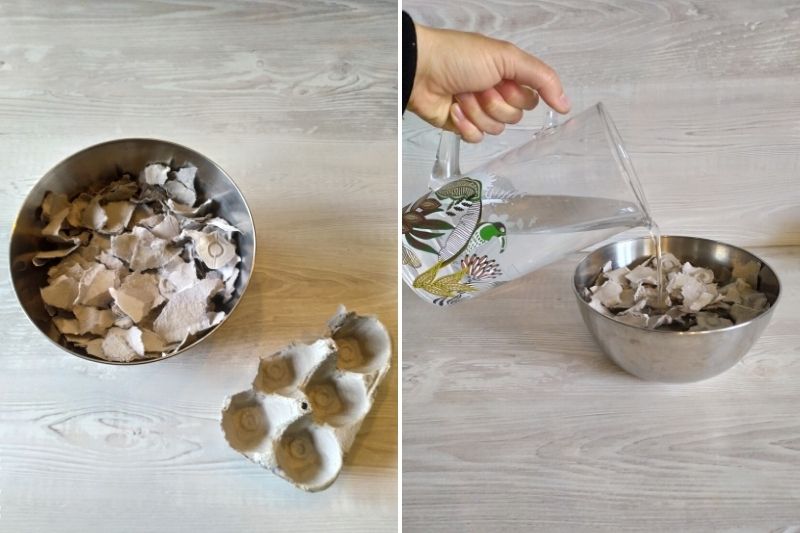
Step 1:
- Cut the paper (or cardboard) into pieces and place them in a mixing bowl.
- Cover the paper with water and let it soak for an hour, or longer for cardboard.
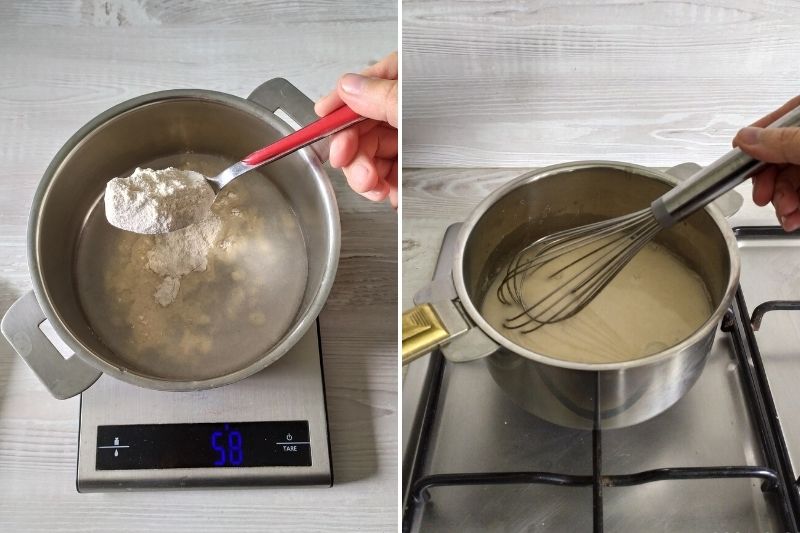
Step 2:
- In a saucepan, whisk 25g of flour with 50ml of water.
- Once the mixture is smooth, add 200ml of water and mix again.
- Heat the saucepan while stirring constantly until you get a sticky consistency. This creates a natural, biodegradable paper glue.
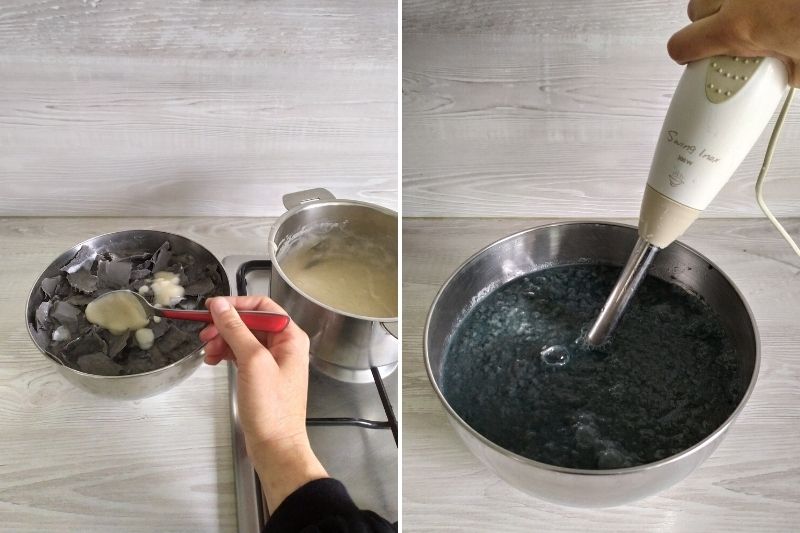
Step 3:
- Add four tablespoons of the glue to the bowl with the paper.
- Blend the mixture to create paper pulp.
- Tip: If desired, you can dye the pulp with food or natural dyes. For example, beetroot juice will give a lovely pink, while turmeric adds golden hues.
Step 4:
- Drain the paper pulp using a sieve or strainer to remove excess water.
Step 5:
- Cover a flat surface or tray (cutting board, baking sheet, etc.) with a towel, then spread a thin layer of the pulp on top. To absorb water faster, gently press another towel onto the pulp.
- Tip: You can also use cookie cutters to create pretty shapes.
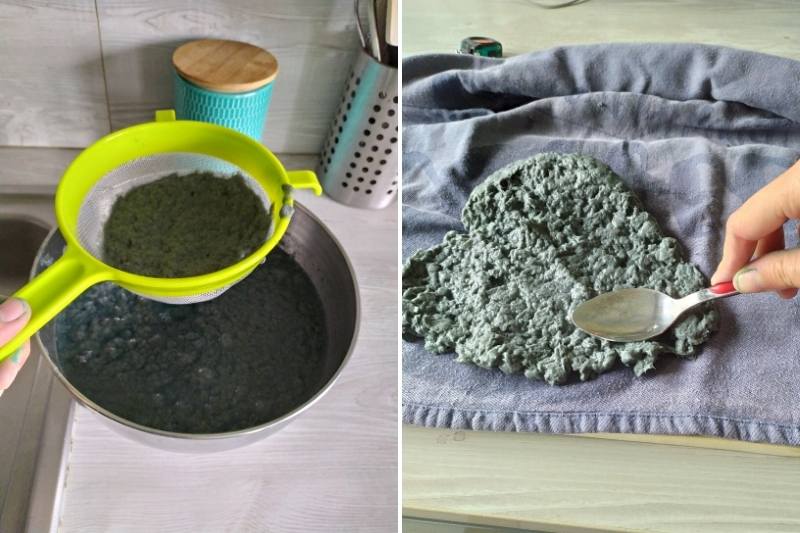
Steps 4 and 5: Draining and spreading the paper pulp.
Step 6:
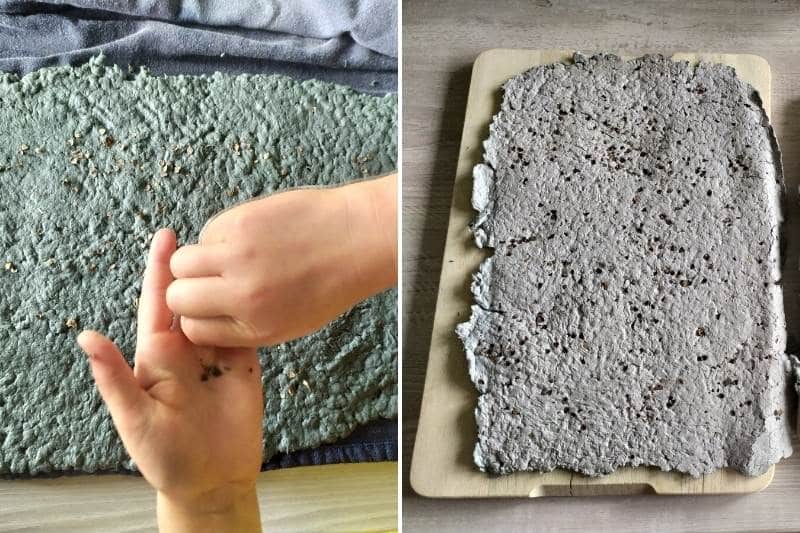
- Sprinkle the seeds onto the damp paper, then press them gently so they adhere well.
- Let the paper dry near a radiator, in the sun, or at room temperature.
- Tip 1: If drying outdoors, make sure the paper doesn’t blow away! (Yes, it’s happened to me.)
- Tip 2: If the seeded paper warps as it dries, place a heavy book on it for a few days to flatten it.
Step 7:
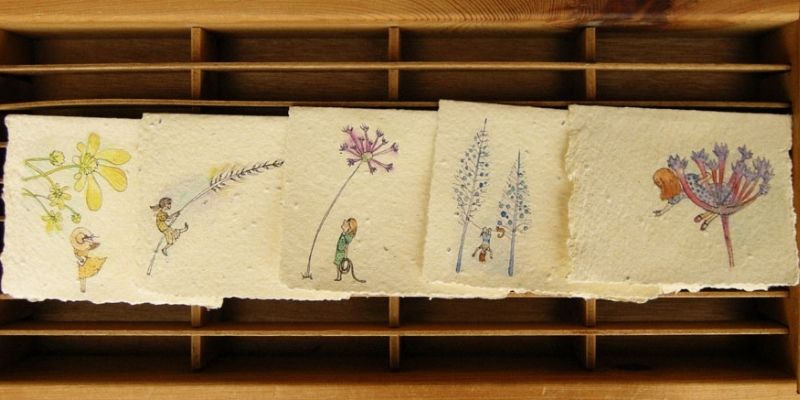
- Once your paper is dry, cut and decorate it to create a beautiful card to give. Don’t forget to include planting instructions!
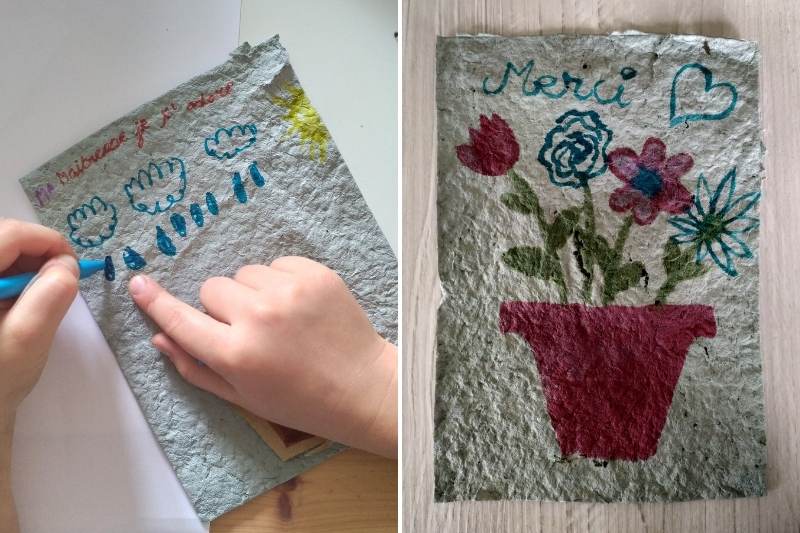
Seed cards made by children for their teacher.
How to plant a seed card?
1- Fill a pot 3/4 full with compost and moisten it.
2- Cut a piece of the seed card and place it on the compost.
3- Cover the paper with 1–2 cm of compost.
4- Moisten again and keep the compost damp.
5- Seedlings should appear within 7–10 days.
Further reading:
- Discover all our flower seeds and wildflower seed mixes.
- Explore our herb seeds.
- Check out our vegetable seeds.


Comments