


How could one imagine a stew or casserole without its bouquet garni? Essential to this herb bundle, bay leaves boast a distinctive flavour. Alone, they encapsulate all the fragrances of the Mediterranean region, where the bay laurel, also known as sweet bay (Laurus nobilis), originates. Beyond its culinary uses, the bay laurel is an evergreen tree that proves highly ornamental in the garden, whether planted as a hedge, standalone, trimmed into topiary, or even grown in pots. Especially since it requires minimal maintenance, apart from regular pruning to control its growth. Thus, harvesting its leaves is straightforward. We explain how to dry bay leaves, when to harvest them, and how to store them.
When to harvest bay leaves?
First and foremost, it's worth noting that bay leaves should not be picked from a tree treated with any insecticidal or fungicidal products. If in doubt, it's best to refrain...
Bay leaves can be harvested year-round as needed for cooking. However, avoid the flowering period, which occurs in early spring, during March and April. At this time, the leaves tend to become more bitter.
As with any leaf or flower gathering, it's preferable to harvest in the morning, before it gets too hot. Simply cut a branch, favouring the oldest, deep green leaves, which have a stronger flavour. You can then use the bay leaves fresh or dry them.
How to dry bay leaves?
To preserve bay leaves longer, drying them is ideal. This process removes the water content from the leaves and tends to intensify their flavour. Several methods exist for drying bay leaves.
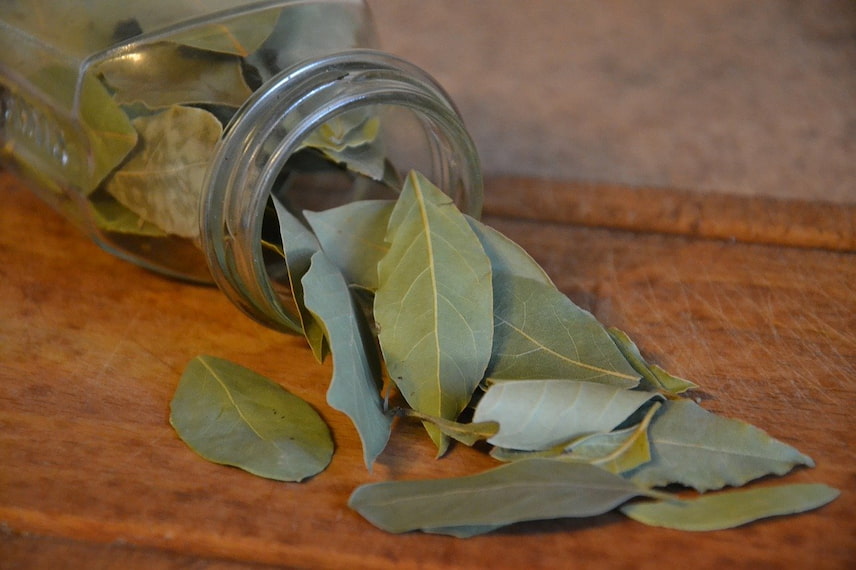
Bay leaves can be dried naturally, laid flat or in bunches, in the oven or a dehydrator
Natural drying in bunches
Simply cut several branches with multiple leaves. Tie them together with raffia to form a bunch. Hang this bunch upside down in a dark, cool, and well-ventilated space, such as an attic or garage. After about two weeks, the leaves will be dry. Just separate them from the branch.
Natural flat drying
- Pick your bay leaves with their stems attached.
- Wash them thoroughly in clean water and dry them with absorbent paper.
- Spread the leaves on a rack or grid without overlapping.
- Place the rack or grid in a dark, cool, and well-ventilated area.
- Turn the leaves after a week of drying.
- After about two weeks, your leaves will be dry. Remove the stems and store them in an airtight container. You can use them to flavour dishes for months.
Oven drying
If you lack a dark, cool, and ventilated space for natural drying, you can use your oven.
- Preheat your oven to the lowest temperature, ideally 40°C, or leave the door slightly ajar.
- Place the bay leaves on a tray, spaced apart to prevent overlapping.
- Put the tray on the lowest oven rack and dry for 30 minutes.
- Turn the leaves and return to the oven for 45 minutes.
- Check if the leaves are brittle, indicating they're dry.
- Turn off the oven and let the tray cool inside for another hour.
- Once completely cooled, store them in an airtight container.
If you have a dehydrator, you can also dry your bay leaves in it.
How to use bay leaves?
Bay leaves are integral to bouquet garni but can also be used alone to flavour marinades, veloutés, broths, sauces, stews, terrines, slow-cooked dishes like cassoulet, lentils with bacon, or ratatouille, pot-au-feu, baked potatoes, or parcels... Two to three leaves suffice.
You can also simply add a leaf to pasta or rice cooking water. Try placing one or two leaves in your olive oil or vinegar bottle.
Bay leaves can also be consumed as a decoction: steep 3 leaves in a cup of boiling water to aid digestion and soothe coughs.
Which bay to choose?
For culinary use, it's essential to pick leaves from the bay laurel, also known as sweet bay or Apollo's laurel. Leaves from other bay varieties, such as cherry laurel or Portuguese laurel, are not edible and may even be toxic, like oleander.
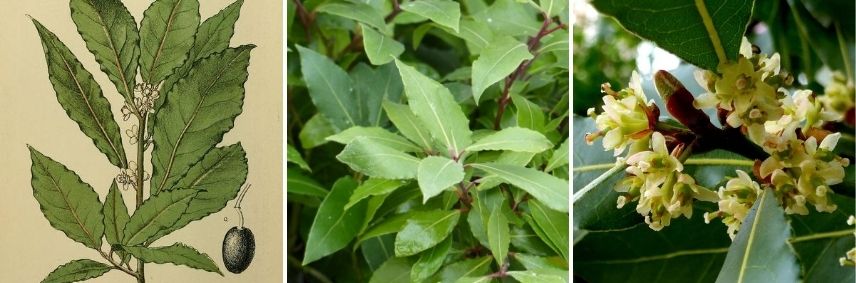
Bay laurel: botanical illustration, foliage and flowering
The foliage of Laurus nobilis ‘Little Ragu’ is particularly fragrant.
To learn more
For comprehensive information, read our full guide on Bay Laurel: planting, care, and pruning.


Comments