


How to Revive an Overgrown Garden, Step by Step
Our tips for restoring an abandoned or fallow garden
Contents
Taking on an old garden may seem like a Herculean task, but it’s also an opportunity to reconnect with nature and a wonderful challenge to take on. A garden, even left abandoned for years, often holds unexpected treasures: old fruit trees, rare plants or nooks that can become refugiums for biodiversity. However, embarking on such a project without preparation can lead to frustration and exhaustion. Where to begin? How to organise yourself? What pitfalls should you avoid?
This article offers a clear, step-by-step method to approach the restoration of an old garden with confidence.

Step 1: Assess the garden
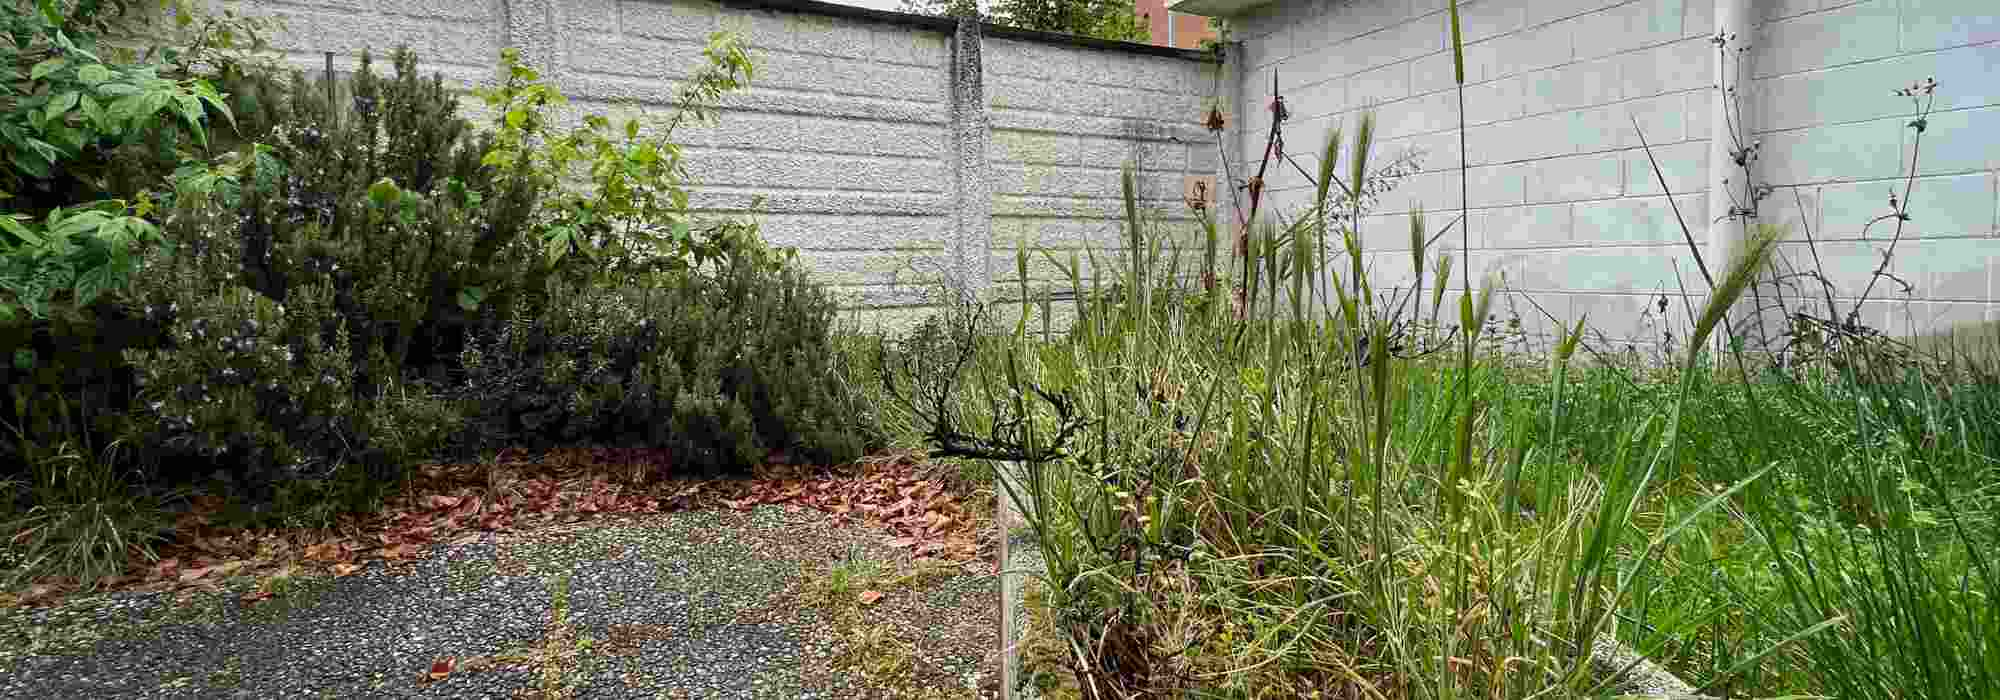
Before any intervention, take the time to observe and assess the state of your garden. Take note of existing plants, exposure, the nature of your soil, etc. This assessment forms the basis for effectively planning your future actions.
- Observe existing plants: take time to identify trees, bushes and plants already in place. Walk around the garden and list the plants you like for their foliage, flowering, habit, which you may wish to keep. Some older specimens, like mature rose bushes or fruit trees, can be enhanced. These hardy plants, often well-adapted to the soil and climate, often only need pruning to regain their splendour. Discover our selection of hardy plants.
- Analyse the soil: conduct a soil test to determine its pH and structure. This will allow you to adjust necessary amendments. Acidic or very compact soil will require specific treatments. Learn more about soils here.
- Identify exposure: does your garden benefit from good southern exposure? Or is most of your garden rather north-facing?
- Spot problematic areas: look for areas overrun with weeds, overly shaded spots, places where water stagnates, hard-to-access zones, protruding rocks, debris… This information is valuable for adapting your future plantings and layouts.
- Take inventory of interesting existing structures: wells, fountains, staircases, stone walls, etc. These can be enhanced to add character to the garden, or potentially relocated.
- Assess present wildlife: observe insects, birds or other animals visiting your garden. Their presence is a good indicator of existing biodiversity and can guide your future choices, such as planting vegetation that benefits garden helpers.

Beyond plants, identify any garden elements that could be restored or enhanced, like this beautiful staircase and its balustrade…
Read also
First garden: our tips to startStep 2: Preparing and clearing an abandoned plot
The ideal is to start your work in autumn or winter, as you’ll have significantly fewer plants to remove during this period, as well as fewer regrowths. Another positive point: you’ll be ready for spring when it’s time for planting or sowing.
Start by removing waste (debris, branches and abandoned objects), mow to get a clearer view, then tackle the plants and soil.
- Removing plants: begin with the lowest plants like brambles and scrub to make access easier, then finish with larger plants like trees and big bushes. Use quality tools to work efficiently and safely. Discover our advice on clearing and the tools to use for clearing. For large gardens, you may need to hire a van if you don’t have a trailer (worth considering for future purchases!).
- Pruning and cutting: cut away dead branches and prune neglected hedges. Weed manually or with appropriate tools to avoid unnecessarily damaging the soil. Learn more about hedge pruning and about thinning pruning.
- Preparing the soil: aerate the soil with a grelinette to avoid disturbing its structure. Remove dead roots and add organic matter like well-rotted compost or manure. This will help restore soil fertility and encourage good growth for future plantings. Discover how to make successful compost.
Initially, a major clean-up is often necessary!
Step 3: Restructure and organise the garden
Once the area is cleared, think about a new layout. Create functional zones according to your needs: vegetable garden, flower beds, relaxation area or even a space for biodiversity. This step requires creativity and vision. It’s an essential stage for anyone working on a garden.
- Draw a plan: sketch your garden, identifying sunny and shaded areas. This will help you determine the best spots for your future features (vegetable garden, relaxation area or space dedicated to biodiversity…). Don’t forget to include pathways for easy access.
- Structure the spaces: use hedges, borders or pathways to demarcate each zone. These elements add character to the garden while making the space functional. Learn how to structure a garden.
- Plan transition zones: incorporate flower beds or bushes to create continuity between different parts of the garden.

A sketch, however rough, will greatly help with positioning the different areas
Read also
Designing a small gardenStep 4: Transform to Give Your Garden a New Lease of Life
This is the moment when your garden starts taking shape. Before any planting, consider using the false sowing technique: prepare the soil as if you were going to sow, wait for the adventives to grow, then remove them. This reduces weeds in the long term.
- Ask yourself what style of atmosphere you want: vibrant flowerings in an exotic spirit, or pastel tones in the charm of an English or romantic garden? The plant palette will be quite different, and it’s interesting to create harmony through colours as well as plant types. Find inspiration in books, magazines or online.
- Plant smart: choose plants suited to your soil and climate. For a harmonious garden, vary heights, textures and colours. Hardy perennials, evergreen bushes and ornamental grasses are wise choices. If it’s your first garden, opt for beginner-friendly plants that are nearly foolproof.
- Encourage biodiversity: introduce melliferous species like lavender or yarrow, and install wildlife shelters (insect hotels, nesting boxes). Discover how to attract pollinators.
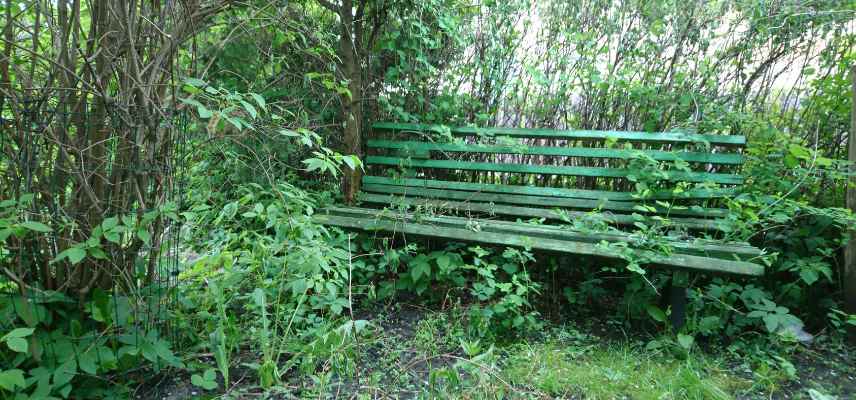
- Set up structures: install trellises for climbing plants or edging to define borders. Create a relaxation area with a bench, pergola or water features. These elements will add charm and serenity to your garden.
Discover our selection of easy-to-grow perennials, and to plant on a budget, start in spring to take advantage of plant fairs, swaps or sales in your area!
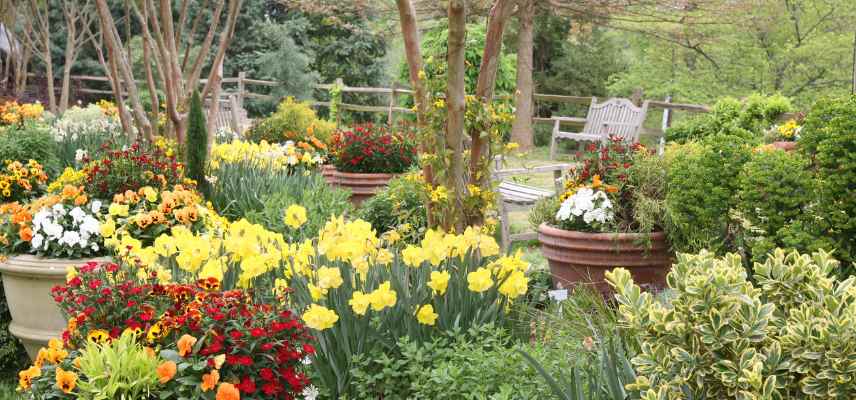
Remember to mix bulb plants that will provide colour from spring, evergreen bushes for structure, trees or bushes with decorative bark, perennials…
Step 5: Maintain to preserve your efforts
A restored garden requires regular maintenance to stay beautiful and productive. The key to success lies in regular, even daily, care. Take the time to stroll through your garden – you’ll spot issues more quickly and intervene more effectively this way.
- Watering and nourishing the soil: water new plantings according to their specific needs and add compost or organic fertiliser regularly. Discover our tips for proper garden watering.
- Observing and adjusting: monitor for parasites, diseases and the overall health of your plants. Early intervention prevents more serious problems.
- Weeding without getting overwhelmed: gardening isn’t just about designing and planting – weeding is an integral part of your garden work. Do it regularly to avoid discouragement.
- Regular pruning: prune hedges, roses or fruit trees to stimulate their growth and maintain their shape. Learn more about hedge pruning.
- Mulching to preserve moisture: spread mulch around plants to reduce watering needs and enrich the soil.
As you’ll have gathered from reading this article, reviving an old garden requires time, patience and good organisation. But this adventure is also an immense source of satisfaction. By following these steps, you can transform a neglected space into a harmonious living area, rich in biodiversity and tailored to your desires. Remember that the key to success lies in patience and adaptability. A garden doesn’t transform overnight: it evolves, it lives, and it requires constant adjustments. By following the steps outlined here, you’ll give this space a new chance to flourish while creating a place that will bring joy and pride for years to come.
Don’t hesitate to explore more advice for successful plantings and landscaping. Browse our dedicated advice sheets on garden design, as well as our month-by-month garden calendar!
- Subscribe!
- Contents

Comments