


When starting out in gardening, it's essential to understand the basic steps to prepare your plot properly. Digging is one of the first unavoidable tasks. But how do you dig a garden efficiently, without tiring yourself out, and, most importantly, without getting discouraged? Digging simply means turning over the soil to aerate it, facilitate water penetration, and prepare the ground for sowing or planting.
In this article, you'll discover how to dig your garden soil properly, with the right tools and techniques, even if the soil is hard or full of roots. Let's explore everything you need to know about digging.
What exactly is digging?
Digging is a fundamental gardening task that involves turning over the soil with a spade, a simple tool shaped like a flat shovel. The idea is to lift and turn the soil to work it deeply.
But why dig?
- To aerate the soil: turning the soil makes it lighter. Air circulates better, helping beneficial microorganisms thrive.
- To facilitate root growth: well-dug soil allows roots to establish themselves more easily, spread out, and nourish plants more effectively.
- To mix in organic matter: if you add compost, manure, or natural fertilisers, digging helps incorporate them into the soil where plants need them.
Oli's tip: however, digging disrupts the soil structure and microbial life and can bring weed seeds to the surface. Digging isn't always necessary. Some methods, like mulching or surface composting, improve the soil without turning it over. These techniques preserve soil life, such as earthworms and microorganisms. You can also work the soil gently with a digging fork or a bio-fork, without disturbing the soil layers.
When should you dig?
- In autumn, to prepare the soil during the winter break. Leave the clods as they are: frost will naturally break them down.
- In early spring, just before sowing or planting. This is perfect for waking up the soil and making it ready for the first crops.
Digging can be useful in certain specific conditions: to quickly prepare a new growing area or to break up a very hard layer of soil (called a plough pan) that prevents proper drainage and root growth. But even in these cases, alternatives like mulching or growing deep-rooted plants exist.
How to dig?
Tools needed for digging
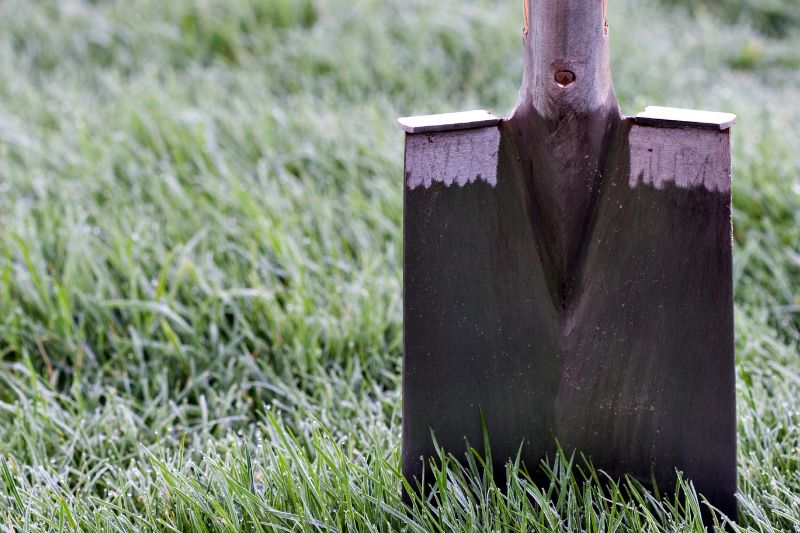
- A spade
- Gardening gloves
- A good pair of boots or gardening shoes
- (Optional) Wheelbarrow to remove weeds or stones
Good to know: there are several types of spades. Classic straight-bladed ones, toothed ones (digging forks), or ergonomic ones, with straight or T-shaped handles, made of wood or composite materials. To choose the right one, consider the size of your plot, the soil type, and, most importantly, your comfort: a lightweight spade suited to your height will make the job much easier, while a heavier, narrower-bladed spade will be more effective in heavy soil. There are also very narrow-bladed spades (sometimes called trenching spades) for working between plants and root-cutting spades, which are very useful for cleanly slicing through nearby plant roots.
Remember: a spade isn't just for digging; it's also used for planting holes.
Spade maintenance: after each use, clean the blade, dry it, and sharpen it regularly, ensuring the handle is securely attached. In winter, don't forget to grease the blade to prevent rust and apply linseed oil to wooden handles.
Simple steps for effective digging
- Prepare the area: before you start digging, take a few minutes to clear the surface. Remove large stones, branches, and visible weeds. This will prevent damage to your spade and make the job easier.
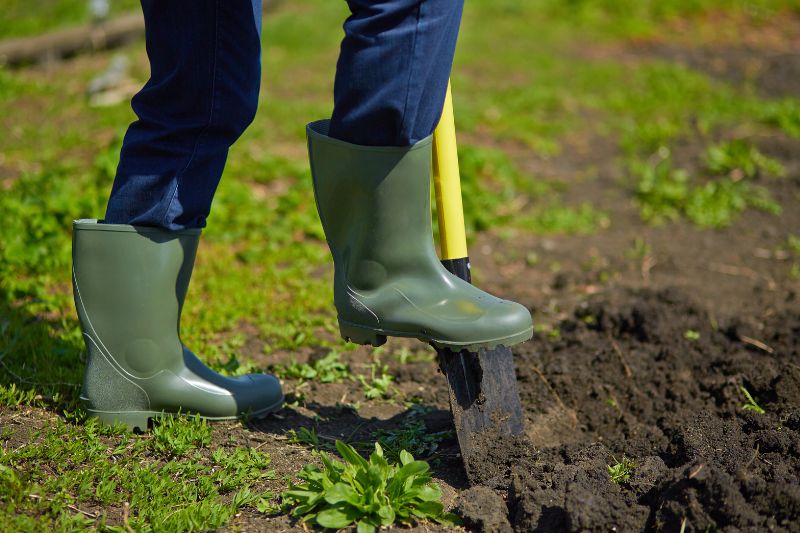
- Plant the spade vertically: hold the spade upright, blade pointing downward. Aim for a strip of soil about 20 to 30 cm wide.
- Press down with your foot: step on the edge of the spade to drive it into the soil. If the soil is very hard, use your body weight to anchor it firmly.
- Lift and turn the clod: once the spade is firmly embedded, use your arms and back (without straining!) to lift the clod. Simply flip it over onto its side, as if placing it upside down.
- Repeat, moving line by line: continue in a straight line, repeating the same motion. You can work row by row or in small squares if the space is limited.
- Break up large clods: once the area is dug, break up large clods with the back of the spade or a tool like a rake or cultivator. The soil should be loose, without large chunks, ready for planting or sowing.
Digging depth: for general soil preparation before planting, a depth of about 30 cm (the height of the spade blade) is usually sufficient. However, for incorporating surface amendments or shallow-rooted crops, shallower digging may be adequate, while breaking a plough pan may require deeper digging.
Tips for easier digging
Avoid digging right after rain or when the soil is too wet: the soil may compact and become difficult to work.
Avoid digging when the soil is very dry, as it will be much harder to work.
To protect your back, bend your knees, switch sides regularly (right hand then left hand), and take breaks.
If your soil is clay-heavy, consider adding compost to lighten it and improve drainage.
What to do after digging?
Once digging is complete, you have two options depending on the season.
- In autumn, it's often best to leave the soil to rest: clods will naturally break down with frost and rain, making the soil easier to work in spring.
- In spring or summer, you can prepare the ground directly for sowing or planting by refining the soil with a rake.
- Don't forget to add mulch to protect the soil or a natural amendment (like compost) to improve it, depending on your future crops' needs.


Comments