


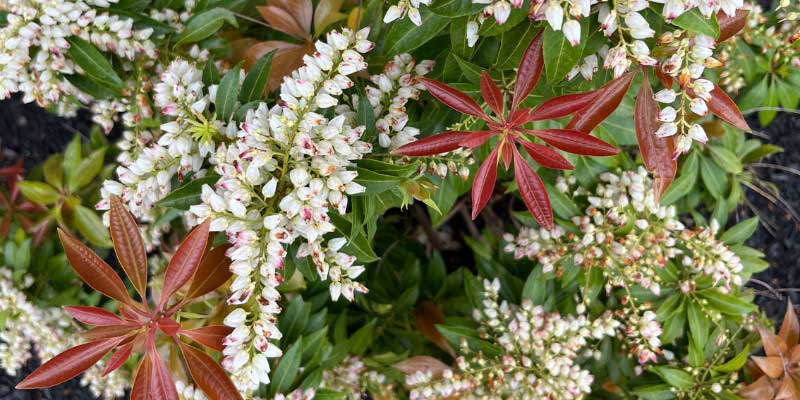
The Japanese Andromeda, or Pieris japonica, is a heather soil bush prized for its evergreen leaves that take on beautiful colours, often red, when young, before turning green. It also offers lovely clusters of white or pink bell-shaped flowers. This is an easy-to-grow bush, requiring little maintenance, and the most compact varieties adapt effortlessly to container cultivation. Propagating it will allow you to obtain new young plants to enhance your flower beds or to gift to loved ones. Discover all our tips for sowing, propagating by cuttings, or layering the Japanese Andromeda!
How to sow Japanese Andromeda?
Propagating Pieris by sowing is a technique that takes more time than propagation by cuttings or layering, but it allows you to obtain a larger number of young plants.
When to sow Pieris japonica?
The best time to sow Japanese Andromeda is in late spring or summer, when the seeds are ripe and temperatures are warm enough to encourage germination. The seeds should be harvested directly from the ripe fruits of the plant.
Required materials
Here’s what you’ll need to sow your Pieris:
- Fresh seeds harvested from a Pieris.
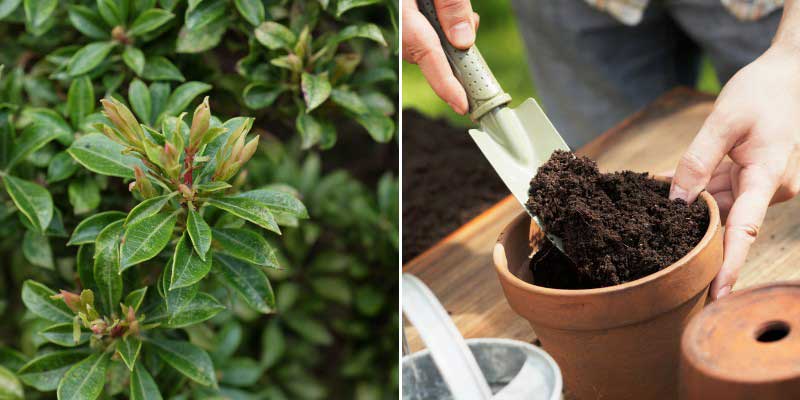
- Light, well-draining compost, ideally specific for sowing.
- Pots or seed trays.
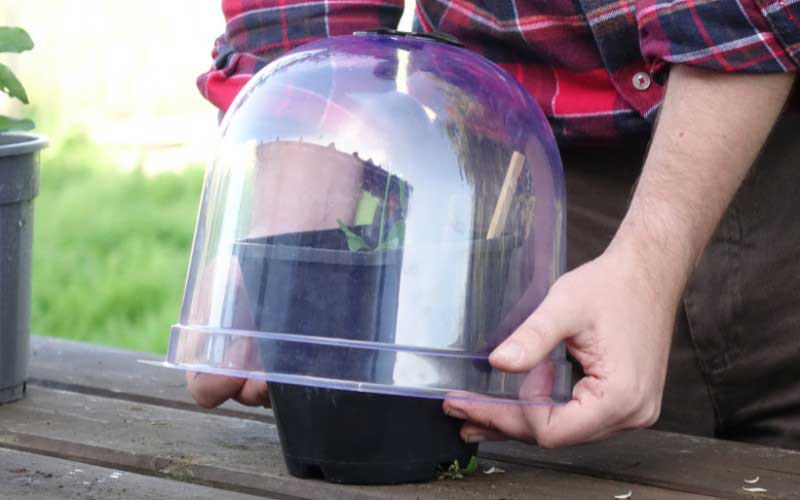
- A mini greenhouse or a transparent plastic bag to create a humid environment.
- A water sprayer to water without disturbing the seeds.
How to propagate Pieris by sowing?
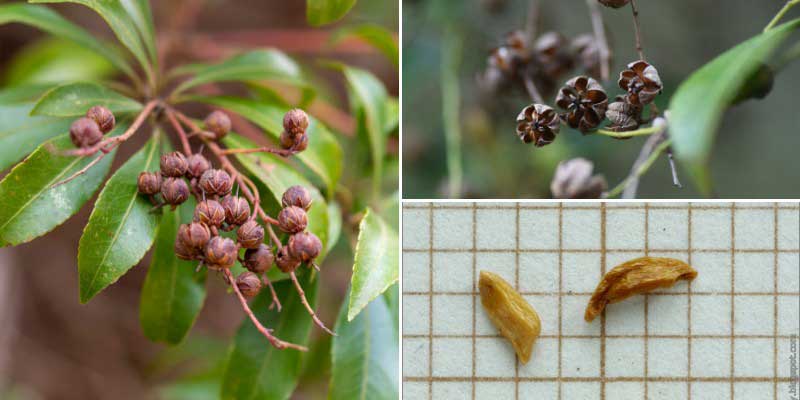
- To harvest the seeds, wait for the Pieris fruits to ripen (usually in summer). They will become dry and brown. Open them carefully to extract the small seeds.
- Mix sowing compost with a little sand to improve drainage. Fill your pots or trays with this mixture.
- Place the seeds on the surface of the substrate. Press lightly so they are in contact with the compost, but do not bury them completely, as they need light to germinate.
- Moisten the substrate with a sprayer. Keep the compost slightly moist at all times, but avoid excess water.
- Place the pots in a bright spot, but out of direct sunlight. Cover them with a mini greenhouse or a transparent plastic bag to maintain humidity.
The seeds may take several weeks, or even a few months, to germinate. - Once the young plants are strong enough (about 10 cm tall), you can transplant them into individual pots or directly into the ground if the climate allows.
How to take cuttings of Pieris japonica?
Propagation by cuttings is the most common method for multiplying Pieris, as it is quick and produces a plant identical to the original.
When to take cuttings of Japanese Andromeda?
The best time to take Pieris cuttings is in summer, after flowering, or in early autumn. At this time, the semi-hardened young stems (these are the year's shoots, still green and tender but not yet lignified) are perfect for rooting.
Required materials
Here’s what you’ll need:
- Clean, sharp pruning shears.
- Root activator for cuttings (optional but recommended).
- A light substrate (a mix of sand and compost or perlite).
- Small pots or buckets.
- A mini greenhouse or a transparent plastic bag.
How to propagate Pieris by cuttings?
- Cut stems 10 to 15 cm long with 3 to 5 leaves.
- Remove the leaves from the base, leaving only the top two or three. If the leaves are large, cut them in half to reduce water loss.
- Dip the base of the cuttings in water, then in plant hormone to encourage rooting.
- Plant the cuttings in a mix of compost and sand or perlite. Insert them about 3 to 5 cm deep.
- Place the pots in a bright spot, but out of direct sunlight. Maintain constant humidity by covering the pots with a cloche or a transparent plastic bag. You can also place them in a mini greenhouse.
- The cuttings usually start forming roots after 6 to 8 weeks. Once the roots are sufficiently developed, transplant them into individual pots or directly into the ground.
How to layer Japanese Andromeda?
Layering is a simple and effective method. It involves burying a branch of the parent plant so it produces roots before being separated.
When to layer Japanese Andromeda?
Layering can be done in spring or autumn, when the soil is still moist and the plant is in its growth phase.
Required materials
Here’s what you’ll need:
- A spade or a small trowel to prepare the soil.
- Clean pruning shears.
- A hook or stone to hold the branch in place.
- Compost to improve the soil if needed.
How to propagate Pieris by layering?
- Select a low, flexible, and vigorous branch. Ensure it is not too old.
- Loosen the soil where you will bury the branch. Mix in some compost if the soil is poor.
- Make a small incision or remove the bark from a 2-3 cm section of the branch that will be buried. This will encourage root formation.
- Gently bend the branch to the ground, then bury the incised section under 5 to 10 cm of soil. Secure the branch with a stake or stone.
- Water regularly to keep the soil moist, especially in dry weather. Layering can take several months.
- Once the branch has formed roots (usually after a year), separate it by cutting the stem connecting it to the parent plant with pruning shears. Replant the new plant in a pot or directly into the ground in its final location.


Comments