


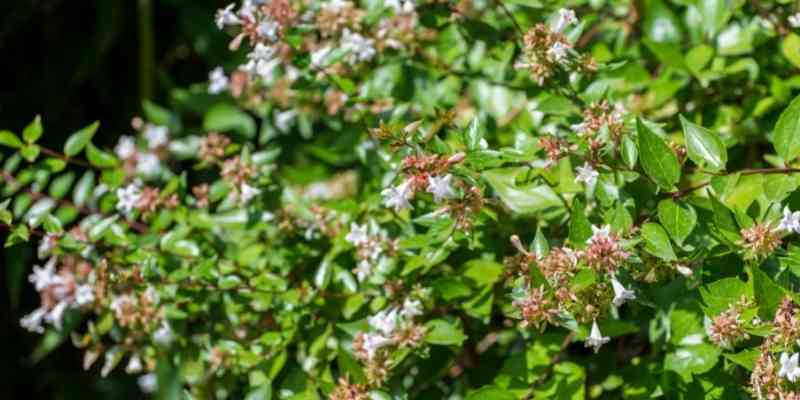
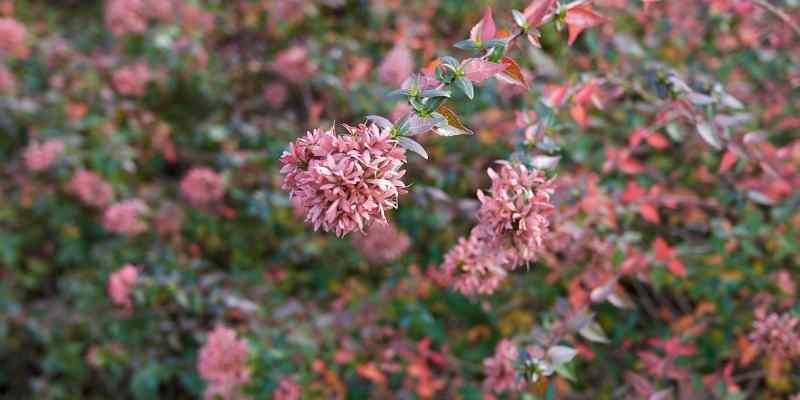
The Abelia is a beautiful, floriferous bush with decorative foliage. In summer, it becomes covered with small white or pink flowers, often fragrant. Versatile, it fits perfectly into any garden. This bush is very easy to propagate by taking cuttings from the stems to obtain young plants true to the "mother" variety, ready to be replanted in your garden, in flower beds, flowering hedges, or even in pots.
Discover when and how to propagate Abelia easily with our illustrated tutorial!
When to take cuttings from Abelia?
Propagation is done by semi-hardwood or semi-ripe cuttings in mid-summer, in July/August (when the stems begin to lignify, i.e., start turning into hard wood). This simple and quick method for propagating Abelia yields excellent results.
Required materials
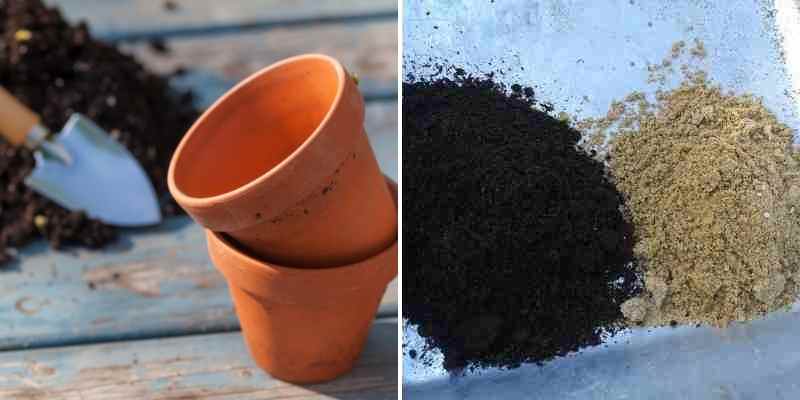
To take cuttings from an Abelia, you will need the right equipment:
- A terracotta pot
- A pruning shear that is sharp and previously disinfected with 70°C alcohol, to avoid any risk of disease spread
- A pencil or small stick to make holes in the substrate
- Special sowing or propagation compost
- A cloche, a cold frame, or a simple transparent plastic bag
- A spray bottle
How to propagate Abelia using the "étouffée" method?
The "étouffée" (or "smothered") propagation method is very easy to perform and helps keep the substrate sufficiently moist during summer: the compost should never dry out completely. This technique involves covering the cuttings with a plastic bag or cloche to maintain a warm and humid atmosphere around the cuttings. Kept warm, they root more easily.
- Prepare a pot filled with a mix of sowing compost and river sand in equal parts to accommodate your cuttings
- Moisten the compost
- Using the pruning shear, take cuttings from the "mother plant" of this year's growth—stems that are not too tender and are vigorous, about 20-25 cm long
- Cut just below a node
- Remove all leaves from the lower half of the stems, about 10 cm long
- Cut the remaining leaves in half to reduce evaporation
- Make holes in the compost with the pencil, then insert the cuttings three-quarters of the way into each hole, spacing them 10-15 cm apart
- Gently firm the compost around the stems and water with the spray bottle
- Cover the pot with transparent plastic secured with an elastic band or place under a cloche to keep the cuttings "smothered"
- Place the pot in the shade until autumn
- Water regularly but sparingly to keep the substrate moist but not waterlogged
- Ventilate occasionally to prevent mould growth
- In early October, when the cuttings show signs of rooting, remove the plastic or cloche and place the pot under a cold frame or in a conservatory for the winter
- Water as often as needed but avoid excess, as too much moisture encourages mould
Rooting is quite slow. The cuttings can be transplanted directly into the ground or repotted into a larger container the following spring.
Further reading
- Check out our advice sheet: "Propagation by cuttings: everything you need to know about different techniques and our tips for successful cuttings"


Comments