


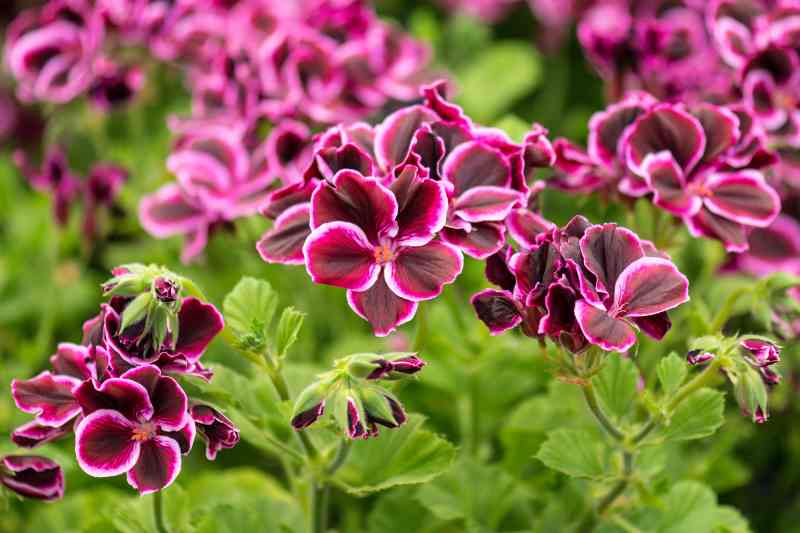
The pelargonium, often mistakenly called "geranium", is a classic ornamental plant for our window boxes. It is highly prized for its long-lasting flowering and sometimes decorative foliage. Native to southern Africa, the Pelargonium comes in many varieties, bringing colour and even fragrance to balconies and gardens.
Propagating your pelargoniums or balcony geraniums by cuttings offers several advantages, such as preserving the characteristics of your favourite varieties or reducing expenses. Follow our detailed guide to master the art of pelargonium propagation and enrich your green space.
Why propagate pelargonium?
Propagating pelargonium by cuttings offers many benefits:
- True-to-type reproduction: obtain young plants identical to the parent plant, preserving the colour and shape of the flowers.
- Rejuvenation of plants: replace ageing specimens with vigorous young plants.
- Sharing: give cuttings to your loved ones or exchange them with other enthusiasts.
To learn all about growing pelargoniums, read Pelargonium, Geranium: planting, growing and caring
When to propagate pelargonium?
The ideal time to take pelargonium cuttings is between August and September. At this time, semi-hardened stems (neither too young nor too lignified) are conducive to rooting. Taking cuttings at the end of summer allows the young plants to develop before winter and be ready for abundant flowering the following spring.
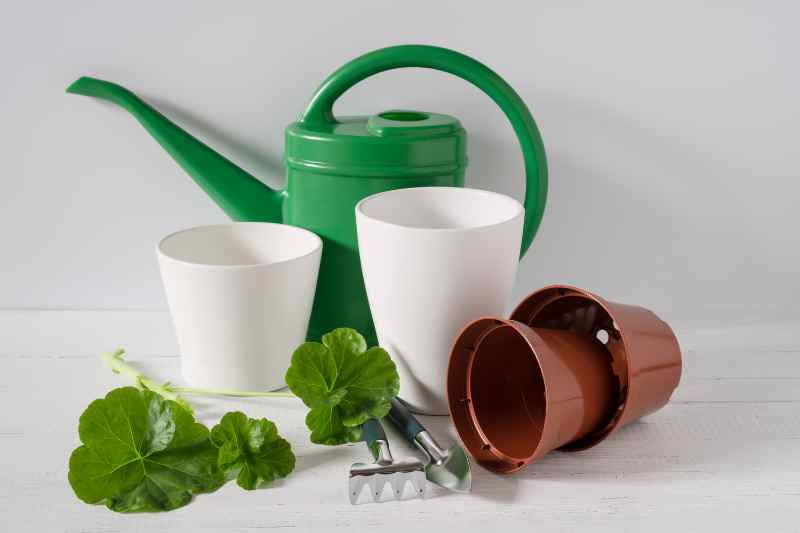
Essential equipment for propagating pelargonium
To successfully propagate your pelargoniums, gather the following equipment:
- Pruning shears or a sharp knife: for clean and precise cuts.
- Pots or buckets
- Light substrate: a mix of compost and sand for good drainage or a special cutting compost.
- Transparent plastic bag or mini greenhouse: to maintain a humid atmosphere conducive to rooting.
- Watering can with a fine rose: for gentle watering without disturbing the young roots.
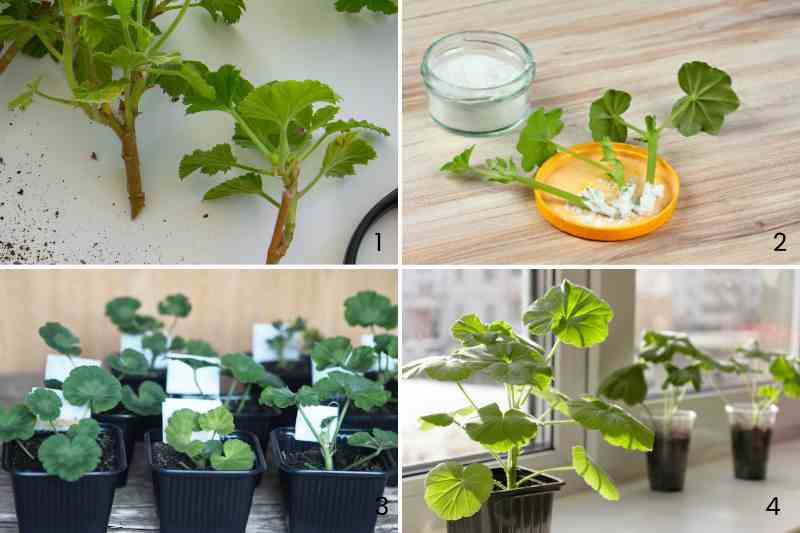
Which method to propagate pelargonium?
Propagation by cuttings is the most commonly used technique for pelargoniums. Here are the steps to follow:
- Preparing the cuttings:
- Choose healthy, non-flowering stems, about 10 to 15 cm long.
- Cut just below a node (the point where leaves attach).
- Remove the lower leaves, keeping only the top 2 or 3 leaves.
- Using a rooting hormone (optional):
- Dip the base of the cutting in rooting hormone to encourage root development.
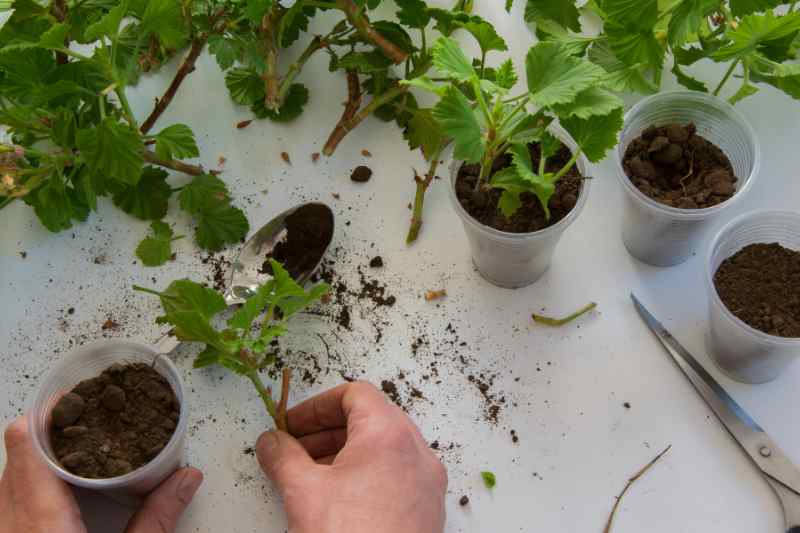
- Planting the cuttings:
- Plant the cuttings in a light, well-draining substrate.
- Insert the base of the stem about 3 cm deep.
- Gently firm the substrate around the stem to ensure good contact.
- Growing conditions:
- Place the pots in a bright spot, out of direct sunlight.
- Keep the substrate consistently moist but not waterlogged.
- Avoid drafts and sudden temperature changes.
Common mistakes to avoid when propagating pelargonium
- Using flowering stems: opt for non-flowering stems to encourage rooting rather than flowering.
- Making imprecise cuts: use sharp (and clean!) pruning shears for a clean cut below a node.
- Forgetting to let the cut dry: let the base of the cutting dry for a few hours before planting to avoid disease.
- Using unsuitable substrate: prefer a light, well-draining mix to avoid excess moisture.
- Overwatering: overly wet substrate causes cuttings to rot. Water moderately.
- Placing in direct sunlight: choose a bright spot, but avoid direct sun exposure.
- Not monitoring humidity: an environment that is too dry or too humid hinders rooting. Adjust as needed.


Comments