


Delicate and elegant with its small pure white bell-shaped flowers, the snowdrop (Galanthus) is also remarkably hardy. As the first flower of the year, it's not uncommon to see snowdrops peeking through the snow from January to March. Afterwards, they disappear only to return the following year. Creating a beautiful effect in a short grass meadow or woodland setting, clumps of snowdrops can also thrive in partial shade within rockeries or flower beds, alongside other bulbous plants such as spring crocuses and equally early-blooming hellebores. However, after a few years, snowdrops may become exhausted, with stems overcrowding and flowers diminishing. This is why propagation is essential to ensure continued beautiful flowering. Follow all our advice for propagating snowdrops.
When to propagate snowdrops?
Snowdrop propagation takes place after flowering, typically in February. While it's possible to proceed while the foliage is still green, it's preferable to wait until the leaves have yellowed and dried before propagating your snowdrops. Why? Simply because this foliage allows the bulbs to build up reserves for the following season through photosynthesis.
Propagating snowdrops by dividing clumps
Division of clumps is the simplest and most effective propagation method. It involves separating snowdrop clumps that have become too dense over the seasons. This density can lead to diminished flowering quality. Every 3 to 4 years, it's therefore necessary to divide snowdrops.
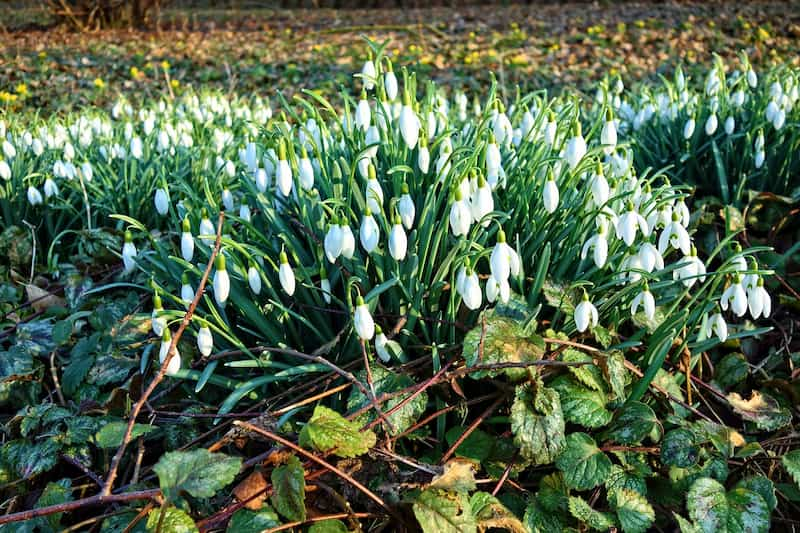
When clumps of snowdrops become too dense, flowering loses its beauty
For this rejuvenation process, you'll need a garden fork.
- Insert the garden fork around the perimeter of the snowdrop clump.
- Lever to lift the clump, taking care not to damage the bulbs and bulblets with the fork's tines.
- Remove the clump and shake off excess soil. Use this opportunity to trim away dead or dried leaves with secateurs.
- Separate the clump into several smaller sections and hand-pick the small bulblets. Keep some bulblets for cultivation and only retain the largest bulbs for replanting.
- Replant the snowdrops immediately in prepared soil, possibly enriched with well-rotted compost. Snowdrop bulbs dislike being out of the ground for long as they dry out quickly. Ideally, replant the bulbs on the same day.
- Plant the bulbs 5 cm deep so the white part of the leaves is covered with soil. Spacing them about 10 cm apart will create a beautiful snowdrop carpet.
- Firm the soil and water thoroughly.
The leaves will disappear during their dormant period, but by February, the snowdrops will flower again.
Propagating by cultivating bulblets
When dividing snowdrop clumps, you set aside the bulblets. These small bulbs, attached to the mother plant, can be cultivated.
- Take a tray or alveolate propagation tray filled with a light substrate of two-thirds garden soil and one-third sand.
- Make holes with your finger and insert the bulblets, pointed end upwards.
- Firm the soil and water.
- Place your containers in a nursery until autumn when they can be planted out.
Propagation by seed
This is the most unpredictable propagation method, suitable only for the classic snowdrop species, Galanthus nivalis. It's difficult or impossible to propagate other varieties and cultivars by seed.
In the wild, Galanthus nivalis self-seeds naturally with help from insects. You'll need patience and care to sow snowdrop seeds successfully.
When the seed capsules turn yellow, it's time to harvest the seeds.
Galanthus nivalis seeds are contained within a yellow capsule
Handle them gently, of course! Then sow them in an alveolate tray filled with very light seed compost. Place the tray in a sheltered spot protected from frost, between 5-12 °C, in a bright location in winter and shade in summer. Keep the substrate moist. After one year, transplant during dormancy and keep protected for another year.
The following autumn, you can plant your bulbs in the ground.
")
Comments