


While some perennial plants multiply in the garden by sowing, others multiply more easily by division of clumps, such as hardy geraniums. This method is the easiest, quickest and most economical way to obtain new young plants and expand borders. It also allows renewal of an old plant, exhausted after several years' culture or too cramped in its location. You thus obtain new young plants identical to parent plant. Discover, in our illustrated tutorial, our advice and technique to properly divide a perennial in the garden.
When to divide a perennial?
Your plant must be several years old, at minimum 2 to 3 years, and also large enough to tolerate a division. Indeed, the stronger the rootball, the more numerous its roots will ensure good establishment.
Best time to divide your perennials depends on variety. Generally, do this after flowering to avoid damage and to allow flowers to appear the following year. Also, it is better to act during plant dormancy, before new growth begins, around early spring or late autumn. In all cases, avoid periods of high heat, drought or frosts.
Most favourable periods for division:
- Perennials with spring or summer flowering: autumn
- Perennials with autumn or winter flowering: spring
- Aromatic and culinary perennials: spring
Which plants can be divided?
Most herbaceous perennials or bulbs (asters, hardy geranium, campanula, iris...), but also grasses, herbs, perennial vegetables and some aquatic perennials can be divided.
How to divide a perennial?
Required equipment :
- A spade
- A pair of gloves
- A pruning shear
- Compost or well-rotted manure or potting compost
Steps to divide a perennial's stump in open ground :
Before starting: Always remember to disinfect tools to avoid transmitting diseases between plants. Take opportunity of division to carry out annual pruning of perennials, such as grasses, asters or hostas.
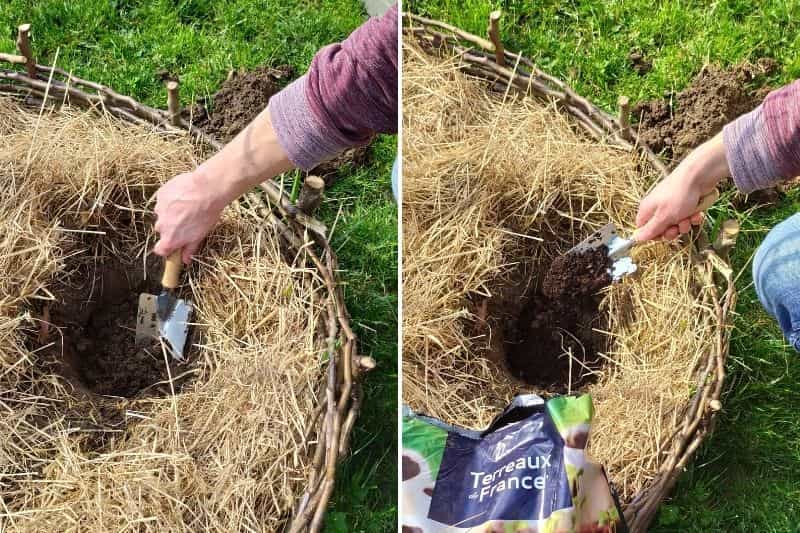
1) Prepare in advance planting holes that will receive your perennials. At bottom of hole, mix garden soil with potting compost, compost or well-rotted manure.
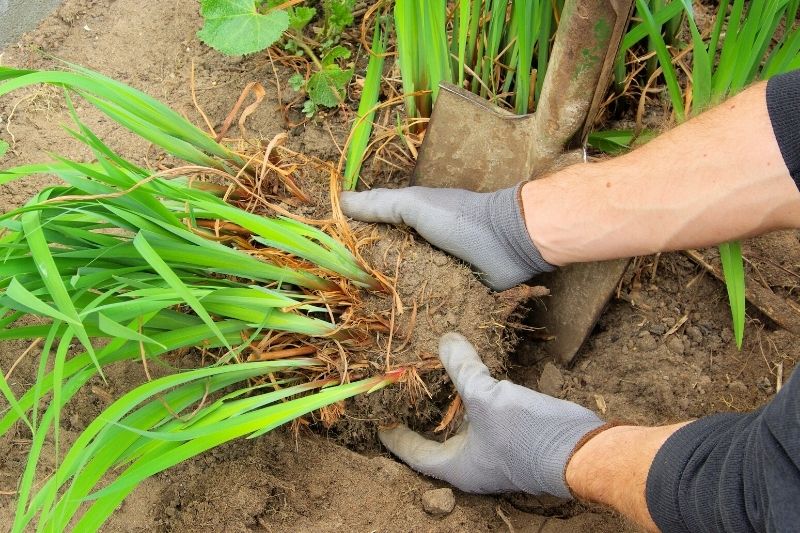
2) Gently lift your perennial from soil using a spade, a spade fork or a broadfork. Work gently to preserve roots as much as possible.
![]()
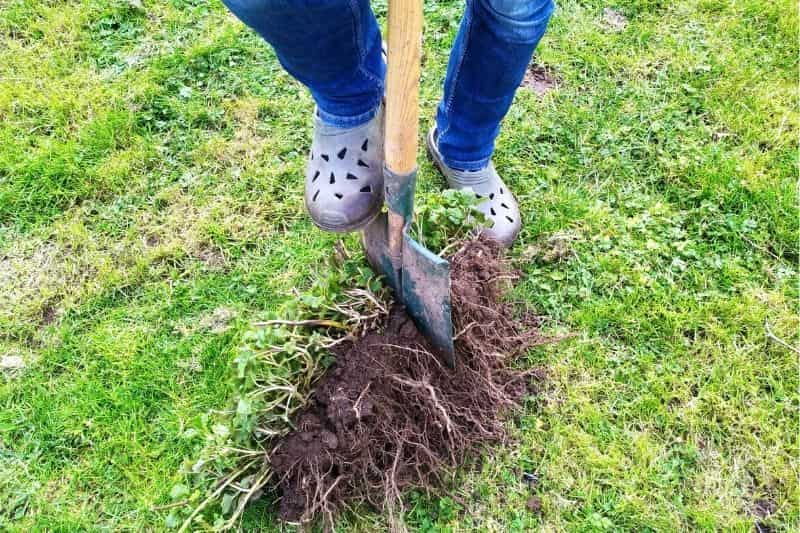
3) Divide the clump into two, or more depending on size. Some small perennials separate easily by hand, while denser, more stubborn ones will need splitting with a spade. You can also use a shear, a knife or a small machete, but take care with fingers!
4) Cleanly cut damaged roots with a pruning shear. Feel free to trim unsightly or dead stems and remove faded flowers.
5) While parent plant's rootball is out of hole, add nutrients to soil. Well-rotted compost, manure or potting compost will enrich soil again and encourage vigorous re-establishment after this shock.
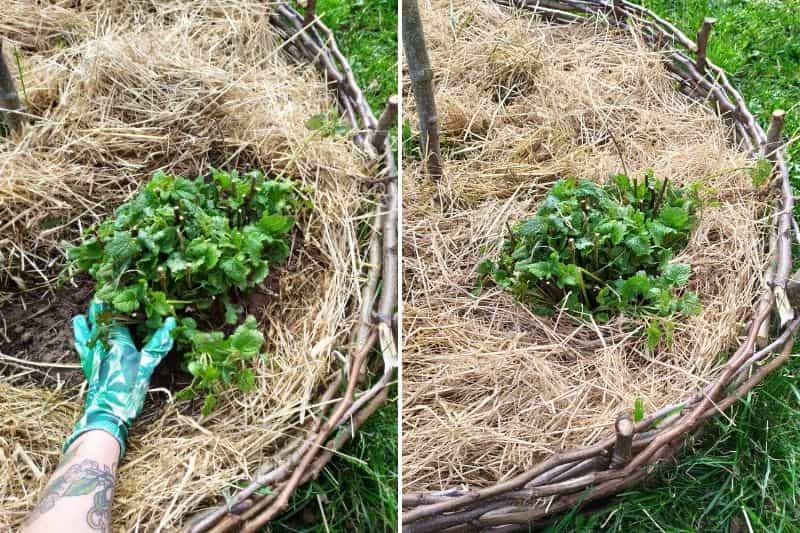
6) Place rootballs in holes. Top of rootball should sit level with soil surface.
7) Backfill hole with mixture of garden soil and potting compost. Firm gently by hand. Add organic mulch around base of perennial.
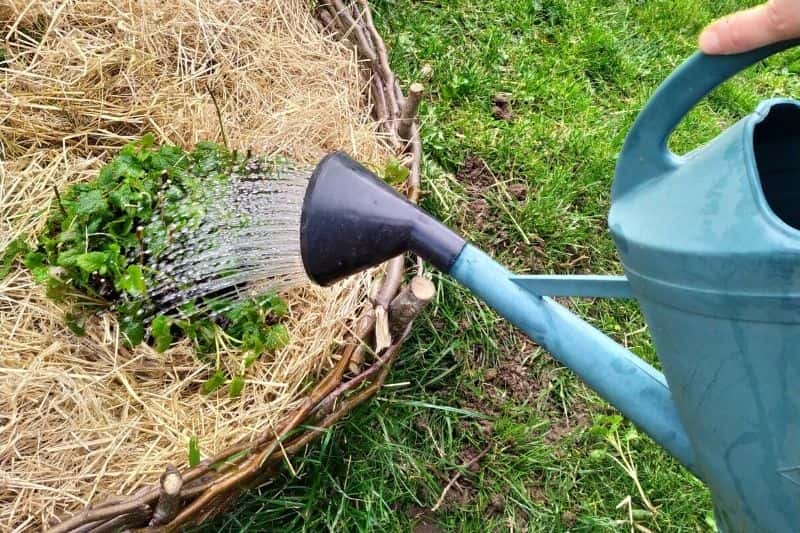
8) Water thoroughly with rainwater.
What if I want to pot my perennials?
You can also place new young plants in pots. In that case:
1) Choose a pot with drainage hole.
2) Put a layer of clay balls in bottom of pot.
3) Add some light potting compost, for example for sowing, then moisten compost.
4) Place new shoot in pot. Top of rootball should be 2 cm below pot rim.
5) Fill pot with compost, then firm gently.
6) Water thoroughly and place on a saucer if needed.
7) Keep pots in shade and maintain substrate always moist, but not waterlogged. Do not place plant in full sun; substrate will dry too quickly there and risk weakening plant.
8) After few weeks, new foliage will appear. This is sign that perennial has re-established. You can then plant it in ground if desired.
Aftercare
- Spread organic mulch around base of plants to protect them from cold and to keep them cool during hot summer weather.
- As with a young plant, increase watering during heatwaves or in absence of rain during first year, possibly second year depending on variety.
Further reading :
- Find all our varieties of perennials
- Watch our videos on topic :
- Dividing a Canna
- Dividing an Aster
- Dividing an ornamental grass
- Dividing and transplanting a Hosta
- Dividing daylilies
- Dividing a garden Iris
- How to propagate Heucheras, with Olivier :


Comments