


7 Creative Ideas to Introduce Children to Gardening – Even Without a Garden
and sow a passion for plants in the younger generation
Contents
Gardening is a rewarding activity for children, offering learning opportunities (by getting their hands dirty in the soil), a sense of responsibility (through learning about ecology) and a deep connection with nature (by marvelling at flowers and insects). However, living in an urban medium or without access to a garden shouldn’t hinder these educational discoveries!
And just because you don’t have a balcony doesn’t mean you can’t grow indoor pots, mini gardens or create a herbarium! In this article, we explore creative and practical ideas to introduce children to gardening, even without an outdoor space.

Growing Herbs Indoors
Admittedly, you may not have a garden, perhaps not even a balcony, but we can agree on one thing: you at least have a window, right? Well, that’s perfect for introducing your child to growing herbs in pots!
Choosing Pots:
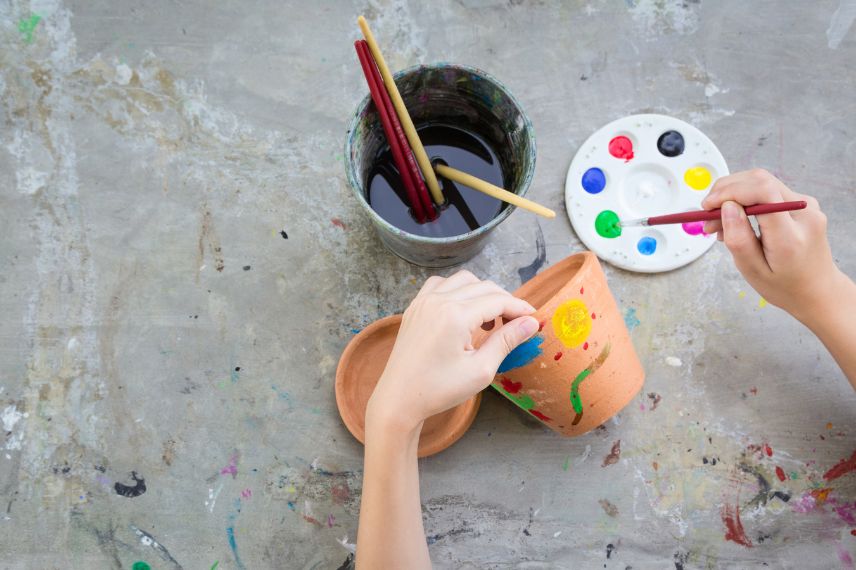
Select containers with drainage holes to allow excess watering water to escape. In terms of pot diameter, herbs aren’t demanding, and you can start with a pot 10 to 15 cm in diameter or a small planter. To make handling easier and avoid breaking the pot at the first drop (we know our children well, don’t we?), opt for sturdy, lightweight plastic pots.
Ingrid’s Tip: You can let your child paint the pot before planting. Voilà! A contemporary art workshop before a gardening one!
Choosing Plants and Herbs for Indoor Cultivation:
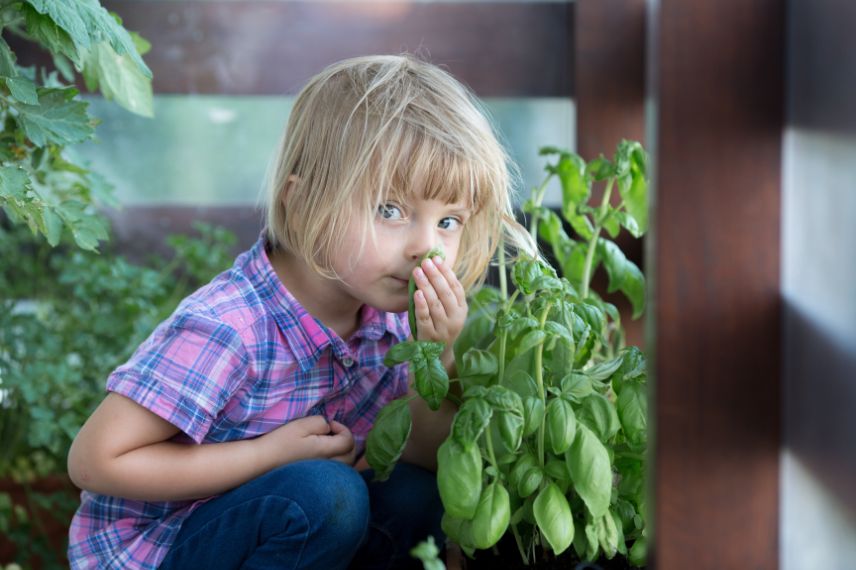
Start by selecting herb seeds that are easy to grow indoors and thrive with limited sunlight and minimal care. We recommend basil, mint, and parsley, perfect for beginners. They grow quickly, letting children see the results of their efforts in no time. Plus, they help develop a child’s sense of smell and taste.
Tips for Arranging and Maintaining Potted Plants:
1. Help your child pour 2-3 cm of clay pebbles or gravel at the bottom of the pot (to prevent water stagnation).
2. Then fill the pot with seedling compost.
3. Next, show your child how to sow the seeds, following the packet instructions. Finally, water using a spray bottle.
4. Place the pot or planter near a window. Ideally, it should face east or west. If it’s south-facing, use a light curtain to prevent direct sunlight from scorching the foliage.
Tip: If you lack light (e.g., for growing them in the kitchen), you can find small planters with built-in grow lights (though this is a less economical and eco-friendly solution).
5. Teach children how to water plants properly, emphasising frequency and the right amount of water. For example, if the compost feels dry, water lightly. This is also a chance to explain the importance of light and temperature for plant growth.
6. Observe the sprouted seeds and growing plants together—it’s a great way to teach children about plant life cycles. By caring for their plants, they also learn patience and respect for nature.
Create a mini-garden or terrarium
Another alternative to aromatic plants: mini gardens and terrariums allow children to explore gardening on a small scale. These miniature gardens are perfect for indoor spaces and offer a unique educational experience.
Steps to create a mini garden or terrarium
1- To begin, choose a transparent container, such as a glass jar or an aquarium.
2- Explain to children how to create successive layers of gravel, optionally activated charcoal, and potting compost to ensure good drainage and a healthy environment for the plants.
3- Then select and plant small plants suited to this environment.
The right plant choices for a terrarium
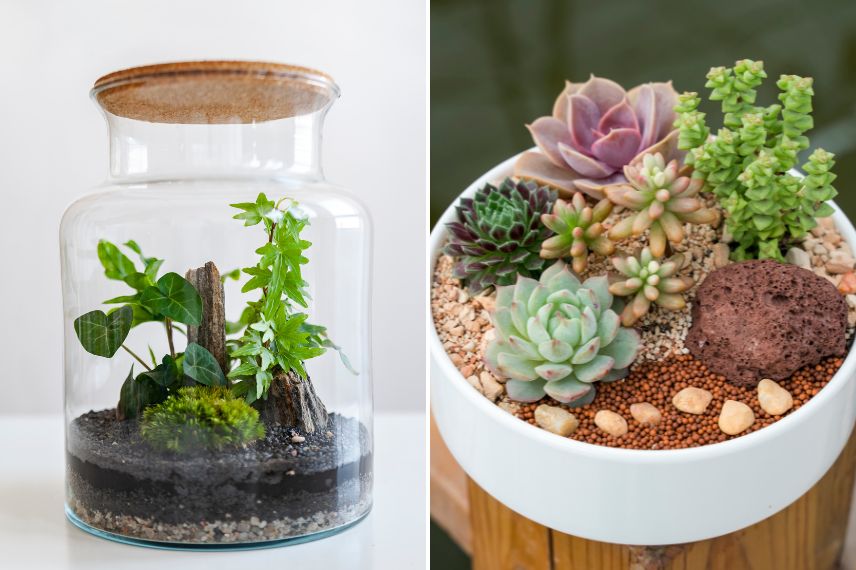
For a closed terrarium with high humidity, opt for plants that thrive in moist conditions, such as:
For an open mini garden, choose plants with low water needs, such as succulents and cacti, for example:
When making your selection, consider the future location of the pot! Behind a south-facing window? Opt for succulents. A west or east-facing window? Perfect for ferns!
Children can also add decorative elements to personalise their mini garden: pebbles, a path of small stones, etc. You might even get a plastic dinosaur… but if it makes them happy, why not?
These projects teach children the basics of ecology and microclimates. They learn how different plants interact with their environment and how to maintain a healthy balance in a miniature ecosystem.
→To learn more, read our articles: indoor cacti and succulents and essential plants for a successful terrarium.
Creating a small balcony vegetable garden
Why not take the opportunity of learning how to grow a mini vegetable garden to also introduce your child to new flavours? Because even on a small balcony or even a windowsill, you can grow vegetables in a planter or a container!
Choosing vegetables suited to container gardening:
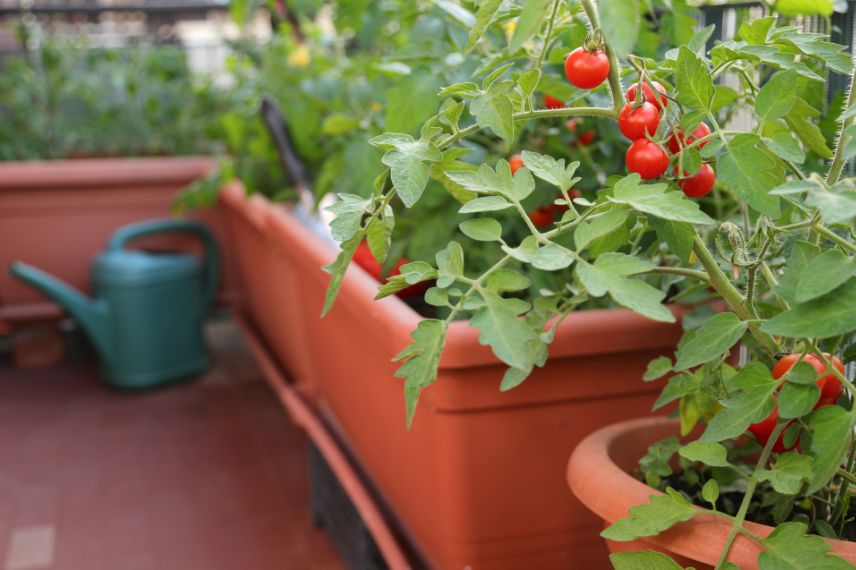
Select plants that adapt well to pot cultivation and require minimal maintenance. Vegetables like cherry tomatoes or radishes (ready to eat in just 21 days—perfect for little ones), strawberry plants and aromatic herbs (as mentioned earlier) are ideal for small spaces. They also provide a tangible reward for children, who can enjoy eating their own vegetables or fruit. Take the opportunity to explain how vegetables form, their ripeness, and watering techniques.
Ingrid’s tip: Why not plant different varieties of cherry tomatoes to “taste” the difference?
Tips for arranging and maintaining vegetables in planters:
1- Start by assessing the available space and sunlight exposure.
2- Use hanging pots, planters, and shelves to maximise vertical space.
3- Children can help decorate the pots and arrange the plants.
4- In May, fill the planters together with compost, then sow the seeds or plant young vegetable plants to watch them grow.
5- Teach your child how to water their vegetable plants: at the base, avoiding wetting the foliage, and most importantly—not too little, not too much water!
By involving children in planning and maintaining a balcony garden, you teach them how to use limited space effectively. This also encourages a creative and thoughtful approach to gardening. Additionally, caring for plants can help children develop a sense of responsibility and a connection to the plant life cycle.
Read also
How to sow seeds in eggshells?Making seed bombs
Greening up windows, flats, and balconies is all well and good, but if space is limited, why not green up outdoor spaces instead? Seed bombs are a fun and interactive way to sow flowers outdoors, while teaching children about ecology. And seeing flowers grow on a small abandoned patch of short grass meadow between two concrete strips can be a source of wonder!
Steps to make seed bombs:
1- In a bowl, mix two parts natural powdered clay with one part compost.
2- Add a mix of wildflower seeds for their easy growth and to attract pollinators: poppy, cornflower (Centaurea), oxeye daisy (Leucanthemum vulgare), wild chamomile (Matricaria chamomilla), nasturtium (Tropaeolum majus), marigold (Calendula officinalis), etc.
3- Gradually add water to the mixture until it reaches a malleable consistency, like modelling clay. Encourage children to form small balls the size of a small walnut. This step is not only fun but also helps develop fine motor skills.
4- Place the seed bombs on a sheet of paper or a tray and let them dry for 24 to 48 hours.
5- Once dry, the seed bombs are ready for children to throw.
Note: This activity should be done in spring, between April and June, to ensure the seeds grow and flower.
→ To learn more, read our illustrated tutorial: how to make seed bombs.
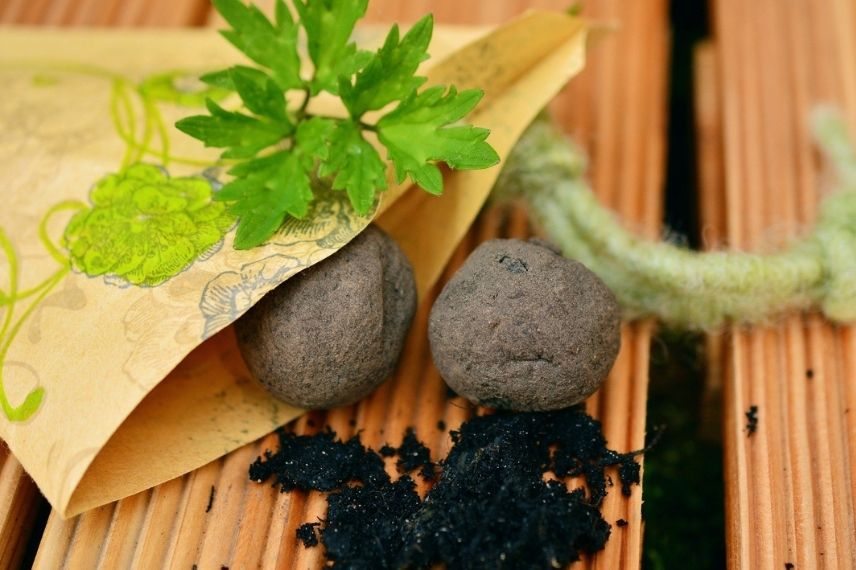
Seed bomb
Gardening and Recycling
Are you passionate about recycling, ecology and want to pass these values on to your children? In that case, you can combine gardening and recycling in fun workshops. What a wonderful lesson about nature, waste and the environment! Here are a few examples:
Swap traditional pots
- Replace pots with plastic bottles that you cut in half. Hang them with string or simply place them on the table – and there you have a lovely, economical and recycled pot. Why not paint them before turning them into planters?
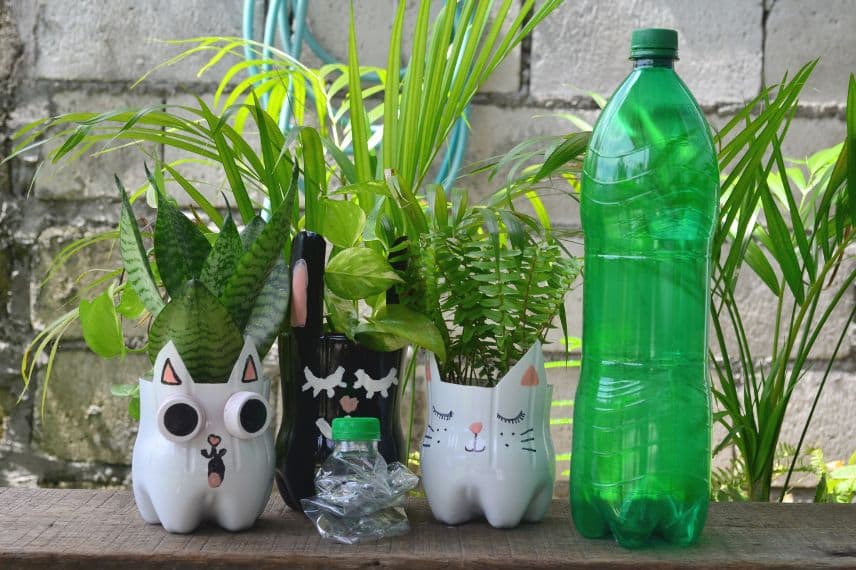
- In the same way, you can use any containers you find to hand: an old teapot, a worn-out boot, a tin can (be sure to sand down the sharp edges first), a tray, etc.
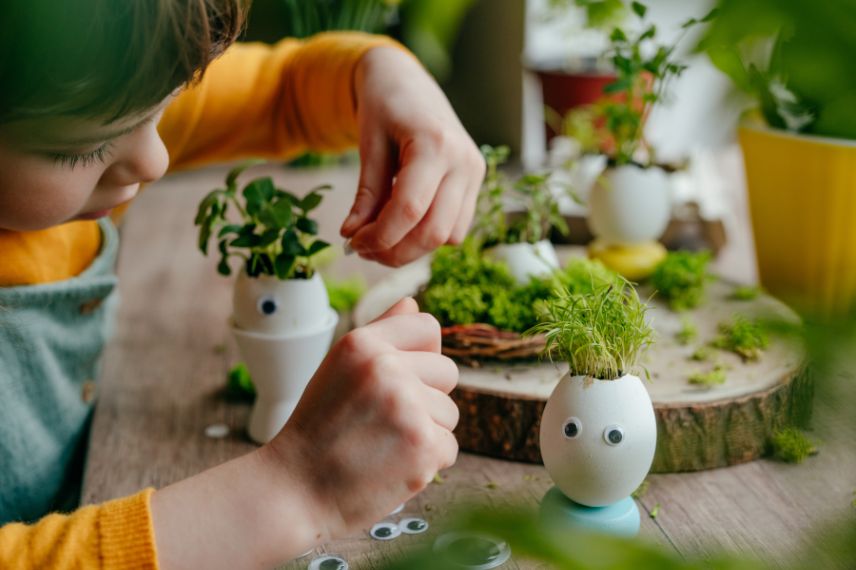
- Sow seeds in egg boxes or even in eggshells (a great Easter decoration idea!). You’ll find the steps in our tutorial: How to make an Easter nest with children?
- In short: be creative and let your imagination run wild!
Practising Land Art outdoors or indoors
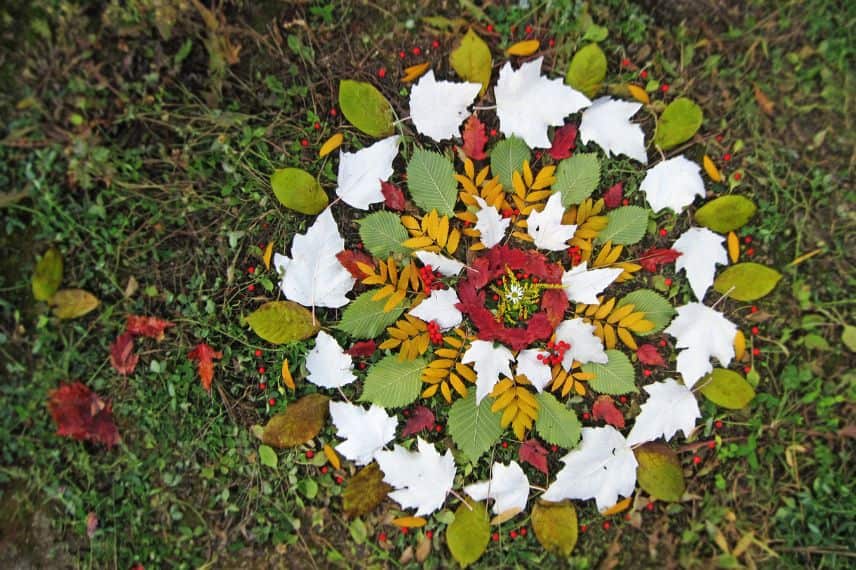
Land Art, or nature art, is a fascinating artistic and educational activity that allows children to express their creativity while connecting with the environment. Using natural materials (fallen leaves, sticks, pebbles, etc.), children can create mandalas to form ephemeral artworks, to be made in the park or green spaces near your home.
Outdoor Land Art Activities:
1- Head outdoors to collect various natural elements and arrange them into mandalas: Fallen leaves of different colours and sizes, pine cones, pebbles, etc.
2- Children can even stack stones or assemble branches to create natural sculptures. This develops their sense of balance and composition.
3- Observe how passers-by admire your masterpiece or how the wind carries away the creation… only to start another one the next day!
→ To learn more, read our illustrated tutorial: Land Art: How to Make an Autumn Mandala?
Indoor Land Art Activities:
1- Still go out to gather leaves of different shapes and colours, colourful flowers, and sticks.
2- At home, on a table, frame, or sheet, arrange the objects to create a mandala.
3- Observe your artwork and repeat as many times as you like. Once finished, don’t forget to compost or return your leaves and sticks outdoors.
Ingrid’s Tip: You can also create a botanical frame by reading our tutorial: how to create a botanical frame with children? Or a twig vase: make a vase with your children.
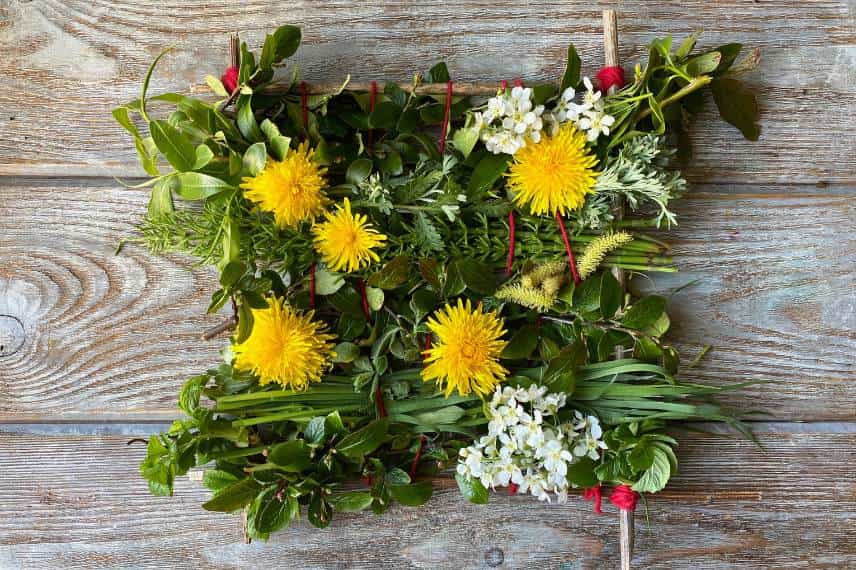
A botanical frame, an activity to do with children
Create a water plant community
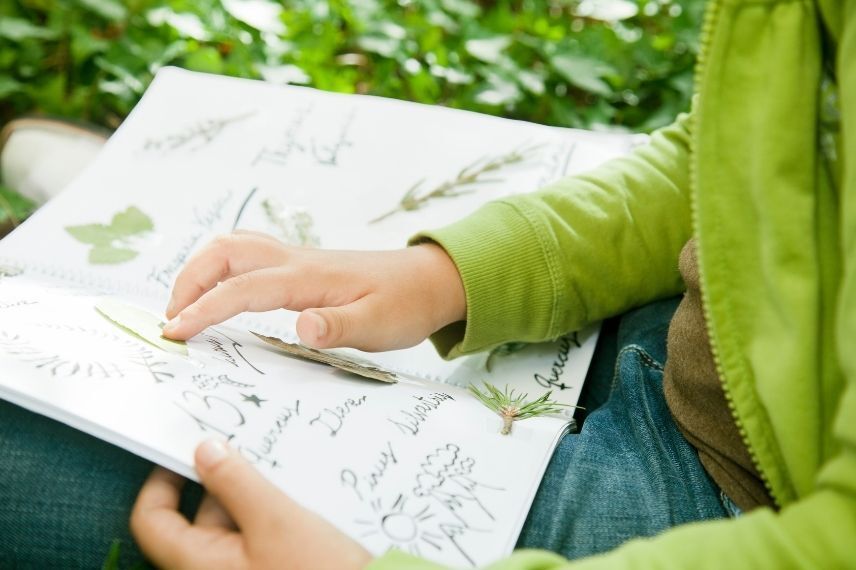
Creating a Herbarium is a classic activity that allows children to discover the diversity of plants and perhaps even learn to differentiate between plant species. All while developing their classification and observation skills.
How to Make a Herbarium
1- To create your herbarium, you’ll need autumn leaves or even spring flowers. It can be done in (almost) every season.
2- Place your finds between two sheets of absorbent paper or newspaper, then press them under heavy books or in a plant press. Leave them to dry for one to two weeks.
3- Once the leaves and flowers are dried, glue them onto the pages of an album.
4- On each page, add a label with information about the plant: common name, possibly the scientific name, date and location of collection, or any other relevant observations, depending on the child’s age.
→ For all the details, read our tutorial: how to make a herbarium with children?
- Subscribe!
- Contents

Comments