


Building a tomato cage - Tutorial
for abundant harvests, without pruning
Contents
What if you grew tomatoes in cages? This idea comes from a farmer in Kentucky, James Bryan. The concept is simple and in the spirit of permaculture. It is reminiscent of keyhole gardens (or keyhole gardens): innovative vegetable gardens that allow for growing vegetables in challenging locations, thus combating malnutrition in certain African countries, among others.
Needless to say, it is a simple, effective, and inexpensive process, especially if reclaimed materials are used.

The principle and advantages of the tomato cage
The principle is to grow tomatoes without pruning and with minimal constraints.
Cages, most often round but sometimes square, help to support the stems and contain the often exuberant foliage. Inside these cages, the plants are gathered around a large container that is perforated and semi-buried, serving as a water reserve as well as nutrients.
This method has the following advantages:
- of not having to remove the “suckers”,
- of doing away with the tasks of managing the plants throughout the growing process,
- of spreading out the watering operations,
- of increasing the volume of the harvests while keeping plants healthy as pruning wounds are potential entry points for diseases like blight.
The necessary equipment
To create a tomato cage of approximately 1 metre in diameter, you will need:
- a small roll or a piece (minimum 3.15 m) of rigid wire mesh with large holes (such as “sheep wire”, with a minimum height of 1.2 metres)
- wire
- 2 battens measuring 1.60 metres in length
- 1 20-litre container (reclaimed and reusable for several years)
- 1 drill + 1 5 mm drill bit
- 1 hand saw
- 1 pair of wire cutters
- 1 measuring tape
- a pair of gloves
- 1 marker
Discover other Tomato seeds
View all →
Available in 1 sizes

Available in 1 sizes

Available in 1 sizes

Available in 1 sizes

Available in 1 sizes

Available in 1 sizes

Available in 1 sizes

Available in 1 sizes

Available in 1 sizes

The construction, step by step
1) Drilling the Containers
Choose containers that are taller than they are wide so that they do not take up too much space in the cage (a bucket or bin works perfectly). Mark the locations and make a first line of holes at the bottom, then a second line about twenty centimetres above. Distribute the holes evenly all around the container or bucket, then drill using a drill or a wood tendril.
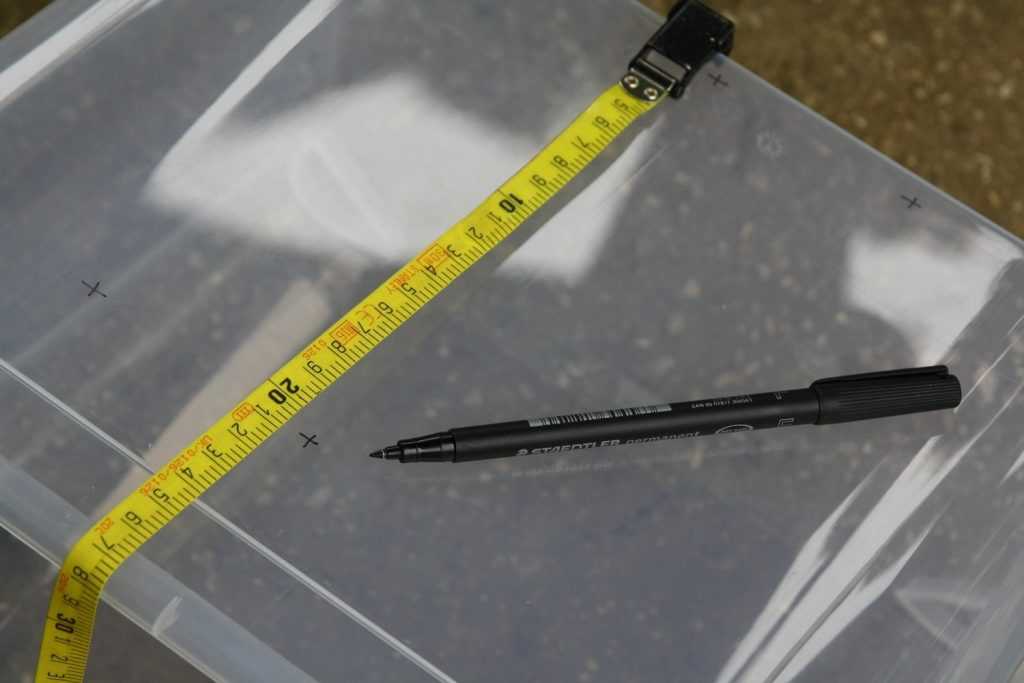
Marking the holes
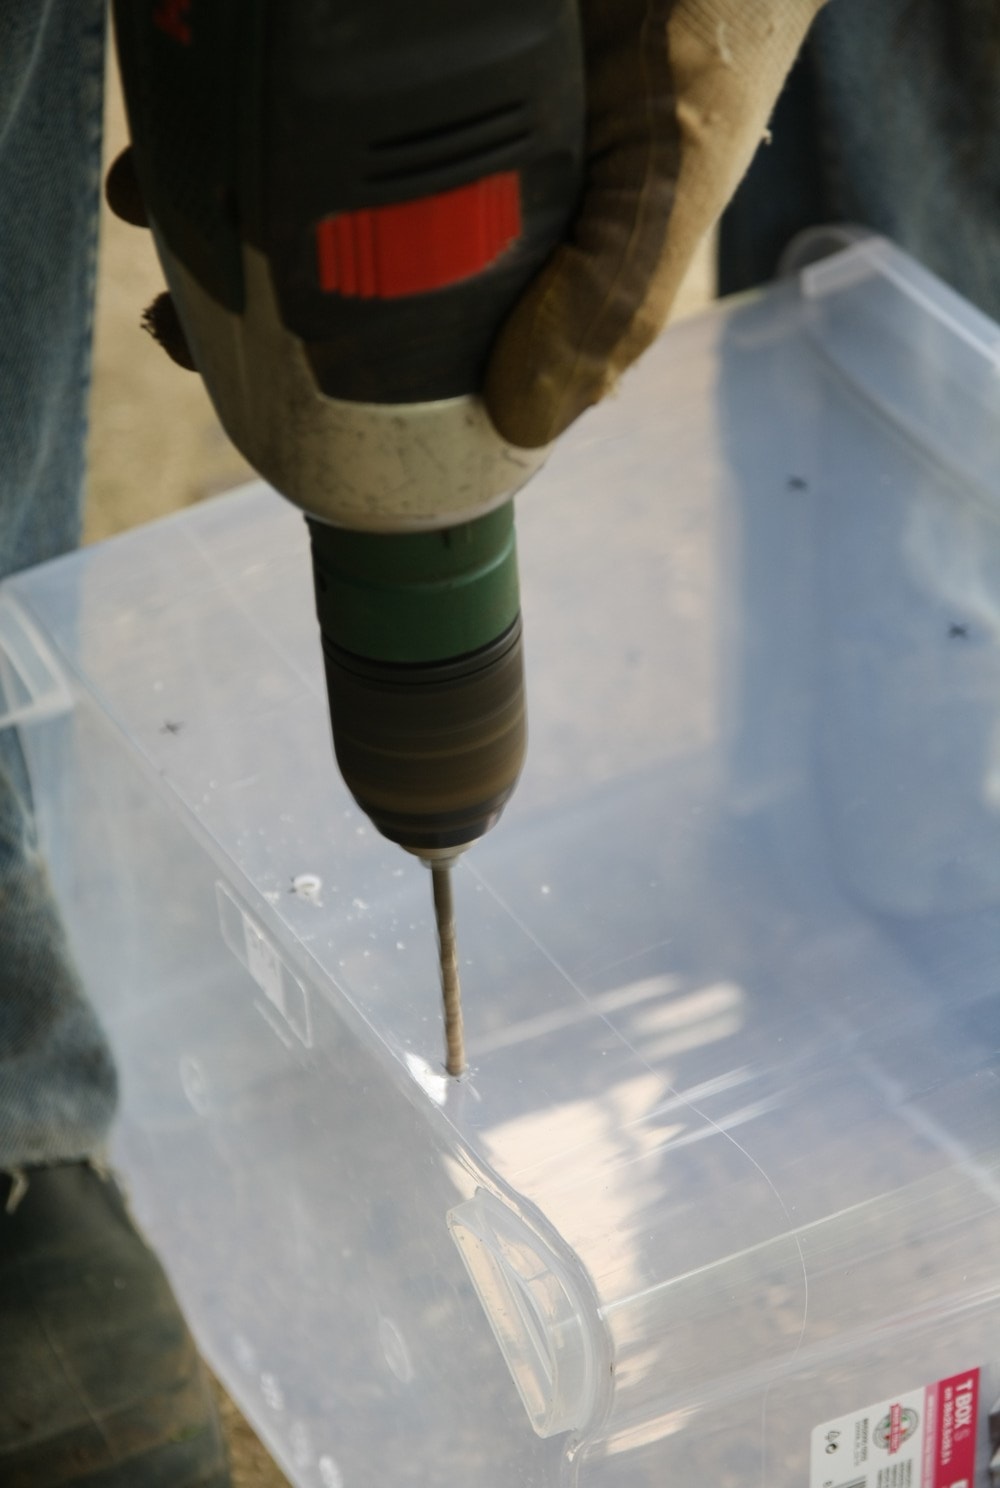 Drilling
2) Cutting the Wire Mesh
To obtain cages with a diameter of 1 metre, you will need 3.14 linear metres of wire mesh. It is advisable to wear gloves. Lay the roll on the ground, secure one side with a stone, and unroll it. Measure and cut the necessary length using cutting pliers. Stand the piece up, arrange it in a circle, and secure the two ends with wire.
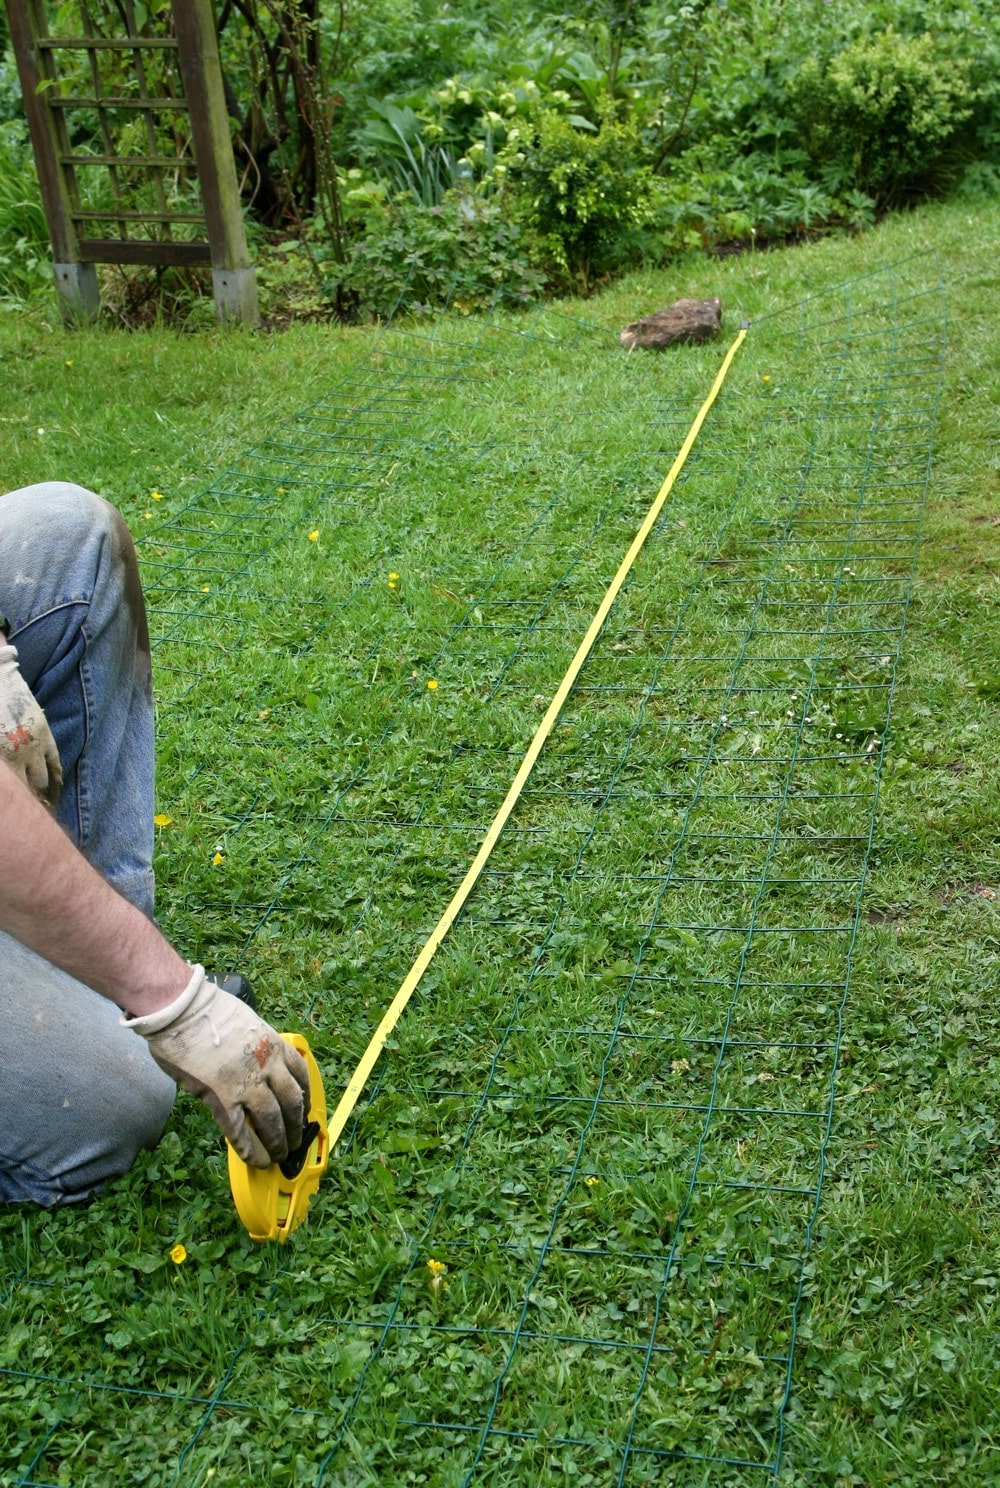 Measuring and cutting the wire mesh
3) Sawing the Battens
Saw the battens or sturdy wood stakes to 1.60 m, knowing that 40 cm will be buried in the soil to properly anchor the cage, which must support the weight of the tomatoes as well as the potential effect of the wind.
4) Installing the Container
At the location of the container, dig a hole and install it, ensuring that the top line of holes is flush with the soil level.
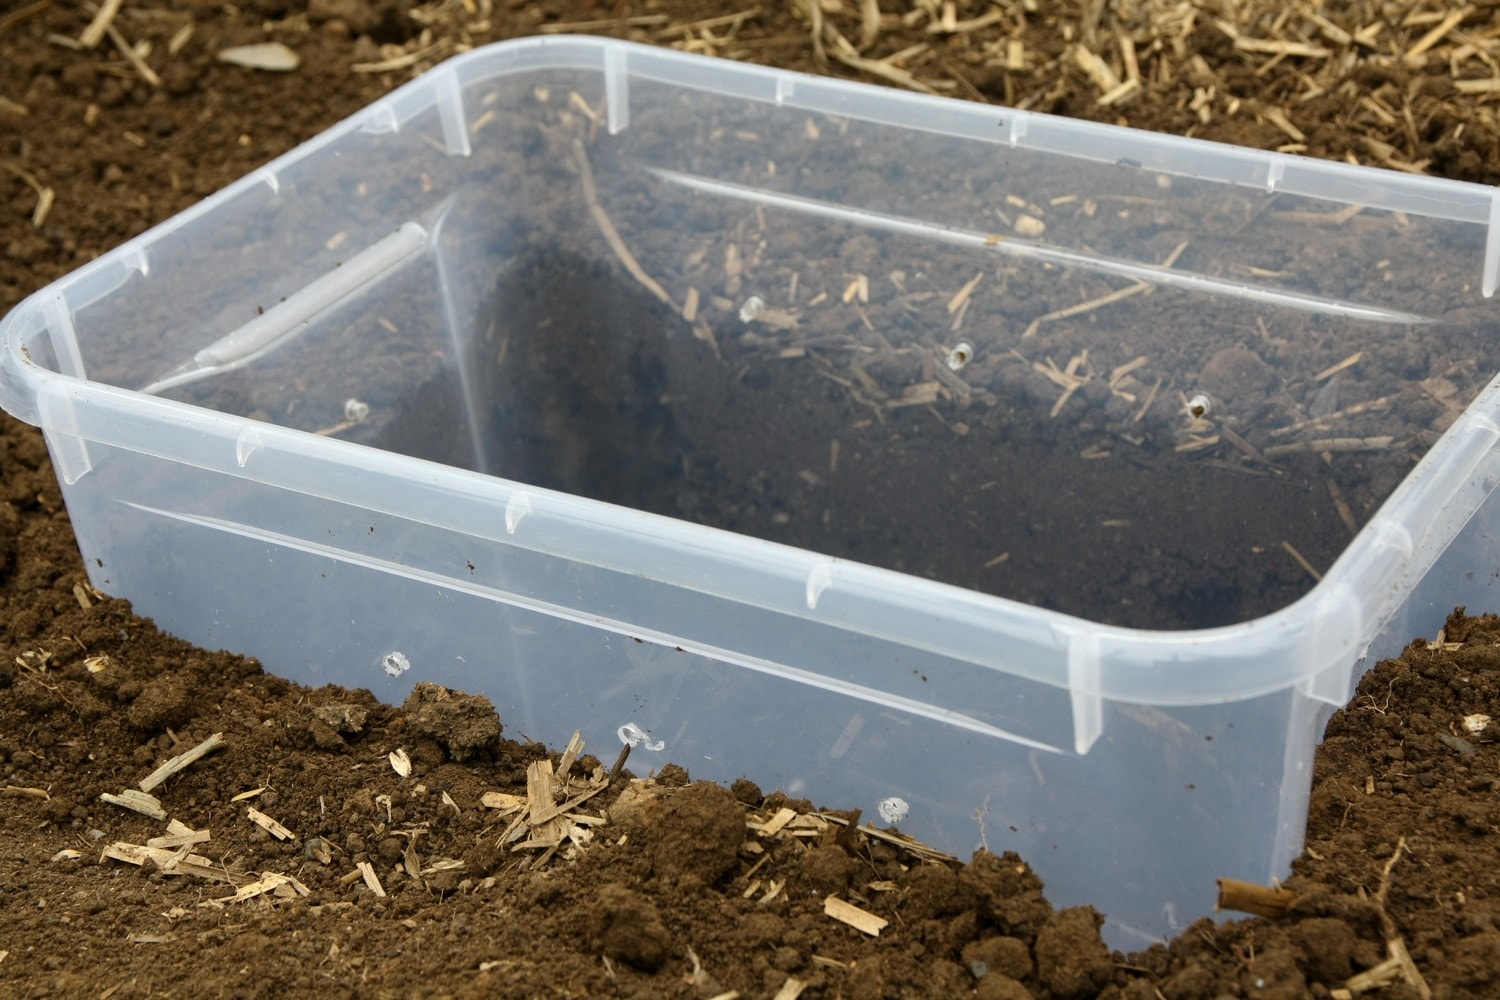 The top line of holes is level with the soil
5) Planting the Tomato Plants
Distribute and then plant four tomato plants around the container, burying them up to the first true leaves. Water them directly so that the root ball adheres well to the soil.
 Planting the tomato plants
6) Fertilisation and Watering
Inside the container, add two good shovelfuls of well-matured compost and then fill this reservoir with water.
7) Mulching
To maintain moisture, cover the soil with a thick layer of mulch made from straw, dead leaves, dry herbs, etc.
 The water reservoir is filled, with compost that will “infuse” into the water, the soil is mulched[/caption>
8) Installing the Wire Mesh
Install the cage and drive the two stakes into the ground up to the height of the wire mesh. Secure them firmly with wire.
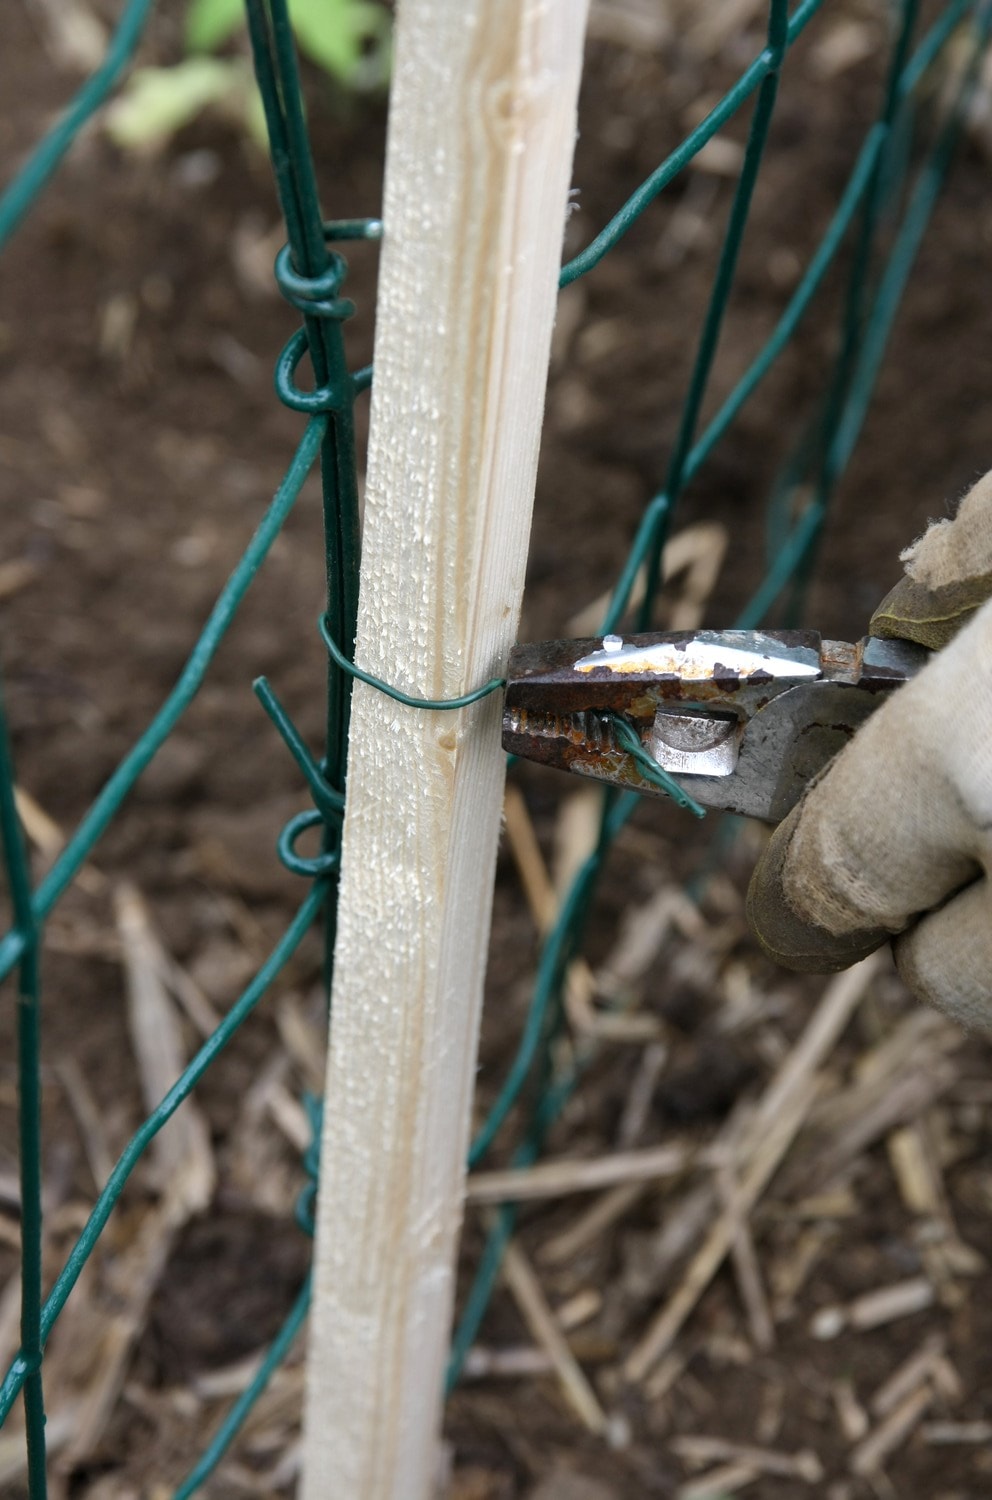 Fixing the wire mesh to the stakes
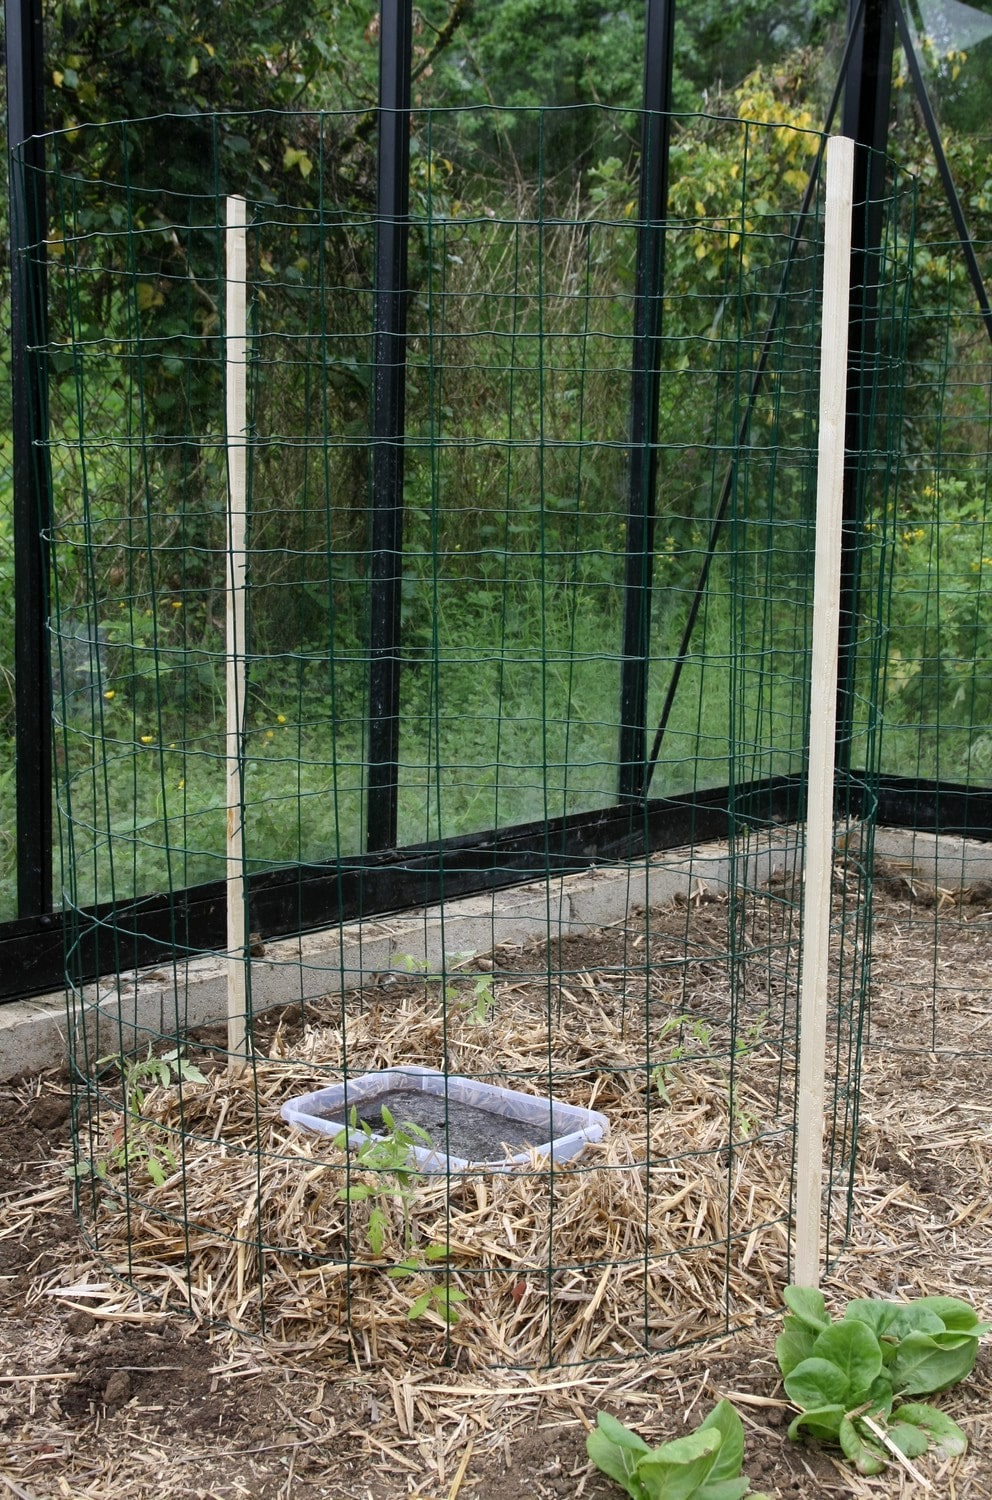 And there you have it, the tomato cage is in place (under cover at our place)
Read also
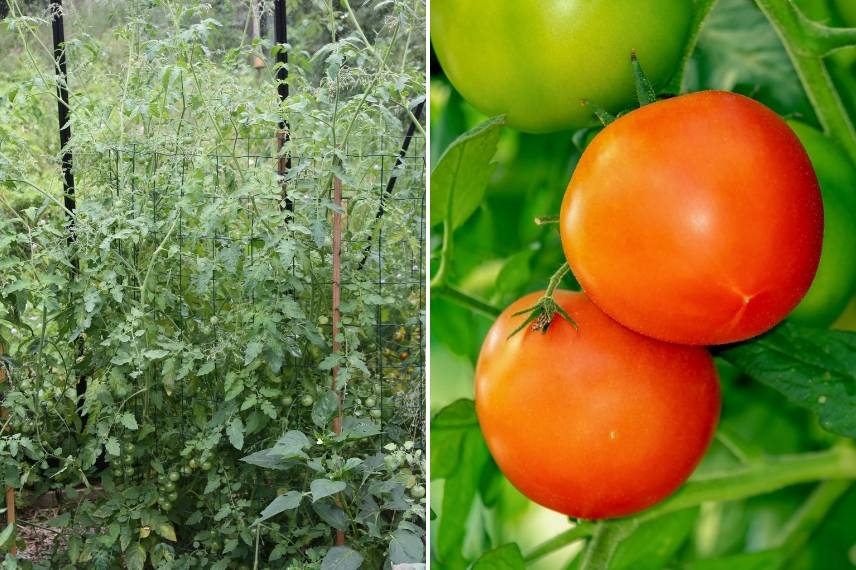
Succeeding in growing tomatoesAnd then? Growing tomatoes in cages
The only thing left for you to do is to be a little patient… At first, you will need to water a bit at the base of the tomatoes, but very quickly, as the plants are planted quite close to the water reserve, it will only be necessary for you to fill it regularly.
In theory, each tomato plant requires 20 litres of water per week. For a cage containing 4 plants, you will therefore need to provide 20 litres of water (2 watering cans) every two days to achieve the right ratio.
You will fill the reserve from the bottom, sliding the beak of the watering can between the mesh while avoiding wetting the foliage. The more clever will make their task easier by installing a PVC tube connected to the water reservoir that will come out of the grid.
With this type of support, the “suckers” are not pruned. You will notice, by allowing them to develop, that they bear flowers and then fruits, which will thus increase the yield.
Of course, you can make smaller cages, but you will need to plant fewer tomato plants inside and use a smaller container. Conversely, it is possible to make larger cages, which can hold up to five tomato plants with a 50-litre container… or water more often.
Who said that growing tomatoes was difficult?
- Subscribe!
- Contents
Comments