


Gaura lindheimeri: when, where and how to plant?
Our tips to installing them in the garden
Contents
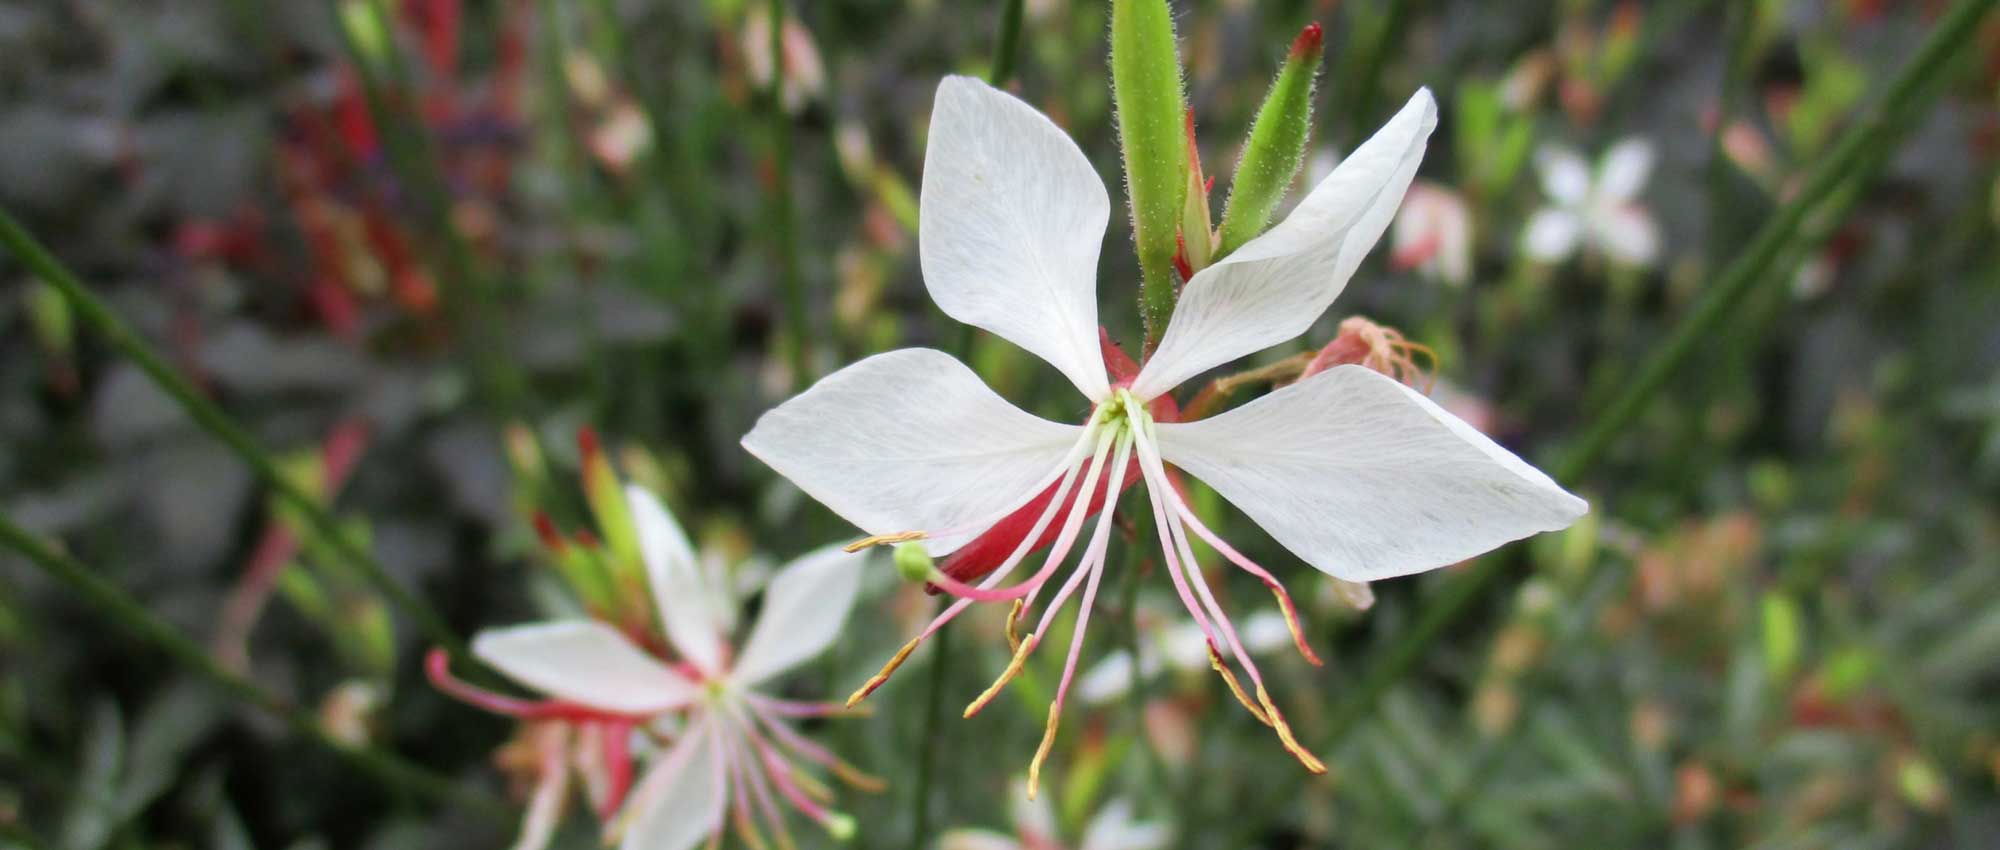
Very fashionable and easy to grow, the gaura is a lovely perennial appreciated for its long delicate flowering. Its small flowers, held upright at the end of long flexible stems, will add volume and lightness to your borders. Native to the meadows of the southern United States, it naturally prefers well-drained and sunny soils. If your soil is light and airy, it will grow easily with little maintenance. If it is heavy, you will need to drain it to avoid excess moisture. Discover all our tips for successfully establishing it in your garden!

When to plant Gaura lindheimeri?
Gaura is generally planted in spring, from April onwards. However, you can also install it in autumn, from September to October, if your soil is well-drained and you do not live in a very cold climate region. It will thrive in open ground, but you can also grow it in pots or containers.
Read also
Gaura: planting and growingWhere to plant them?
Plant your gauras in full sun! This is where they will thrive best and have the most beautiful flowering. However, you can also plant them in a location that will be slightly shaded for part of the day, as they tolerate partial shade.
There’s no need to shelter them from the wind; they handle it very well! They are also not afraid of sea spray and are perfectly suited for planting by the sea.
The soil must be very well-drained and should not dry out too much during the summer. It can even be stony, poor, and sandy. It doesn’t matter, as long as it is not waterlogged in winter – gaura hates that. If your climate is continental or montane and your soil is heavy and sticky, be cautious! Gauras, like most Mediterranean-type plants, will not be well suited to your garden: you risk losing them in winter or early spring due to root rot… Make sure to work on the drainage… Or plant something else!
You can place it in a flowerbed, along a path, or against a wall. Don’t hesitate to position it between rather rigid plants, which will help it maintain a better habit and prevent it from flopping. The taller varieties, such as ‘Whirling butterflies’, can have a nasty tendency to lie down during a heavy summer storm, turning your delicate and airy lace flowerbed into a sopping wet rag… So “pinch them” at the back of the flowerbed between well-established perennials, or stake them!
For a better visual effect, we recommend grouping them in threes or fives. This will create a fuller clump. However, maintain a distance of at least 50 cm between each plant. This will give them enough space to develop properly.
You can also plant gauras in pots or window boxes, accompanied by perennials, annuals, or grasses. Ensure you have a container that is wide and deep enough, and place gravel at the bottom to prevent water from stagnating.
Discover other Gaura - Bee Blossom
View all →
Available in 3 sizes

Available in 2 sizes

Available in 4 sizes

Available in 0 sizes

Available in 2 sizes

Available in 3 sizes

Available in 3 sizes

Available in 3 sizes

Available in 2 sizes

Available in 1 sizes

How to plant them?
To plant your gauras:
- Start by soaking the root ball in a basin filled with water. This will facilitate subsequent watering and improve the speed of recovery.
- Work the soil using a spade, to a depth of 30 to 40 cm. Loosen it and break up any clumps. Remove any large stones and weed roots if necessary. To avoid stagnant moisture, feel free to slightly raise your gauras by placing them on a mound of soil.
- Dig a planting hole that is twice as deep and wide as the container. If your soil is heavy and clayey, add coarse sand, gravel, or small pieces of pots to improve drainage. Then fill the bottom of the hole with soil. This plant is not demanding and is suited to poor soils, so there is no need to add fertiliser.
- Place the Gaura in the planting hole. Do not bury it too deep, so as not to cover the base of the stems. The top of the root ball should be level with the soil, or slightly above, to prevent water from pooling at the collar.
- Then replace the soil and gently firm it down, ensuring the plant is well secured. Be careful not to compact the soil too much, as this could make it suffocating.
- Water generously immediately after planting.
Like most dry medium plants, gaura needs moisture to establish well. We suggest watering regularly for a few weeks after planting. This will help it begin its development in your garden. Afterwards, it will manage without watering, except in cases of prolonged drought.
Once established, we advise against transplanting it, as its taproot would make the operation tricky.
- Subscribe!
- Contents

Comments