


How to plant flowers on a low wall?
Good practices and suitable plants for planting in a wall
Contents
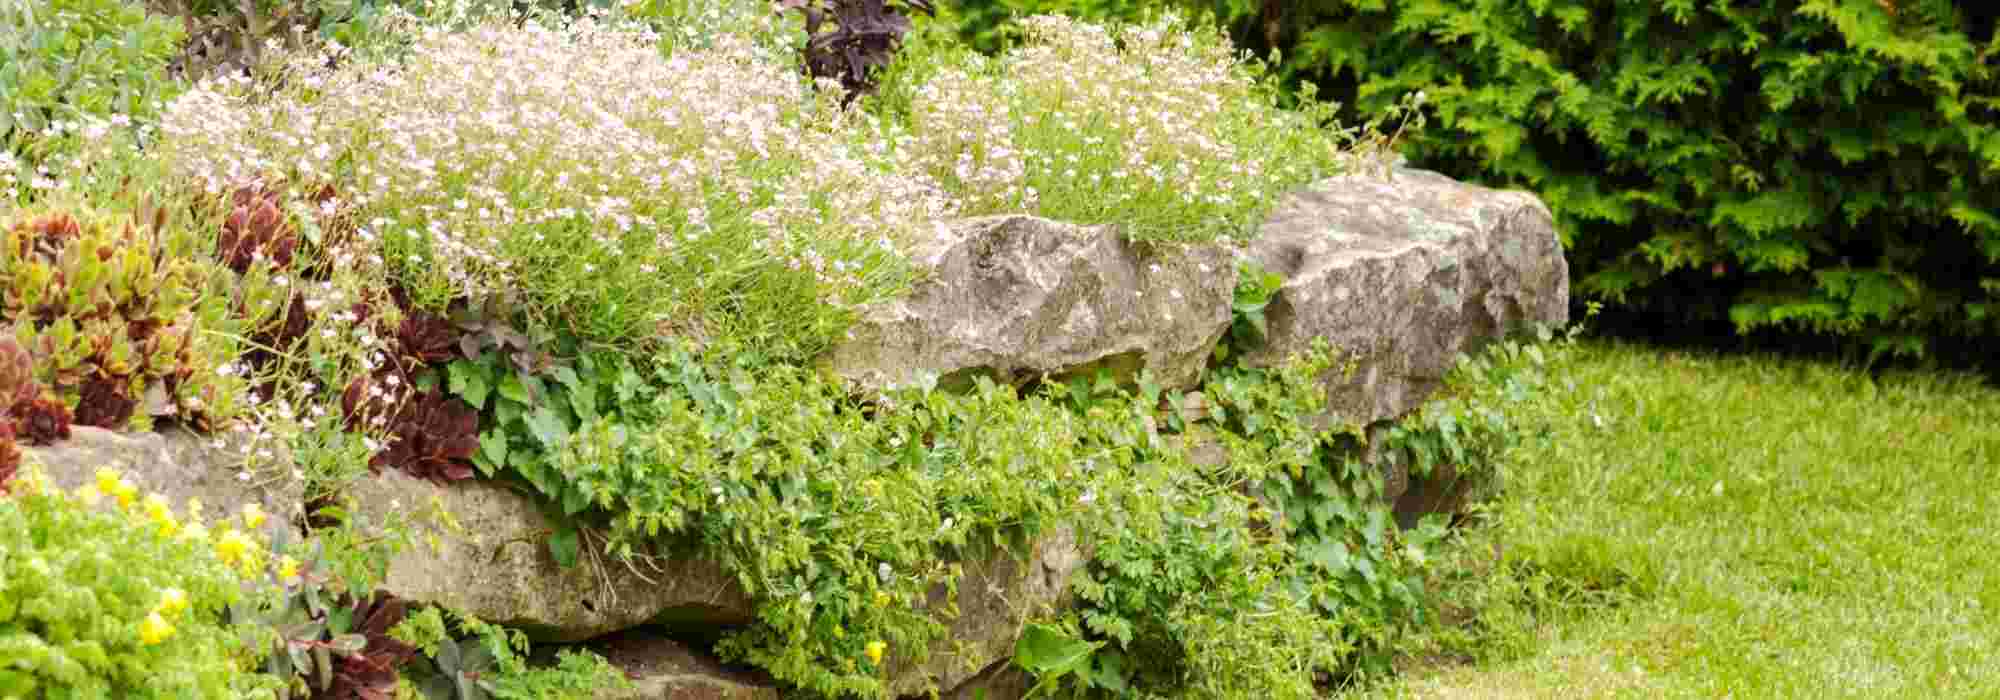
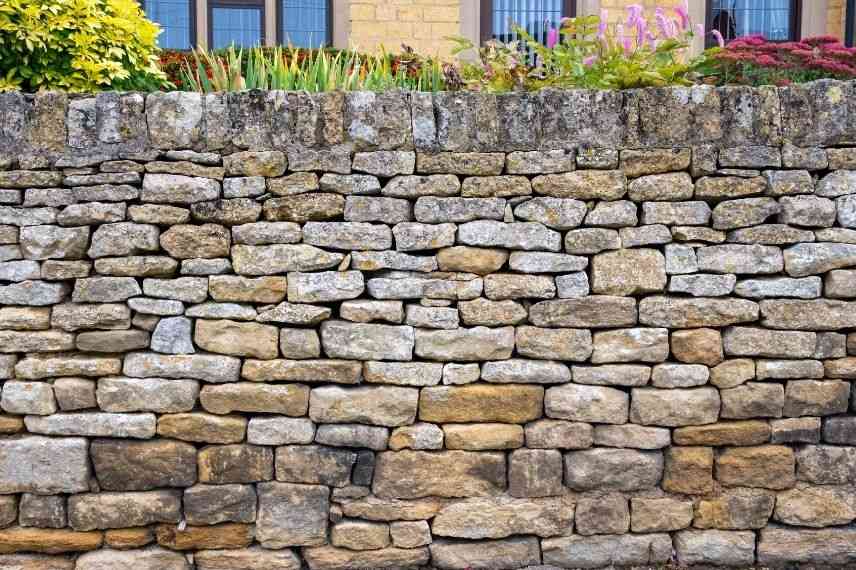
Having a wall or low wall in the garden can be a real ornamental asset. Dry-stone walls are among the most charming, and they allow creation of colourful, flower-filled scenes. Although rocks can already be decorative on their own, some plants add real ornamental value, by clinging to the rock (as trailing bushes and perennials do) or by creating pits. Whether it’s the top of a retaining wall, the crest of a dividing low wall or vertical plantings, discover our tips, best practices and the plants best suited to add colour to your stones.

How to plant on top of a low wall?
Not all walls offer same level of ease when it comes to installing plants. For a retaining wall, planting is indeed simpler, because gardener benefits from soil held back by wall, allowing creation of planting holes. It is then possible to select a wider range of plants, including bushes, which need more space to develop their roots. Moreover, plants placed like this act as a guardrail, thus helping to prevent falls from top of wall.
For a dividing wall, whose role is simply to separate two areas, solutions also exist, although they are naturally more limited.
Flowering the top of a retaining wall
Planting principles are same as for installing plants in a flower bed.
- Soak the rootball in a large volume of water so that it becomes completely saturated.
- Meanwhile, dig a hole 2 to 3 times the size of the bucket or of the young plant holding the plant you are going to install.
- Mix the excavated soil with potting compost, and add about one third compost.
- Remove plant from its pot, then position it in the planting hole, taking care that the collar of the plant (junction between roots / trunk or branch) is level with the soil surface.
- Firm the soil firmly, then water generously. For a bush, allow about 10 litres of water. Pour in several stages, letting substrate absorb water, and avoid water overflowing and falling off the wall, so as not to waste it.
- Mulch with the material of your choice. A mineral mulch (pebbles, gravel, lava rock, slate chips…) has advantage of improving drainage around the collar, but you can also use organic mulches (dead leaves, dry grass clippings, woodchip…).
Which plants to install?
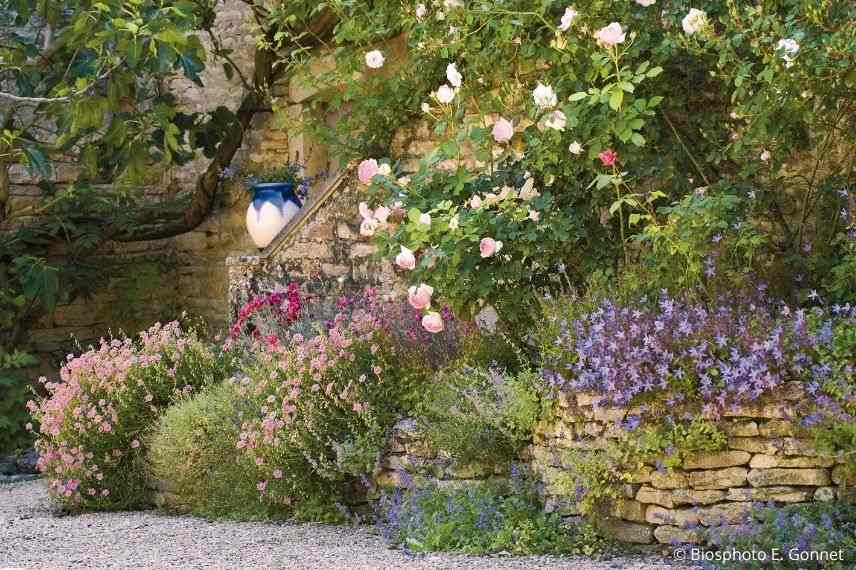
If your low wall is in full sun all day, plants must be drought- and heat‑tolerant, especially since this situation is particularly free‑draining, with water percolating quickly through soil and between stones. Also avoid planting species with very vigorous or running roots that could damage wall and compromise its solidity. For a more natural effect, also choose plants with a spreading or trailing silhouette, which will adorn wall while gracefully cascading down its face, without preventing you from creating rhythm with a few more upright plants.
- Choose bushes for slopes or ground-cover, such as lavenders, ground-cover roses, winter jasmine, creeping rosemary, creeping cotoneaster, prostrate ceanothus.
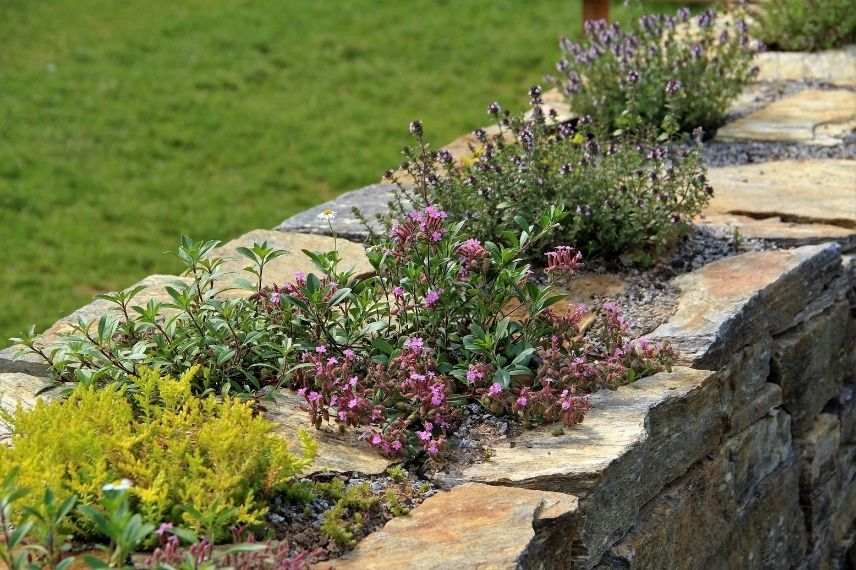
- Rockery perennials adapt well to a low wall, and some ground-cover perennials also make excellent subjects for this use. Examples include hardy geraniums for rock gardens, helianthemums, Nepetas, Sedums, Iberis, moss phlox (Phlox subulata), Euphorbias or Arenaria.
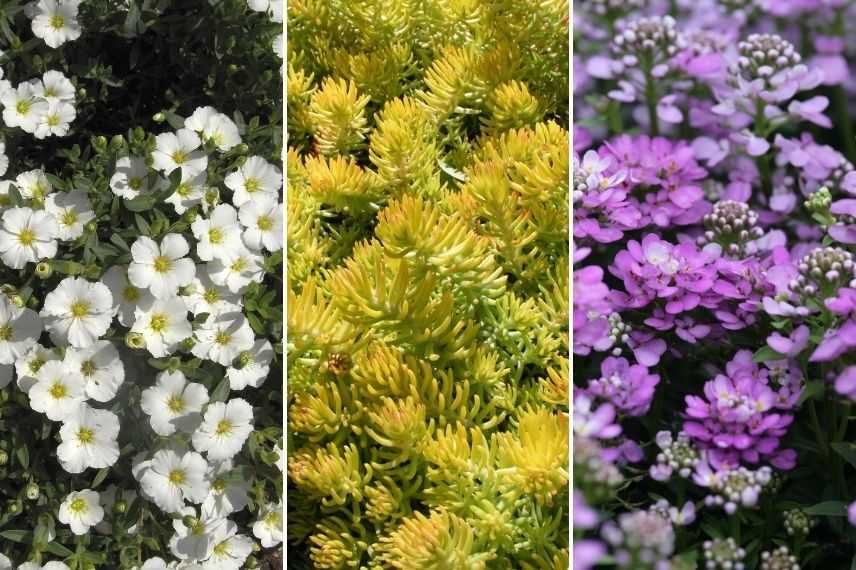
Rockery perennials: Arenaria montana (Wikimedia photo), Sedum reflexum ‘Angelina’ (Wikimedia photo), Iberis sempervirens ‘Absolutely Amethyst’
When to plant?
- Ideal period is generally autumn, between September and November (outside frost periods). This gives plants time to settle before winter conditions.
- Spring planting is also possible, but should be done fairly early (around March/April), so young plants have time to develop their root system, ensuring better resistance to summer drought.
Establishment can be unpredictable, and sometimes several attempts are necessary, but that is part of working with living things, and Nature teaches humility and patience every day.
Case of a dividing wall
Some walls simply separate two plots or two parts of a garden. For a party wall, you cannot do as you please, because wall belongs to you only half. For a small wall located on your property, and provided it is a stone wall, one option is to remove a stone here and there from top of wall, taking care not to compromise structure’s solidity. The planting pockets thus created allow you to install a few perennials; bushes are of course to be avoided in this case. If needed, reposition a few small stones at sides so substrate stays in place.
If you cannot remove any stone, nothing prevents you from placing pots on top of wall to plant your perennials. Take care with risk of pots falling in strong wind! For better stability, choose containers wider than they are tall, and when in doubt, secure pots to top of wall, ensuring a drainage hole is kept.
Read also
How to build a dry stone wall?How to flower a wall vertically?
Dry stone walls
Dry stone walls or walls sealed with earth mortar are easiest to vegetate, as they usually have crevices that serve as potential containers.
- Identify best pockets on face of wall, or enlarge them by removing small stones (choose the loosest ones, and be gentle).
- Fill pockets with fairly heavy soil (too-light compost is likely to fall out) and damp. A spoon (tablespoon or teaspoon) can be very useful in this situation.
- Place your plant (whose rootball will have been thoroughly moistened beforehand), fill around roots and press to hold in place. If needed, replace small pebbles to stop substrate escaping. Once roots have developed, anchorage will be sufficient.
- Water using a sprayer, which prevents moving substrate and uprooting plant. Do this early morning or late evening, so water does not act as a magnifying lens and burn foliage.
-> If plants are growing on top of wall or in neighbouring pockets, some will readily self-seed into free spaces (Erigerons and garden valerian are, for example, champions at this little game!).
Masonry walls
Masonry walls can have gaps. If these are too small to take perennials already established, one option is to make “seed bombs” that you can place in free joints. In his tutorial, Aurélien explains how to make these “bombs”. You can choose to fill them with seeds or wait for nature to deposit seeds of its choice. Some plants growing beside or above them may also decide to self-seed there.
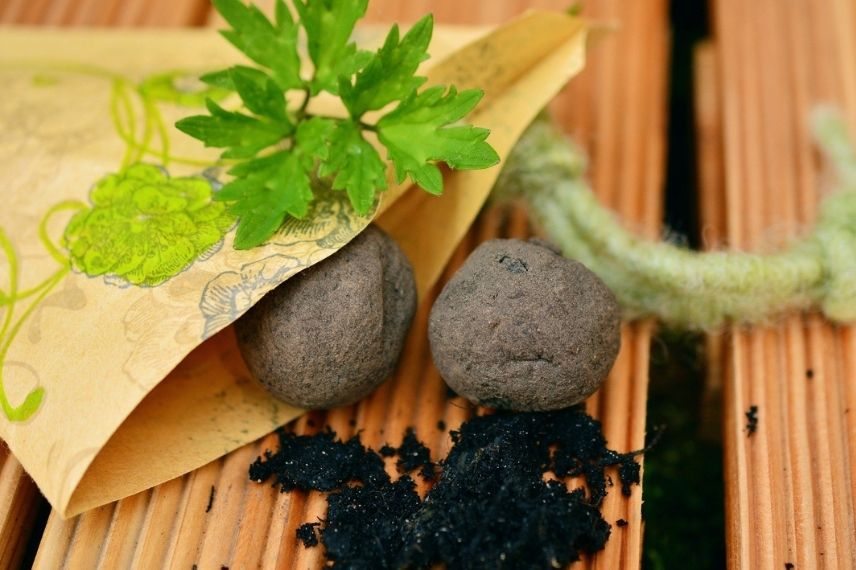
Seed bomb
Walls under construction
If you have opportunity to build a dry stone wall, plan to create spaces that can welcome plants. Let a few large stones project from wall, positioning them so they form a slightly closed angle with wall. Each can then receive some substrate, and therefore life…
How to care for and water plants in a wall?
Plants at top of wall
In case of a retaining wall, watering follows same rules as for planting in open ground. It is better to water deeply but infrequently than to give a little every day. This encourages roots to go down in search of coolness instead of staying at surface, becoming more vulnerable to drought. Water thus delivered at top of wall percolates into soil, but also sideways, which can therefore benefit plants placed between the rocks, vertically.
Remember to select plants suited to your region (year‑round temperatures, risk of frost…) and to your soil (some plants prefer acidic soil, others calcareous, for example) and to exposure (sun or shade).
Plants between the stones
Spaces between stones form pockets that provide some coolness to plants. This coolness is of course relative, especially if wall is in full sun all day. It is then useful to give your occupants a little help to support their growth and flowering. If wall has many gaps between stones, a light watering from the top of the wall will allow water to infiltrate between the rocks and benefit plants below. Make sure to use a low flow so as not to dislodge plant from its spot and not to leach soil.
To support one or more specific plants, and to give them targeted refreshment, apply water as fine sprays.
Prefer watering early morning or late evening. In full daytime sun, stone heats up quickly and water would evaporate too fast, so you would only waste that precious resource.
If you need to clean some of your plants (remove faded flowers, for example), avoid doing so by pulling on stems. Rooting is often quite fragile and you risk uprooting the plant. Instead use a sharp pruning shear or a pair of scissors.
Plants in pots on top of wall
Pots placed on top of a wall are exposed to both sun and wind, two drying factors, especially as substrate volume is limited. To minimise watering chores, choose perennials that need little water (Sedums and Houseleeks are champions in this category). Addition of a water‑retention agent such as Stoskosorb to your potting mix can also be of great help. However, this will not exempt you from regular watering during hot spells, which may be several times per week depending on plants chosen. If wall height prevents direct access, use a curved watering lance to make the task easier. And as you now know, water early morning or late evening to optimise water uptake by plants.
- Subscribe!
- Contents

Comments