


Installing a preformed pond
Choosing, placing, and maintaining It
Contents
Installing a natural pond or water feature is always a great idea to bring freshness and tranquility to your garden. The sound of water and the opportunity for observation allow for relaxation and contemplation. However, there are many rules to follow to achieve an aesthetic and durable result. Discover our tips for properly installing and maintaining a preformed pond so you can enjoy it for many years without hassle.
Choosing the right pond
There are many models available on the market with water volumes ranging from 80 litres to several cubic metres, depending on the projects.
Advantages
- Preformed ponds are made from plastic materials (polyethylene, polyester, etc.) and have the advantage of being very resistant to frost and UV rays (be cautious of the quality of budget options though!), as well as to tree roots and rodent attacks;
- There are different shapes: bean-shaped, rectangular, square;
- Installation is quick;
- Good watertightness;
- The pond can potentially be drained and moved.
Disadvantages
- You will be limited by the arbitrary shape of the mould;
- You will also be limited in capacity, as preformed ponds can hold up to 3000 litres of water, rarely more;
- It is not always aesthetically pleasing;
- The price is higher than that of a pond with a liner;
- Transport is complicated due to its bulkiness.
Installing a pond requires more thought than it may seem: the location, size, safety, theme, choice of plants, and any fish are elements that the gardener must consider beforehand.
The smaller the pond, the more complicated it will be to “balance” it (water quality) and, conversely, the larger it is, the more resilient the pond will be to any mistakes made by the gardener.
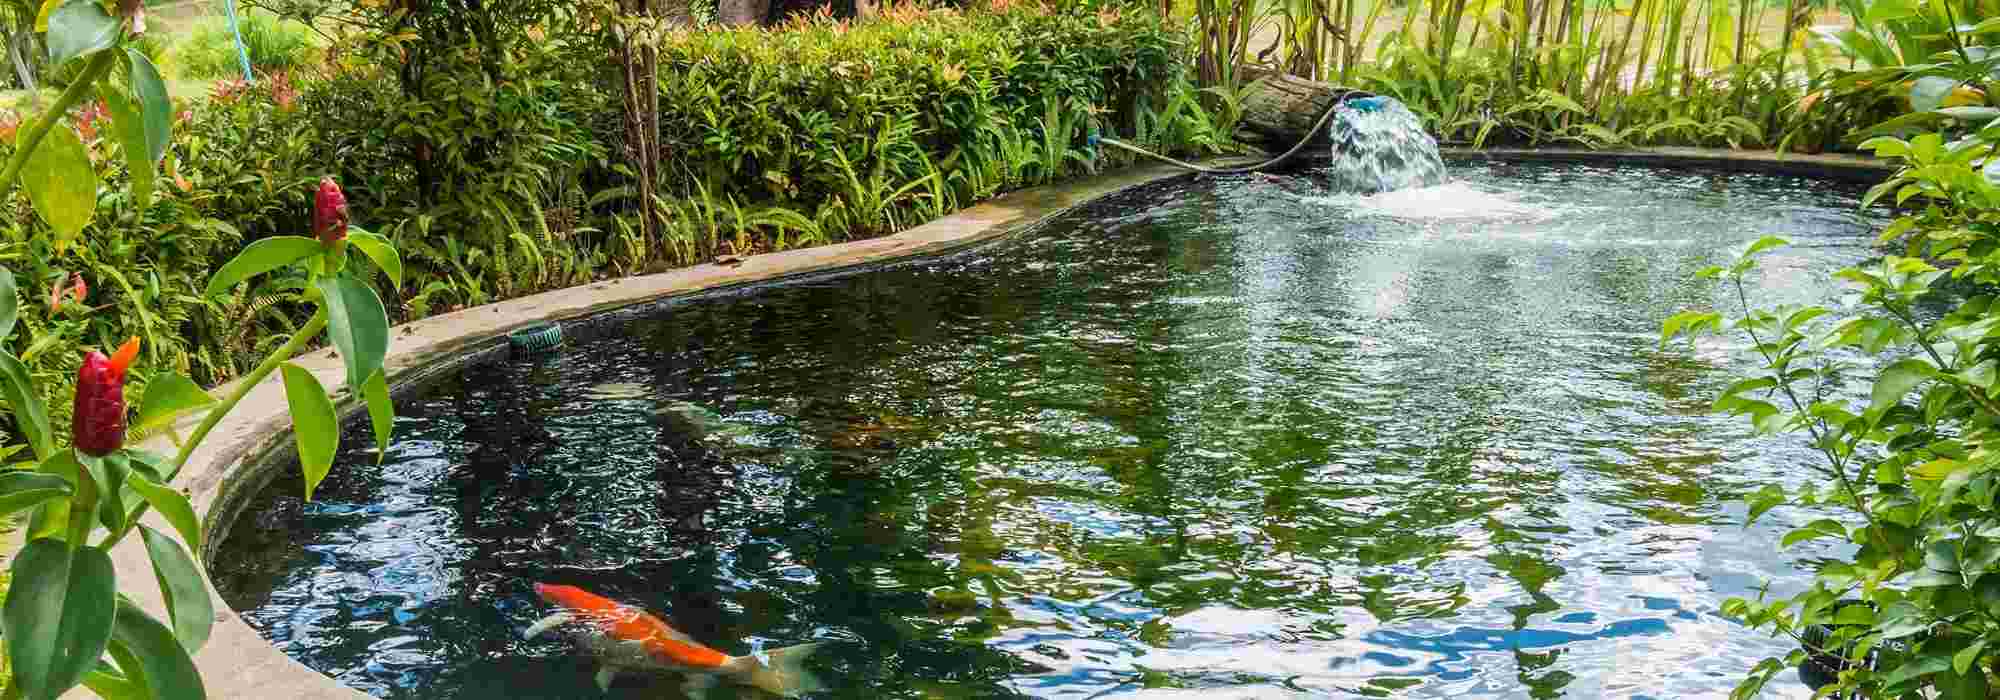
The theme of your pond will influence its size and shape. For example, if you wish to introduce koi carp or other fish, you should choose a model that is as deep as possible and has sufficient volume. Allow for 1 m3 per carp, for instance, or 0.3 m3 per goldfish. We recommend a minimum depth of 1 m (ideally 1.5 m but you will find it very difficult to find more than one metre in depth) so that the carp can grow under good conditions and to prevent the pond from freezing completely during cold spells.
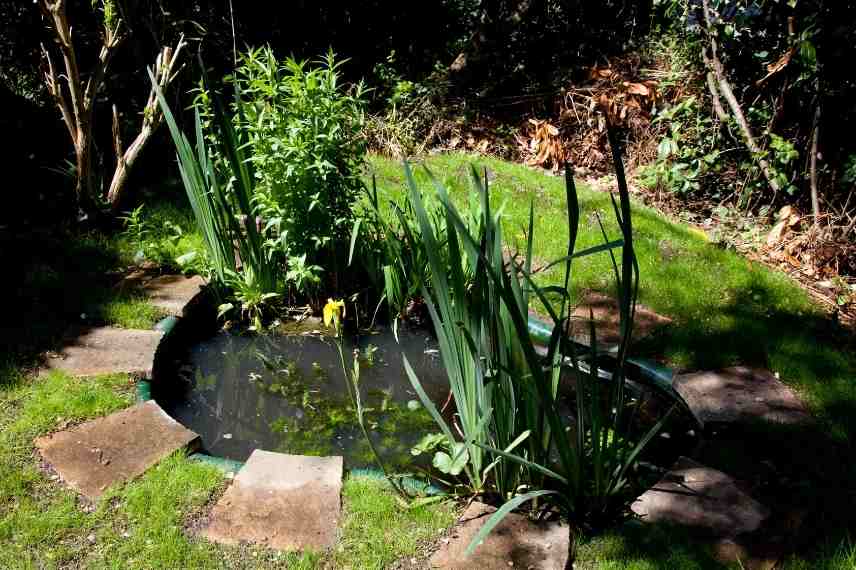
Conversely, if you decide to create a natural pond (without fish) or a water filtration system, you will opt for a model with less depth but more shelves to accommodate a maximum of plant species.
Choose the right location
Once you have defined your theme and chosen the size of your pond, it’s time to think about the location.
Ponds should be placed in bright, flat areas that are ideally visible from your home so you can enjoy them all year round.
Light is essential for the proper oxygenation of your water: aquatic plants will absorb CO2 and light rays to release dissolved oxygen into the water. Without this element, your pond will host little life.
For this reason, adequate sunlight is required. However, it is wise to choose a location that will be slightly shaded during the hottest hours of the summer: this will prevent evaporation and overheating of the water, which can be very harmful to aquatic animals.
Also, be sure not to place your water feature too close to a tree that will fill it with leaves in autumn. This phenomenon could block light and load your pond with silt while depriving it of oxygen.
If you have children, consider the safety aspect. Where there is water, there is potentially a drowning risk. You may need to consider installing a fence to eliminate any risk.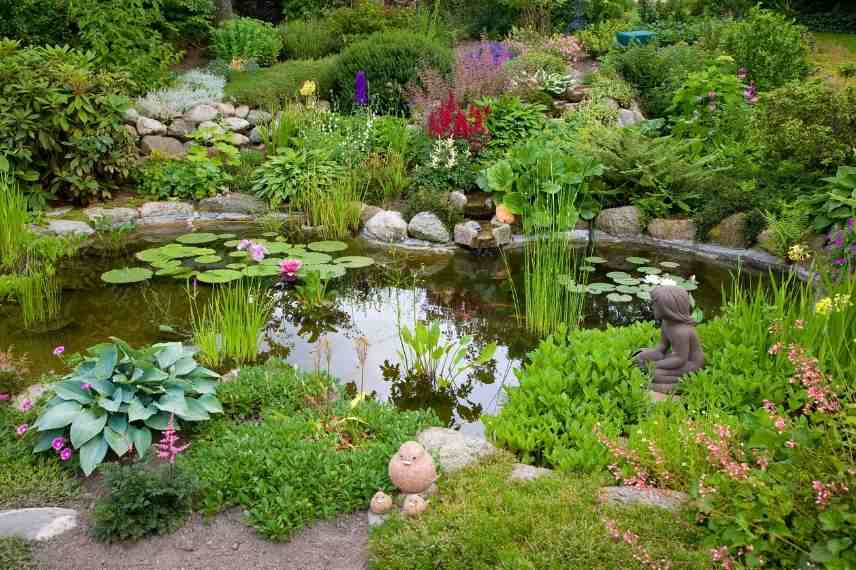 Choose a spot that benefits from sun, but also a bit of shade
Install your pond
Before installing your mould, you will need to prepare your equipment.
The necessary equipment
- A spade and/or a fork for digging
- A tarpaulin to place the excavated soil without damaging your lawn
- Sand to stabilise your pond and fill the gaps between the ground and the surface of the pond
- A level to check the straightness of the installation
- Stakes to mark the perimeter of your pond
- A colour spray to indicate the levels of your pond
- A pair of gloves (to spare your hands from blisters)
- A pump and a hose to fill your pond
The installation steps
- Place your pond in its future location and drive in stakes to mark its perimeter
- Using a colour spray or any powder, mark the changes in depth of your pond (most preformed ponds have only two or three depths)
- Excavate your pond following the contours you have drawn, always starting with the deepest part (the centre) of your pond. Remember to keep the turf clumps for another part of the garden or to create a planted mound with the excavated soil).
- Place your pond in the hole for the first time to check that it fits your dug shape. We recommend digging a little deeper than necessary to allow for some sand at the bottom. This will also prevent a stone or root from pressing against the wall.
- Lay a layer of sand 5 to 10 cm thick at the bottom of the pond hole to stabilise your pond during filling. Compact, level, and don’t forget to remove all roots and stones from the hole!
- Place your preformed pond in the hole and fill it with about 1/3 of its volume.
- Check the straightness of the pond using your level and a board placed across it. Adjust if necessary.
- Fill the gaps between the ground and the edges with sand and water all around to avoid leaving any air pockets.
- Completely fill your pond (ideally with rainwater) and place your aquatic plants, filtration system, and fish if desired.
How to hide the edges of a preformed pond?
The visible edges of a pond liner or rigid plastic preformed pond are quite unsightly for both visitors and gardeners. To address this issue, a whole range of plants can help us cover the banks from either land or water.
Opt for evergreen plants such as ivy, horizontal cotoneasters, creeping bugle, lesser periwinkle, or even moneywort. Some of these plants can cling to a jute or coconut fibre mat placed at the edge of your pond.
For aquatic plants, clumps of carex, bulrushes, iris, and cattails will thrive in shallow areas close to the pond wall. They can be placed in pots or on a substrate (lava rock, sand, pond soil, clay…) and will help to disguise the unsightly plastic with their excellent covering ability.
- Subscribe!
- Contents

Comments