


Planting an evergreen shrub
All our tips
Contents
Ideal for creating a garden hedge that provides privacy, wind protection, or a defensive barrier, the evergreen shrub retains its foliage all year round, unlike deciduous shrubs. Essential in the garden, evergreen shrubs bring structure with their leaves of various colours and shapes, their flowering at different seasons, or their unique silhouettes. Whether trimmed into topiary or left in a free form, in a perennial bed, as a standalone, or alongside trees, these plants are highly valuable. Indeed, not only are they decorative and useful for us, but these plants also provide shelter and food for wildlife with their edible fruits. For all these good reasons, these shrubs are extremely sought after and appreciated. Discover everything you need to know to successfully plant your evergreen shrub!

When to plant evergreen shrubs?
Most evergreen shrubs are sold in pots. Generally, planting container plants can be done all year round (avoiding extreme weather conditions: frost, heavy rain, and drought). However, the best time to plant an evergreen bush is early autumn (early October), before planting deciduous bushes. This allows the bush to develop its roots before winter, settle in, and thus gives it a better chance of recovery in spring.
Among the most well-known species with good hardiness are:
- spiny or prickly bushes: barberry, holly, and firethorn,Mahonia,
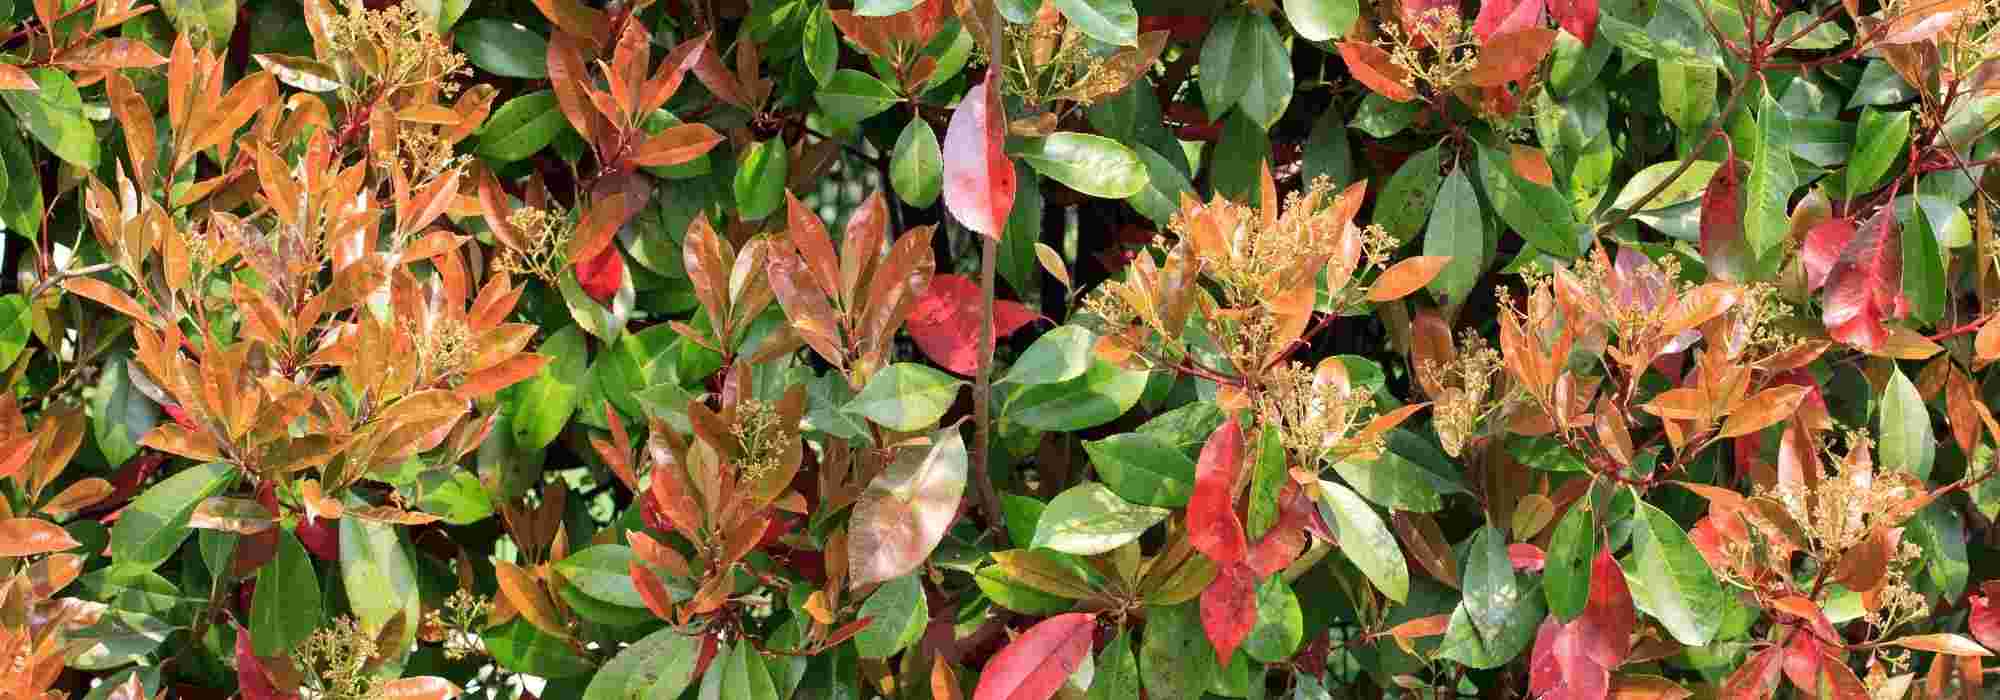
- decorative foliage bushes: Photinia, Aucuba, spindle,
- more classic bushes: cherry laurel,privet.

Firethorn, Photinia, Aucuba, and privet
Read also
Using evergreen shrubs in the gardenHow to plant an evergreen shrub in a container?
- First of all, do not proceed with planting if the soil is waterlogged.
- Be aware that plants conditioned in pots for too long may exhibit root girdling. Lacking sufficient space, the root system of the bush develops in a spiralled manner within the pot. The roots become tangled, forming a solid and compact mass with little substrate, this is known as root girdling. This phenomenon complicates the establishment and anchoring of the plant, but can also increase the risk of diseases. When purchasing or receiving your bush, check the condition of the root ball. Certain signs may alert you: girdled roots can deform the pot, and removing the plant by hand without tools is nearly impossible. Roots may also emerge through the holes at the bottom of the pot.
- To prevent the roots from circling in the planting hole, it is important to untangle them. To loosen the root ball more easily, soak it in a bucket filled with water to moisten the roots and make them less brittle. This soaking should be done for all plants sold in pots, whether the root ball is girdled or not, until all air bubbles have escaped from the root ball.
- In the meantime, prepare your planting hole. Dig a hole with a volume double that of the root ball using a spade. Loosen the bottom and sides of the hole. Add organic matter and organic fertiliser (for example, ⅓ well-decomposed compost (or quality potting soil) to ⅔ soil and a handful of crushed horn) which you mix with the soil at the bottom and the soil you have removed. If your soil is clayey, add gravel and mix everything together.
- When the root ball is saturated with water, remove your bush from the pot.
- Cut the girdled roots around the perimeter using clean, sharp pruning shears or a knife. Make 4 to 5 vertical cuts all around the root ball, then untangle the roots with your fingers.
- If you choose a large specimen, it will require staking. To avoid damaging the roots, place the stake facing the prevailing winds before planting your bush. You will attach your bush to the stake using ties (not too tight) at the end of the planting, as soil compaction at the base can cause your bush to shift.
- Position your bush by spreading the roots to encourage them to grow horizontally. The collar should be level with the soil surface. Use a tool handle laid flat on the ground to check the correct positioning of your plant: the top of the root ball should touch the handle. Fill the hole with well-loosened, fine, and light soil.
- Gently compact with your foot to ensure the soil adheres to the root ball.
- To allow watering to penetrate the root ball, form a basin (a mound of soil in the shape of a ring) all around your bush with the remaining soil. Water generously until the soil no longer absorbs water.
- Apply an organic mulch in a layer of about 10 cm.
Continue regular watering, as this will stimulate the branching of the root system. Space out watering during winter and stop it during frost. During very hot periods in summer (sometimes even in spring), keep the soil moist at all times.
Winter precautions: during heavy snowfall, shake your shrub so that the branches do not bear the weight of the snow.
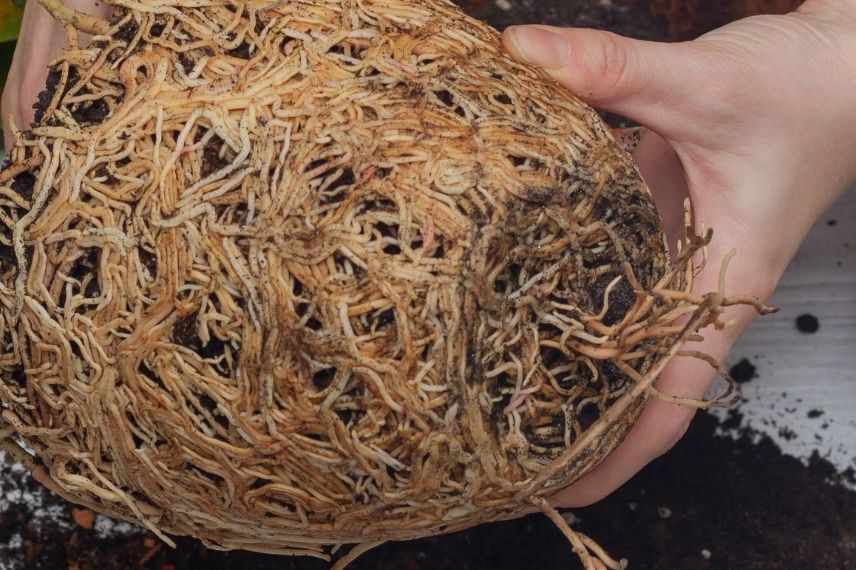 Roots forming a girdle
How to plant an evergreen shrub in a clump?
Evergreen shrubs and conifers are often sold in clumps. This type of packaging ensures an excellent root system, as the young plants are grown in open ground in specialised nurseries. After purchasing your bush, keep the clump well-watered until planting. As with container-grown bushes, immerse the clump in a large bucket of water. The preparation of the ground is no different from planting a container-grown specimen. However, at the time of planting, leave the natural material wrapping (jute or cotton) that surrounds and holds the clump of soil in place. Indeed, it degrades over time when in contact with the soil. Only untie the upper part of the wrapping (near the trunk) and pull it away.
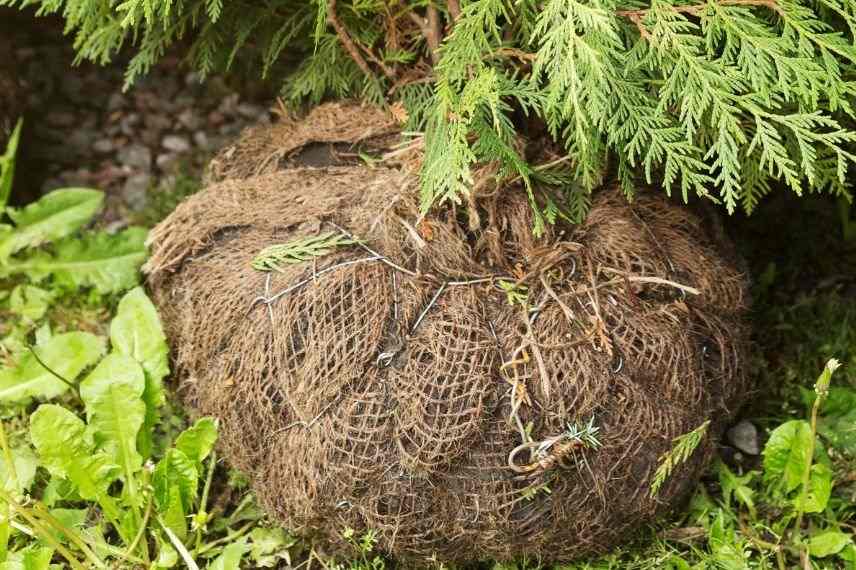
Here is an example of a clump protected by a wrapping
For further reading
- Discover our article to learn how to Bottom water a plant
- Read François’s explanations on The root-related bun
- If you wish to shield yourself from prying eyes, read our article Hedges, shrubs, trees: What planting distances?
- All the explanations to know How to create a defensive hedge? and How and why to create a country hedgerow?
- Subscribe!
- Contents

Comments