


Succeeding in sowing perennial plants
When and how to sow them?
Contents
Perennial plants have the advantage, unlike annuals, of staying in place for several years in the garden! They remain present and bloom again each year, thus requiring less maintenance than annual or biennial plants. Although you can also buy them in buckets and plant them directly, sowing them allows you to save money and have a large number of young plants for a very low cost! Moreover, you will have the satisfaction of watching the plant develop from the very beginning of its life to its ripeness. It is true that this takes more time and patience, but what joy it is to see the little seedlings grow from simple seeds! This will allow you to create large flower beds by planting a great number of perennials.
You can purchase perennial flower seeds (for example, to obtain specific varieties), or collect them yourself from your plants after they have finished blooming. In this guide, we present all our tips for successfully sowing perennials, whether in pots or in the ground! And, to ensure you succeed, you can also check our selection of very easy-to-sow perennial plants.

When to sow perennials?
The ideal time to sow perennials is in spring or summer, between April and June-July, although this also depends on the species you choose to grow. If you harvest your own seeds, you can sow them in autumn, as soon as they reach ripeness.
A few rare perennial seeds require a cold period to germinate: in this case, sow them in autumn, then place the pot outside, exposed to the cold… Or store the seeds in the refrigerator for a few weeks before sowing them.
How to sow them?
In pots:
You can start your perennial seeds in pots and under cover several weeks before the last frosts, then plant them in the ground once they have developed.
- Take a pot or a terrine, previously cleaned.
- Fill it with fine potting soil, possibly mixed with sand. You can use special seed compost.
- Lightly firm it down. You should achieve a flat and homogeneous surface.
- Sow the seeds by spreading them over the surface. If the seeds are very small, mix them with sand to make handling easier.
- Cover with a thin layer of substrate. You can sieve the compost to make it fine, or use sand or vermiculite.
- Water with a fine spray. Don’t hesitate to use a sprayer, especially for the smallest seeds.
- Place the pot in a bright location, out of direct sunlight. If you are sowing early, in spring or late winter, place the pot under a frame (the ideal temperature is around 20 °C).
- You can place a glass or plastic sheet over the pot to maintain a humid atmosphere.
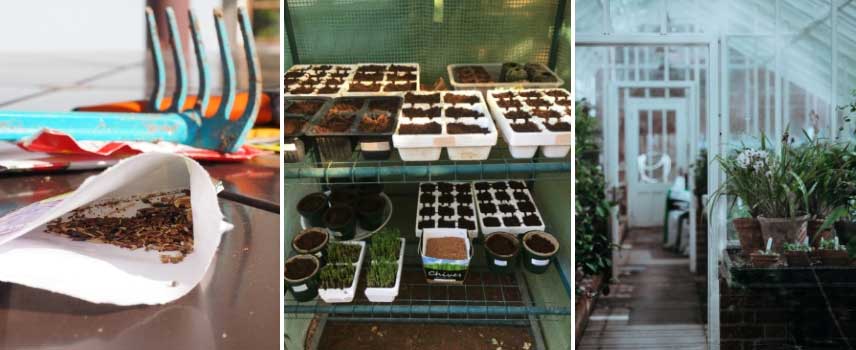 You can sow your seeds in pots, then place them under cover in a bright location.
Remember to label your sowing: note the plant name, variety, and sowing date. Then, be patient… Some plants germinate faster than others! The time required for germination varies greatly depending on the species. In any case, the substrate must remain slightly moist until germination.
As soon as the seedlings have several leaves and are large enough to handle, transplant them into individual pots. You can keep the strongest young plants and remove the others. Once they have developed well, you can plant them in the ground (as soon as there is no longer a risk of frost). Remember to protect them from slugs and snails!
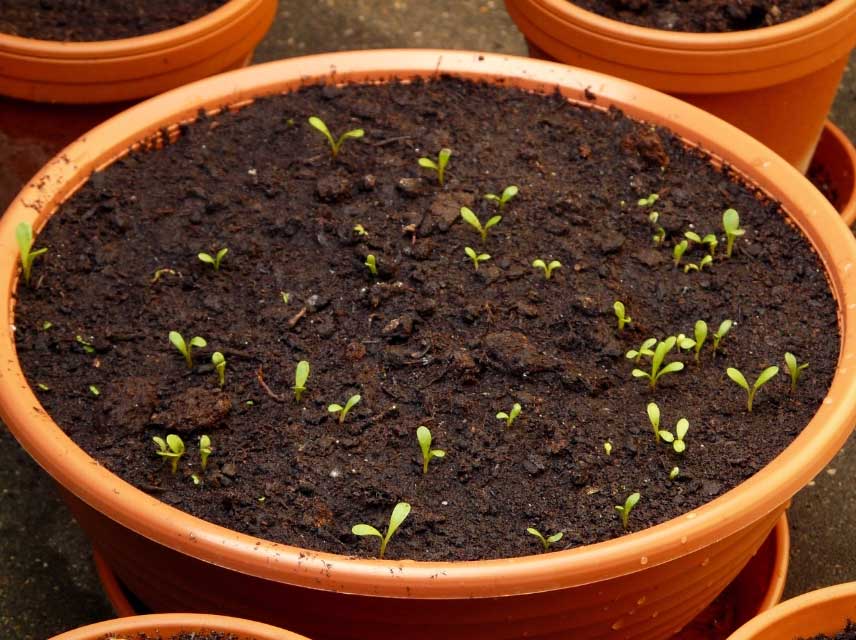 Be patient, keep the substrate moist by watering occasionally, and you will see small seedlings appear. Wait until they are sufficiently developed to transplant them.
We also recommend the Fertiss clods, ideal for your sowings. Check out our advice video on how to use them.
In the ground:
Sowing some perennials can also be done directly in the ground when there is no longer a risk of frost. For example, you can sow yarrow, oriental poppies, asters, hollyhocks, perennial flax (sowing from early spring), lupins…
- Prepare the soil quite finely: break up clumps of soil, remove larger stones, weeds, and their roots. Add some compost, then level the soil using a rake. The goal is to achieve a fine and homogeneous seedbed.
- Sow by spreading the seeds over the surface. You can sow by scattering to achieve a fairly natural effect. If the seeds are small, feel free to mix them with a bit of sand to make handling easier.
- Cover with a thin layer of compost.
- Lightly firm down using the back of a rake.
- Water with a fine spray.
All you have to do is wait (and water occasionally)! After germination, you can thin out and keep only the most beautiful and vigorous young seedlings.
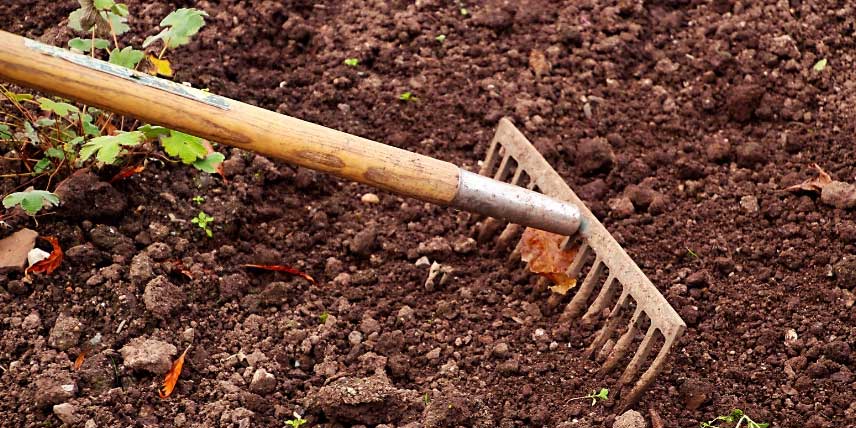 For sowing in the ground, start by properly preparing the soil, making it fine.
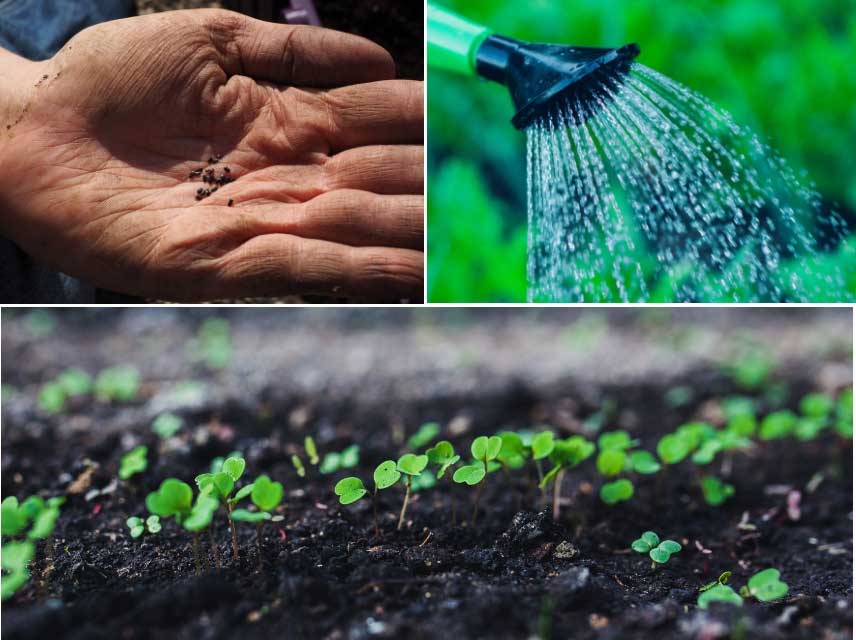 You can then sow, cover with a bit of substrate, and water. You will then see the young plants appear, and you can thin out by removing the less vigorous ones.
Not all plants have the same germination conditions: we encourage you to research the species you are cultivating and its needs. Some plants require specific conditions to break their dormancy, such as a cold period (vernalisation): aconites, columbines, astrantias, hellebores… In this case, place the seeds in the refrigerator before sowing (stratification). Others need light to germinate (yarrow, primroses…).
Some perennials will not flower in the year of sowing, but in the following years. They take the first year to establish, develop their foliage and roots, accumulate reserves, and will flower the following year… With a few exceptions: Baptisia, for example, may take three years before they start to flower… but once established, they live for a very long time!
Discover other Perennial flower seeds
View all →
Available in 0 sizes

Available in 1 sizes

Available in 1 sizes

Available in 1 sizes

Available in 1 sizes

Available in 1 sizes

Available in 1 sizes

Available in 1 sizes

Available in 1 sizes

Available in 1 sizes
- Subscribe!
- Contents

Comments