


Sowing your own seeds or those purchased commercially allows you to experience one of the simple and essential joys of gardening. When you're a beginner, you may hesitate to embark on this beautiful adventure, feeling a bit intimidated by the gestures and techniques to master.
To succeed in your sowing, it is important to respect several points to maximise your chances of seeing the little shoots that will become the flowers in your garden or the vegetables in your vegetable patch. Here are the seven steps to follow to achieve this on your first try!

Why sow your own seeds?
Sowing your own seeds is not only an economical activity since buying seeds is much cheaper than buying plants (a packet of several seeds is equivalent to a single plant at a garden centre or nursery), and even free if you harvest your own seeds, but it is also rewarding. Watching a plant grow from its seed to its development is primarily a true gardener's experience. Some even say that you are not a gardener until you have sown!
When to sow?
It all depends on what you are sowing and whether you are working in an ornamental garden or a vegetable patch, and whether outdoors or indoors.
Most seeds are sown in spring, as they benefit from the warming temperatures and regular rainfall. You can take a phenological marker with:
- the flowering of apple trees, which signals the start for sowing cold-resistant vegetables and flowers (April),
- the flowering of lilacs for heat-loving seeds (annual flowers) when lilacs bloom (April-May)
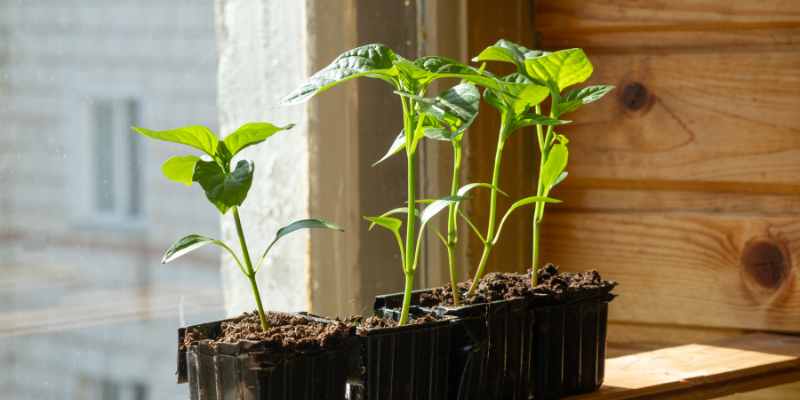
But indoors, you can anticipate and sow as early as February. It is only indoors that you will practice sowing delicate vegetables: tomatoes, peppers, and aubergines. Rely on a sowing calendar and the dates mentioned on the seed packets.
The different types of sowing
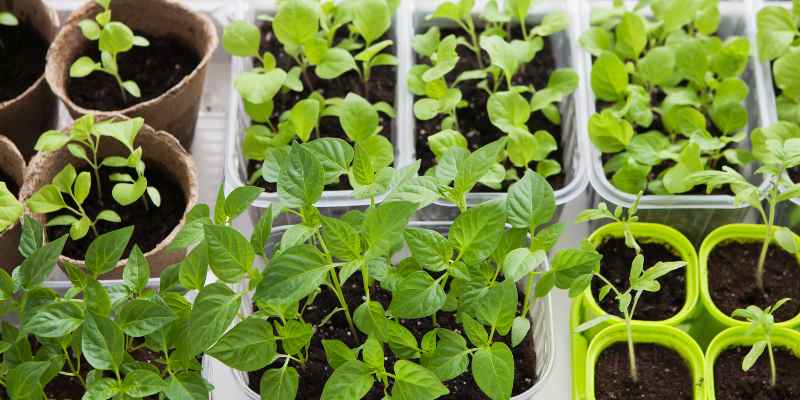
When starting with sowing, you may sometimes feel a bit lost in the different techniques. We talk about sowing in open ground (with sowing in rows, sowing by scattering, or sowing in clusters and ribbon sowing), but also sowing under cover (sowing in trays, a type of large container) or sowing in pots indoors.
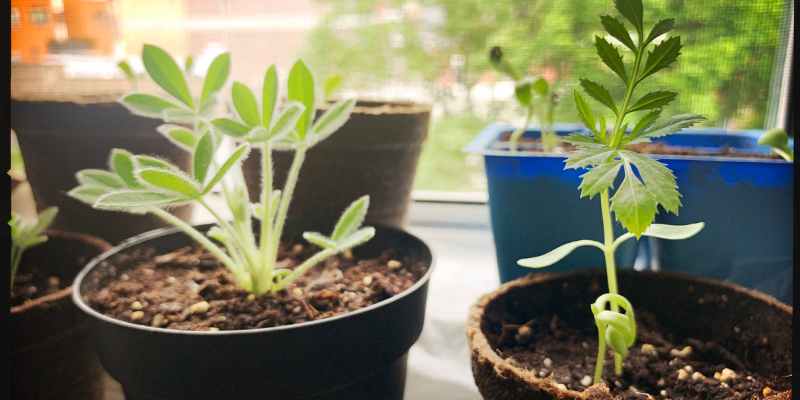
We will focus here on the latter, sowing under cover, as it is the simplest for a beginner. Indoor sowing in pots is indeed often the starting point, as it is not subject to the unpredictable outdoor climate. Germination is usually assured with the right care and depth, which is easy to master.
What equipment to use for sowing?
For indoor sowing:
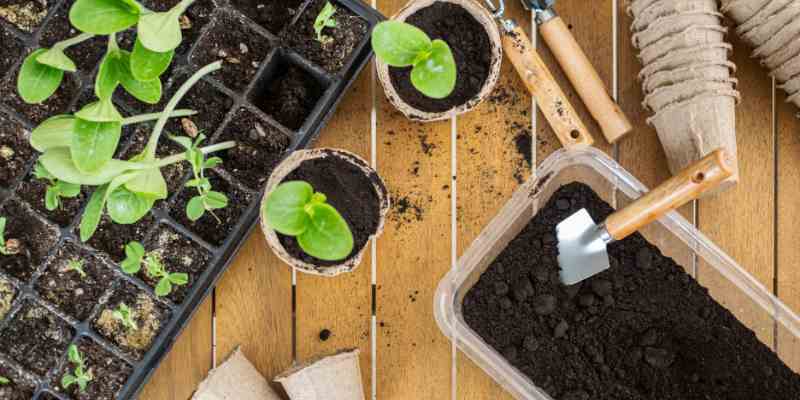
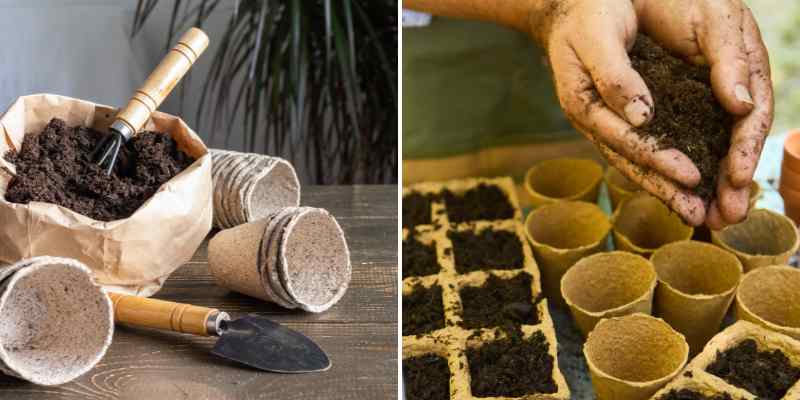
- Seed trays or individual pots (made of turf/biodegradable, plastic pots or recycled ones) : they are used for the largest seeds. You can also create your containers with newspaper, egg boxes, or toilet paper rolls.
- A seed tray with alveolate cells or a tray for sowing the finest seeds. A mini-greenhouse is not essential to start, but becomes so if you take a liking to it and try sowing more "frost-sensitive" varieties. Consider using cleaned plastic or polystyrene food trays... and free!
- Special sowing compost, or a mix of standard compost and sand (from river or quarry) + a sieve to refine the compost.
- A spray bottle
- A small stick or pencil
- Labels
Note: For sowing in the vegetable patch or directly in a flower bed outdoors, you will need a seed drill if you are sowing in rows in open ground, a watering can with a rose, and a string line for the vegetable patch. Also read: Sowing in open ground, useful and practical tools and accessories and How to sow using a seed press?
How to sow in 7 easy steps?
- Prepare the soil mix and pots or the tray: buy a ready-to-use sowing compost from the store (it's convenient for beginners), or mix 2 parts good garden soil (soil from molehills is excellent!) with 1 part coarse sand and sieve it all through a medium sieve.
2. Fill the chosen container with soil, to the brim. In the tray, draw mini furrows with the tip of a small stick.
3. Sow 2 or 3 seeds in each pot or cell, in a triangle, spaced 3 cm apart, or in a line in the tray, spaced 4-5 cm apart.
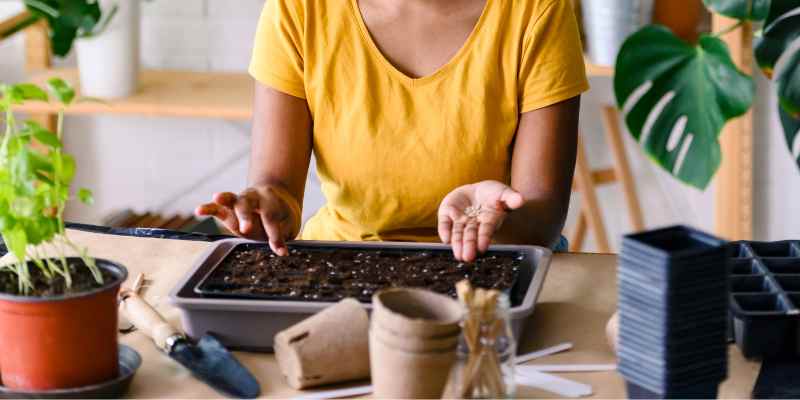
4. Sow at the correct depth: this is always indicated on the seed packet. The depth is considered to be 2 or 3 times their diameter (that is, just barely buried!). Lightly press down by hand.
5. Cover with a lid or transparent film (provided with mini-greenhouses, which is very convenient for beginners) to create a warmer atmosphere and retain moisture. This facilitates seed germination.
6. Expose to light: place your small pots or seed trays in a very bright location, at room temperature, and label them if you have several.
7. Water: use a spray bottle for fine seeds, and a small watering can for larger seeds. Monitoring and the amount of watering is crucial! The soil should be moist but not waterlogged. For more details, check our article Successfully watering your sowing: a beginner's guide.

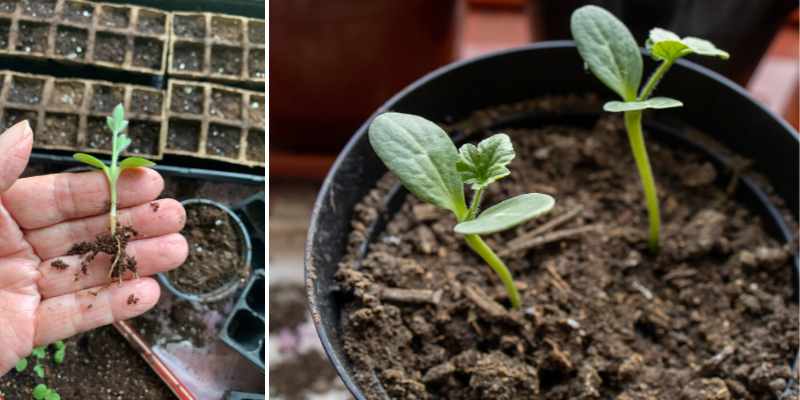
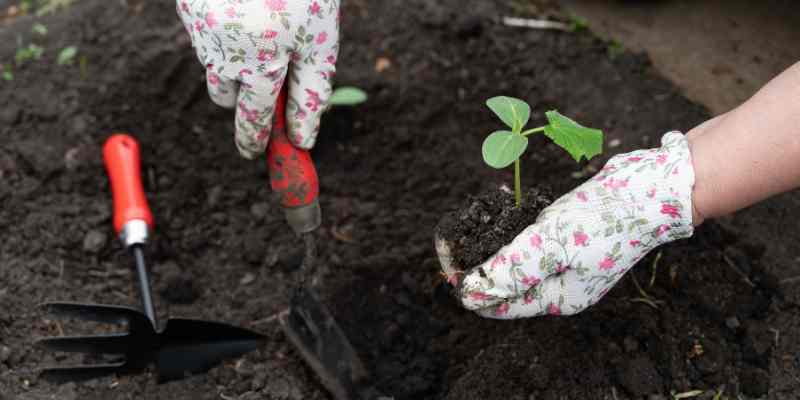
And after? Once the plants have grown a few centimetres and developed their first leaves, you will just need to thin them out, meaning selecting the healthiest plants by removing the weaker ones. Then transplant your seedlings from the tray into a pot to strengthen the root system of the well-developed young plants (sowing in pots can skip this step).
You will then transplant directly into the flower bed or vegetable patch as soon as the frosts have passed!
Our tips and tricks
- The first tip may seem obvious, but it is essential for the success of your sowing: you must be present when you have sown! Do not be absent during the weeks following your sowing: they need you for watering and monitoring.
- To avoid damping off, a dreaded issue, dry some moss and lightly sprinkle it over your pots/trays, etc.
- Always sow more than necessary: some seeds are temperamental and may not germinate.
- Start with the easiest sowing tasks, which will guarantee your success: sowing marigold, successfully sowing sweet peas, how to sow nigella seeds? For your first attempts, also favour larger seeds (nasturtium, sweet peas, castor bean, squashes and courgettes, etc.), which are easier to handle. You will need to soak them the day before to help them germinate (sweet peas and nasturtium).
- If you are a complete beginner, buy commercial seeds, ensuring you check their germination date. Not all seeds keep as long as others (we talk about seed viability; see our article How to know if old seeds are still good).
Going further...
Find out about other types of sowing in our articles: How to sow ribbon seeds?; How to successfully sow by scattering?, Sowing seeds in open ground; the different types of seeds for your sowing; how to make a seed ribbon?


Comments