


Pruning your perennial plants is essential for maintaining a healthy, flourishing, and well-kept garden! But when and how should you do it without risking damage to your plants? Don’t worry! Discover a simple and effective 4-step method to prune your perennials at the right time, stimulate their growth, and ensure beautiful flowering. Follow these practical tips to care for your perennial plants like a pro and enjoy a flourishing garden all year round.

When to prune your perennials?
There are two main periods for pruning perennials:
- In spring (March-April): Cut back the dry stems from the previous year to make way for new shoots. This is ideal for delicate perennials that are sensitive to cold, such as salvias or fuchsias.
- In autumn (October-November): Clean up the plants after flowering to prevent them from being smothered by dead stems. Some perennials, like asters and rudbeckias, can be left in place to feed birds and protect insects during winter.
? Tip: If you're unsure, wait until spring—it’s safer!
What tools should you use?
- A sharp pruning shear for clean cuts or a shear
- A pair of gloves to avoid minor injuries
- A bin, bucket, or bag to collect pruning waste
Good to know: Disinfect your pruning shear with a bit of alcohol before and after pruning to avoid spreading diseases between your plants.
How to prune in 4 easy steps?
Pruning perennial plants is a simple task that involves several steps. The goal is to remove dead or damaged parts to encourage regrowth and future flowering.
1. Identify dry or damaged stems
Before cutting, it’s important to identify which parts of the plant need pruning. Dry stems are usually dark brown, brittle, and show no signs of life. Some may still be green at the base, meaning they are partially alive. In this case, it’s best to cut only the dead part.
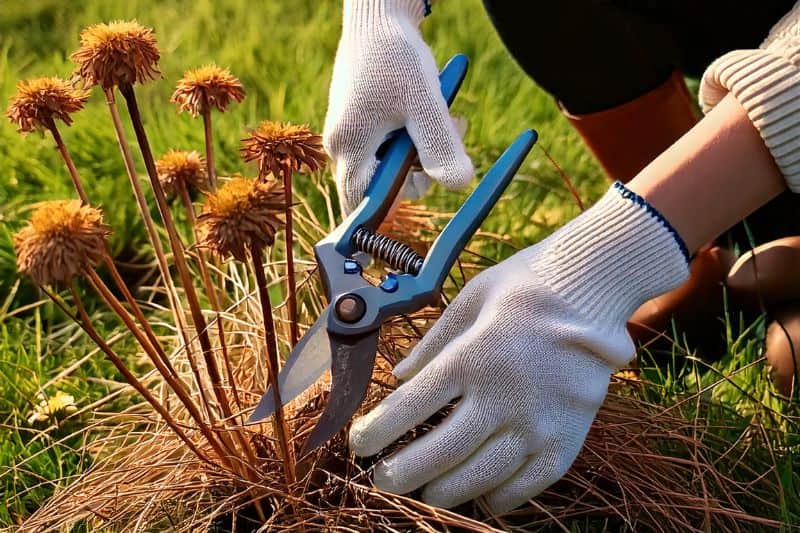
2. Cut about 5 cm above the soil
Once you’ve identified the dry stems, cut them cleanly with a sharp pruning shear. The ideal is to prune about 5 cm above the soil to avoid damaging the plant’s base before regrowth. Cutting too close to the soil could weaken the perennial, while cutting too high would leave unnecessary stems that might dry out further. It’s important to make clean and precise cuts to minimise the risk of disease.
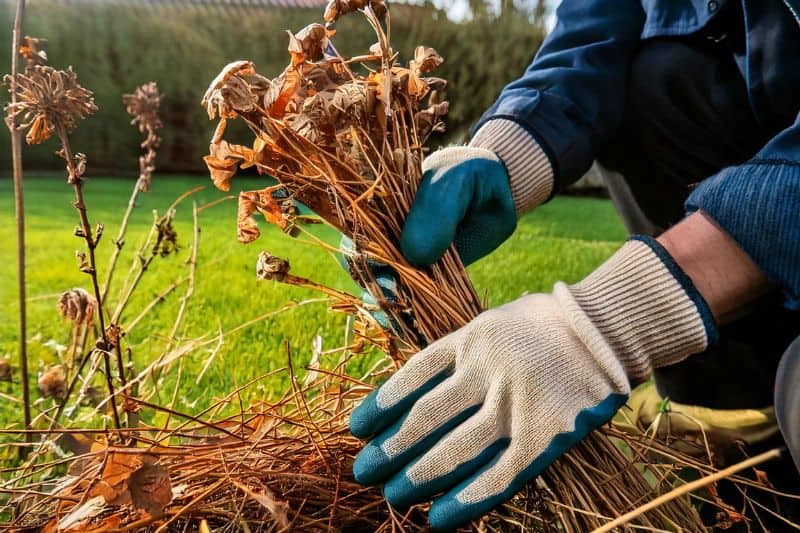
3. Remove the dry stems
The cut stems should be removed, as they could encourage disease, especially in humid regions where they might cause rot. To clean effectively but gently, simply collect these parts by hand or use a light rake to avoid damaging the young shoots of the perennials.
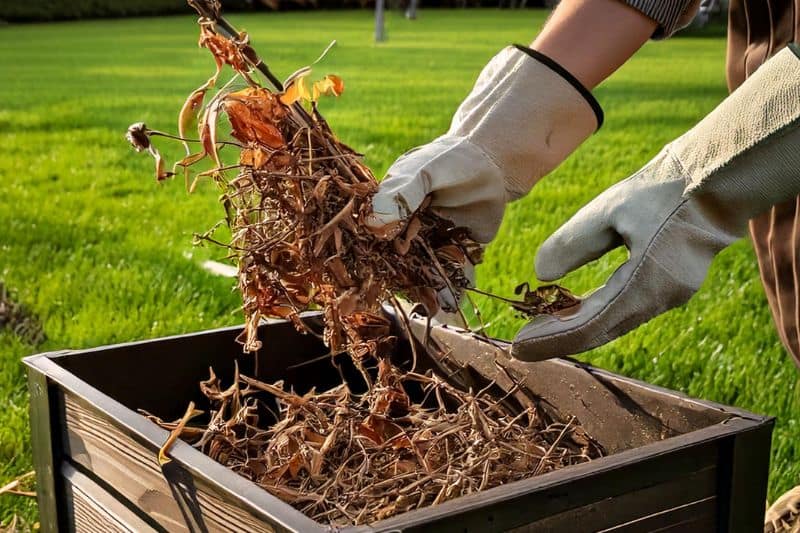
4. Dispose of or compost the waste
Once pruning is complete, you’ll need to decide what to do with the plant waste.
- If the removed stems and leaves are healthy, they can be added to compost to enrich the soil later.
- However, if the plant was diseased or infested with parasites, it’s best to dispose of the waste in the green bin. Leaving contaminated waste in the garden could spread diseases.
After pruning, what next?
Add compost or a bit of natural fertiliser
To give your perennials a boost after pruning, a nutrient boost is recommended. Compost is ideal, as it enriches the soil with organic matter and promotes beneficial microbial life for the plants. Simply spread a thin layer at the base of the perennials and lightly work it into the soil with a fork or hoe.
An alternative is to use a natural fertiliser suitable for perennials, such as well-rotted manure or nettle liquid fertiliser. This gradually nourishes the plant and strengthens its roots for better recovery.
Mulch the soil in winter to protect the roots from cold
If pruning is done in autumn, consider mulching the soil to protect the perennials from frost. Mulching helps maintain a stable temperature at root level and reduces water evaporation. It can be done with various natural materials, such as:
- Dead leaves, perfect for protecting perennials while promoting soil biodiversity.
- Straw, which acts as an effective insulator against the cold.
- Wood chips or bark, which offer long-lasting protection.
- Or even the pruned fragments of your perennials.
This mulch can be left in place until early spring, when it will gradually decompose into the soil. It also helps suppress weeds and maintain well-structured soil.


Comments