


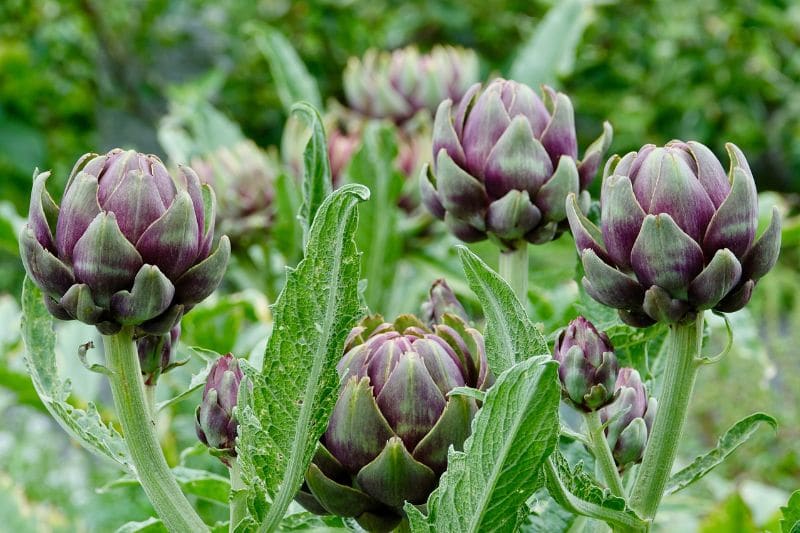
The artichoke, with its silvery foliage and pom-pom flowers, is a plant that adds genuine aesthetic value to a garden, in addition to being an excellent vegetable when still in bud. Easy to grow in the vegetable garden, the artichoke is also a perennial plant that can be easily multiplied by division. This process, also known as eye division, allows you to obtain new young plants identical to the mother plant and at a lower cost. In this tutorial, we will discover together when and how to divide an artichoke in the garden.
When to divide the artichoke?
The ideal time to divide an artichoke is at the very beginning of spring depending on your region. In areas with a mild climate, division can take place from March until mid-April for the colder regions of the country. This is when the plant comes out of its winter dormancy and begins to develop new shoots, called eyes. These young shoots are the starting point for your new artichoke plant. Preferably perform the division when the weather is overcast to facilitate the recovery of the young plants.
Note: eye division can also be done in autumn, around October, but the chances of recovery are somewhat uncertain depending on the following winter.
How to divide artichokes?
1- Before heading out into your vegetable garden, first prepare your tools. You will need:
- a spade;
- gardening gloves;
- a clean and disinfected pruning shear to limit the spread of disease;
- some vegetable garden soil or well-matured compost;
- and of course, a mother artichoke plant;
- optional: an aerating fork to prepare your soil.
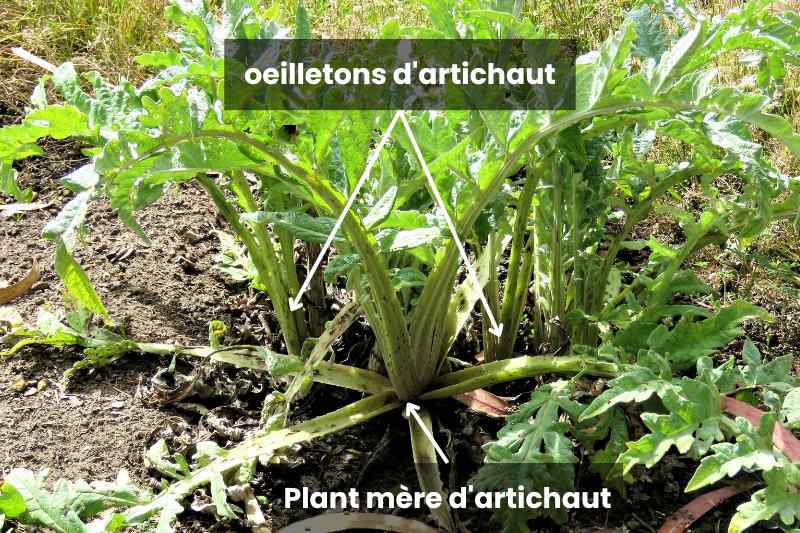
2- Start by observing your artichoke to see where the mother plant and the surrounding eyes are located.
3- Using your pruning shear, cut the large leaves of the eye by two-thirds, while keeping the young leaves that are developing. This will prevent the plant from exhausting itself due to transplantation and will facilitate the removal of the young plant.
4- Next, using the spade, dig around the plant until you reach the crown, which is the base of the plant from which the eyes emerge.
5- Using the spade or a knife, gently separate each eye from the main crown, positioning your spade between the eye and the mother plant and driving the tool into the soil vertically. Be sure to leave some roots on the young shoot. This step is called splitting.
6- Carefully lift the young plant out of the soil.
7- Remove any damaged foliage and trim the roots neatly.

How to replant young artichokes and care for them?
Now that you have your young artichokes, it’s time to replant them. Choose a sunny location, sheltered from strong winds. The artichoke prefers rich, well-drained, slightly alkaline soil.
1- Using a bio fork or spade, work the soil to loosen it deeply.
2- Dig holes large enough, generally three times the size of the root ball, to accommodate the roots of each eye (also called "splits"). Generally, it is recommended to plant the eyes about 1 to 1.5 metres apart.
3- Place each split in its planting hole, then backfill the hole with a mixture of 2/3 garden soil and 1/3 well-matured compost or soil to facilitate recovery and production, as the artichoke is a greedy plant!
4- Firm the soil around the young plant well. You can also mound the soil around the base.
5- After planting, water generously to facilitate recovery and eliminate air pockets.
6- Continue to water regularly during the first few weeks. The artichoke is a plant that loves water, but be careful to avoid excesses that could lead to root rot.
Tips:
- Install a mulch around your young artichoke to retain soil moisture and protect the roots from the cold.
- In spring, you can add well-matured compost at the base of your artichokes to promote flower development.
- In winter, in cold regions, consider protecting your artichoke with a winter cover or a mulch of fallen leaves. Find all our tips on how to protect the artichoke from the cold.
Further reading
- To learn everything, check out our article on artichokes: planting, sowing, cultivation, and maintenance.
- Discover our entire range of artichokes.


Comments