


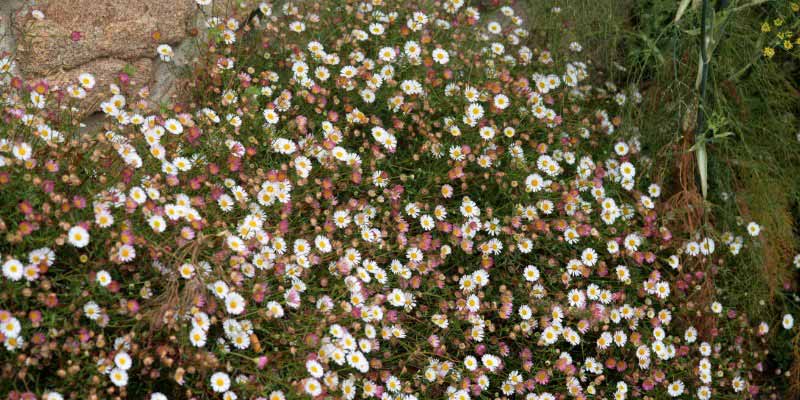
Erigeron, also known as Fleabane, is a charming perennial that offers, sometimes until autumn, capitulum-shaped flowers, similar to asters or daisies, featuring a yellow centre surrounded by white, pink, mauve, or violet ligules. The most well-known is Erigeron karvinskianus, which produces a profusion of small white flowers with a yellow centre. Division is the simplest and most effective technique for multiplying Erigeron. This allows for the regeneration of clumps, which could otherwise become exhausted and stop flowering as much. Discover in this tutorial all our tips for successfully dividing Erigeron and thus obtaining new plants!
When to divide an Erigeron?
The most favourable time to divide Erigeron is spring, around April. Indeed, this period is conducive to the growth and development of new plants, but it is also possible to do so in autumn (October-November). Avoid intervening during the flowering period, as young plants need to concentrate their energy on forming new roots rather than on flowering. We recommend dividing your Erigeron clumps every 3 to 4 years.
Erigeron can also tend to self-seed spontaneously, and you can then collect these young plants, but division has the advantage of providing well-stocked clumps more quickly while regenerating the plants.
How to divide it?
- Choose a well-developed clump of Erigeron, ready to be divided.
- Gently remove it from the soil using a spade or garden fork. Dig wide and deep enough to avoid damaging its roots. Lift the plant and shake it lightly to remove excess soil.
- Manually separate the clumps into several sections, ensuring that each retains some leaves and roots to guarantee a good recovery. If the clumps are particularly dense, you can use a sharp knife or pruning shear to cut them.
- Trim damaged roots and remove dead or yellowing leaves.
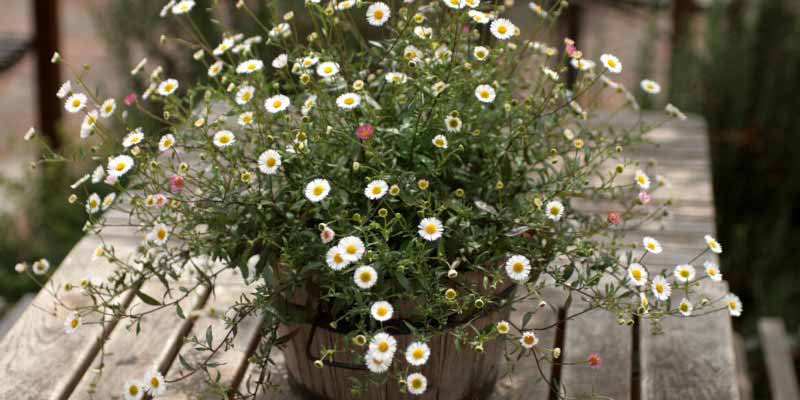
- Prepare the soil at the location where you wish to replant the new seedlings. Dig planting holes about 20 to 30 cm deep and space them at least 30 cm apart. Add some well-decomposed compost, which you will mix with the planting soil. You can also choose to plant them in pots: in this case, prepare pots with potting soil.
- Place each division in a planting hole or pot, and fill in with potting soil all around.
- Lightly firm the soil around the plant with your hands to eliminate air pockets.
- Water thoroughly.
After planting, it is crucial to care for the new divisions to ensure their proper growth. Water regularly during the first few weeks, especially if the weather is dry. However, avoid overwatering, as this could lead to root rot. You may also add organic mulch around the plants to retain moisture and provide additional nutrients.
Necessary materials
- A spade or garden fork
- A watering can
- Pruning shears or a sharp and disinfected knife
- Well-decomposed compost or organic fertiliser
- If you wish to plant in pots: pots and potting soil


Comments