


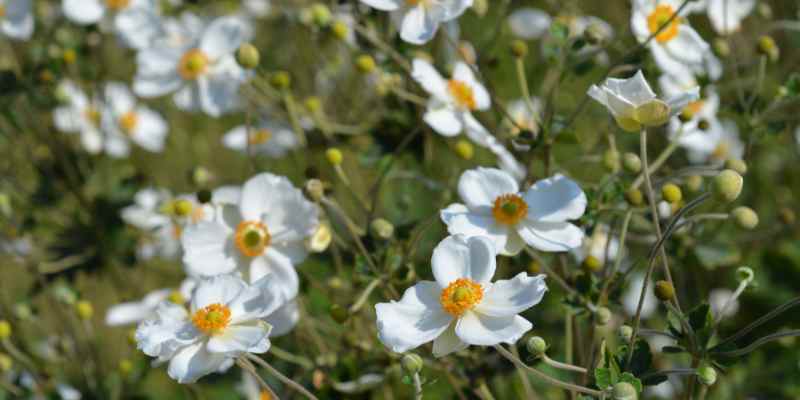
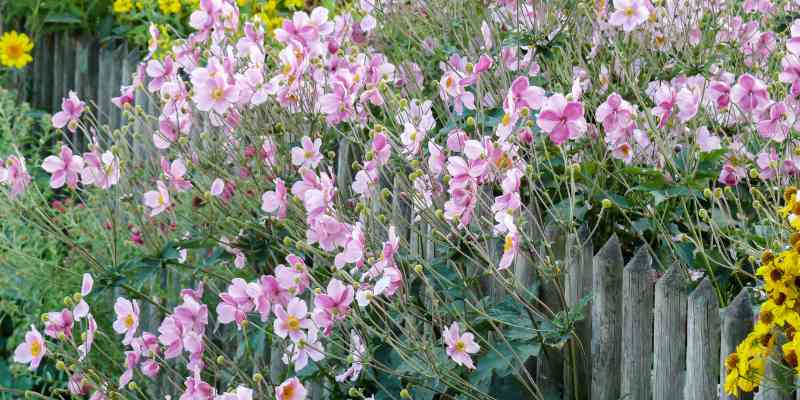
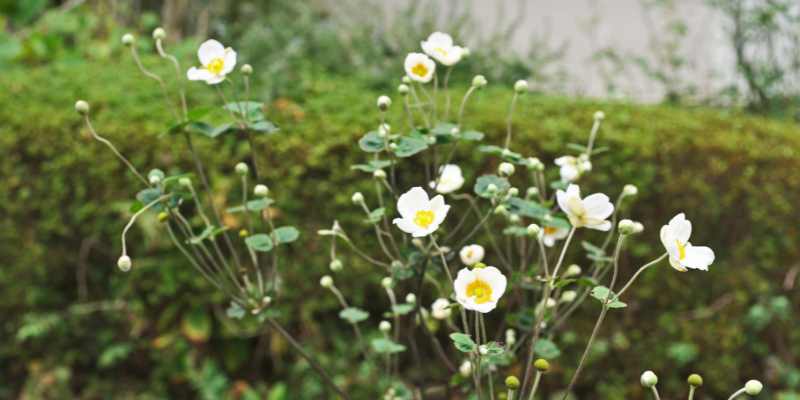
Japanese anemone (Anemone hupehensis) is one of the the garden's most beautiful flowers, flowering somewhat out of season while others begin to fade. This perennial, with its very elegant flowers ranging from pure white to deep pink, is a delightful late-summer and autumn spectacle in many gardens. Easy to grow, it can nevertheless become invasive, so it is useful to divide it and replant divisions in other semi-shaded areas of the garden where it thrives.
How to proceed? What are the right steps to successfully divide Japanese anemones? We tell you everything in our tutorial!
Why dividing a Japanese anemone?
Dividing Japanese anemone offers several advantages. Firstly, it allows control of the plant's spread, preventing undesirable overcrowding. This perennial is in fact suckering with its fibrous tubercles, and spreads easily when soil and exposure conditions are favourable.
Secondly, division is an excellent way to propagate this beauty to other areas of your garden. Finally, the process boosts the plant's vigour and flowering , regenerating it and stimulating new growth.
When to divide a Japanese anemone?
Best time to divide Japanese anemone is spring, in March, when plant is just starting to grow. You can also divide in autumn, in November, once plants are well established. Both periods reduce stress associated with division during flowering.
How to divide Japanese anemone?
Japanese anemone can be propagated in two ways: either by clump division or by root division, depending on how plants have developed.
Required equipment
- garden fork
- pruning shear or a knife
- gardening gloves
1- Clump division
Clump division concerns plants that naturally produce many shoots at ground level from a common base, forming a "clump". It is the simplest vegetative propagation method for Japanese anemone. By dividing the clump, you can obtain several new plants, each with its own base and its own root system.
- Start by watering the plant thoroughly the day before dividing to make lifting the roots easier.
- Using your garden fork, dig around the clump, taking care to dig deep enough to extract the whole root system.
- Lift the plant gently from the soil and shake it lightly to remove excess soil.
- Using pruning shears or a sharp knife, carefully separate the clump into several parts, ensuring each division has at least one shoot and part of the root system.
- To encourage healthy growth, remove any diseased or damaged parts of the plant.
2- Root division
Root division involves separating different sections of a plant's root system, often for plants with extensive root growth. Each section must contain at least one shoot or a bud and a portion of roots to give rise to a new plant.
- As with clump division, water the plant the day before.
- Once the plant is lifted, identify growth zones on the root system. Aim to divide the rootstock so that each section includes at least part of the parent plant, a shoot or a bud and a portion of roots.
- With pruning shears or a sharp knife, separate the root segments.
- In both methods, to encourage healthy growth, remove any diseased or damaged parts of the plant before replanting.
How to transplant Japanese anemone?
- Prepare new planting areas by digging holes twice the width and depth of the roots of your divisions. It is also important to replant immediately after dividing.
- Place each division in its hole, ensuring the soil surface is level with the plant's crown.
- Fill the holes with soil, firm lightly and water well.
- Finally, add mulch around each plant to retain moisture and reduce weeds.
Our tips
Japanese anemone can also be grown from cold-frame sowing, but this method is less reliable than division, as it is often unpredictable.
Remember to always water plants after dividing and transplanting, as this helps minimise transplant shock.
These new plants can take a few years to bulk up properly and flower.


Comments