


Yellow, red, pink, green or black, tomatoes are appreciated by all gardeners with a vegetable garden. Want to save money and preserve favourite tomato varieties? Harvesting and preserving your own seeds is the ideal solution. Follow us in this tutorial to learn how to select, harvest, clean and preserve your tomato seeds. It’s easy, ecological and so rewarding! Put on your gloves… or better still head to the kitchen to make your own seeds!
Why harvest your tomato seeds?
Harvesting your own tomato seeds primarily saves money. By saving seeds from your best tomatoes each season, you won’t need to buy seed packets every year.
In addition, you also reduce your carbon footprint by avoiding transport of commercial seed and you favour a sustainable approach to gardening.
Next, this helps preserve rare or heirloom tomato varieties, often more flavoursome and resilient, which are increasingly scarce in commerce.
Finally, as plants are grown in your garden over time they adapt to your environment, which improves their resilience and productivity from generation to generation.
Ingrid’s little note: you will still need to select your plants and tomatoes carefully for seed saving (as we’ll see below) to avoid the opposite effect: degeneration of varieties over generations.
First step: selecting tomato plants and fruits
Choosing tomato plants
Start by observing tomato plants in your garden. Best candidates are plants that are strong, healthy, early and high-yielding — in short, the finest specimens! Robust, disease-free plants will give you high-quality seeds for next year.
To ensure seeds produce plants true to this year’s characteristics, favour non-hybrid and heirloom varieties. Unlike hybrids (also called “F1”), heirloom varieties retain their characteristics from one generation to the next.
Selecting the fruits
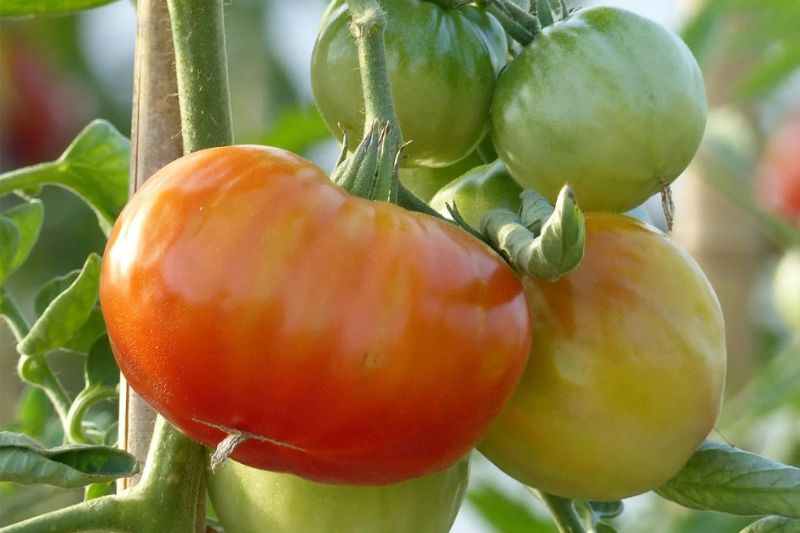
Once plants are chosen, pick the finest tomatoes — those fully ripe, ready to be harvested, just before they begin to split. You’ll likely have to resist the urge to eat them! Avoid small, damaged or diseased fruits.
First fruits of the season are often the best if you want to keep the best genetics. You can also wait until mid-season, but avoid late-season fruits, when disease risk is greater.
Harvesting tomato seeds
Required equipment
- a knife
- a spoon
- a glass or plastic jar
- a little water
- a clean cloth
- a very fine-mesh sieve (chinois or fine sieve)
- one or more kraft envelopes
Steps
1- After selecting your finest tomato, cut it in half.
2- Using a spoon, collect seeds and pulp from the tomato and pour them into a jar.
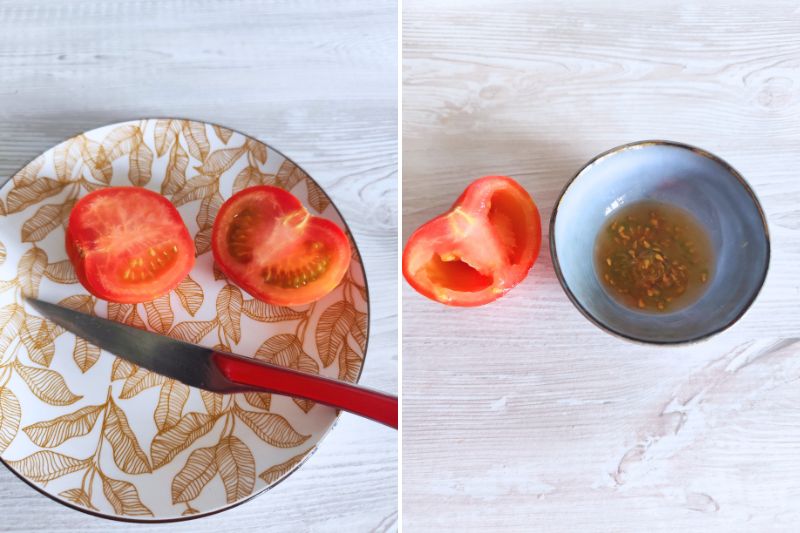
3- Add a little water (1 part water to 3 parts pulp and seeds) into the jar.
4- Allow to ferment for 2 to 5 days at room temperature. Stir occasionally. A white film may form on the surface — no need to worry, this is normal!
Fermentation is important because it dissolves the gelatinous layer (the aril) that surrounds seeds. This layer protects the seed and prevents germination. Without fermentation, seeds may remain dormant longer and be less vigorous.
Ingrid’s tip: to stop fruit flies nibbling at the jar, you can cover the container with a piece of cloth.
5- Once fermentation is complete, rinse the seeds. Add water, stir and pour off gently to remove debris. Repeat until seeds are clean. Also discard any floating seeds, as they will probably not germinate.
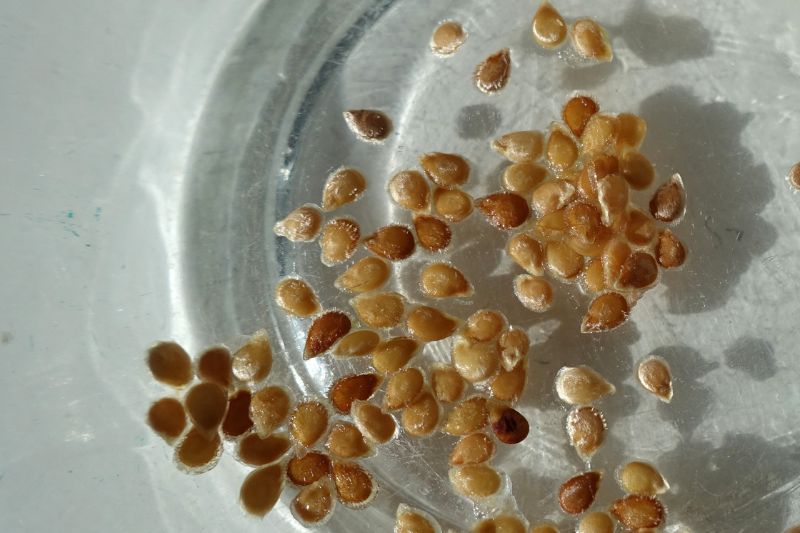
6- Drain seeds using a very fine-mesh sieve (or a coffee filter).
7- Spread seeds out on a clean cloth. Avoid kitchen roll, which can stick.
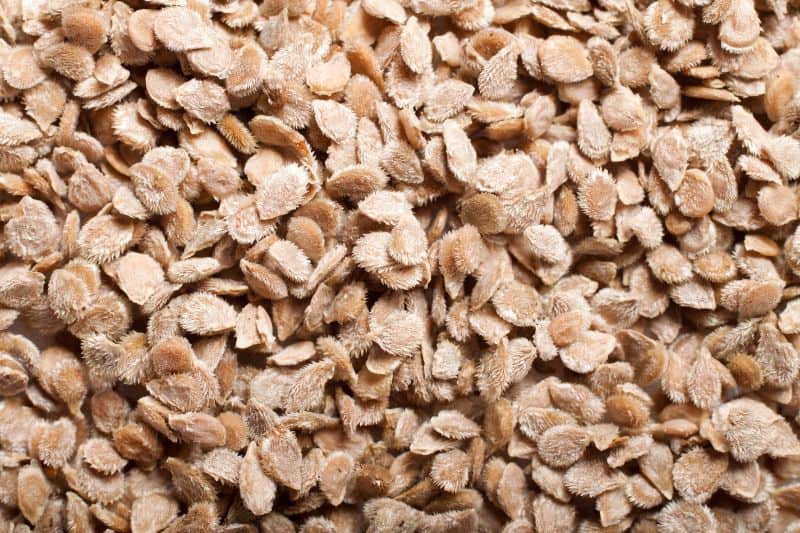
8- Then let seeds dry for about a week in a dry, well-ventilated place out of direct sunlight.
Storing seeds
Ideally, store seeds in envelopes or kraft packets. Avoid airtight containers that can trap moisture. Note variety and harvest date.
Keep seeds in a cool, dark, dry place, such as a cupboard or a healthy cellar. Well-stored tomato seeds can remain viable for 4 to 6 years.


Comments