


If you are looking for an effective way to increase production in your vegetable garden, installing a forcing tunnel or growth tunnel can be an ideal solution. The forcing tunnel allows extension of plants' growth period by creating a protected, controlled environment, enabling plants to grow earlier in spring and later in autumn. In this tutorial, we will guide you through the steps to install a forcing tunnel in your kitchen garden.
What is a forcing tunnel?
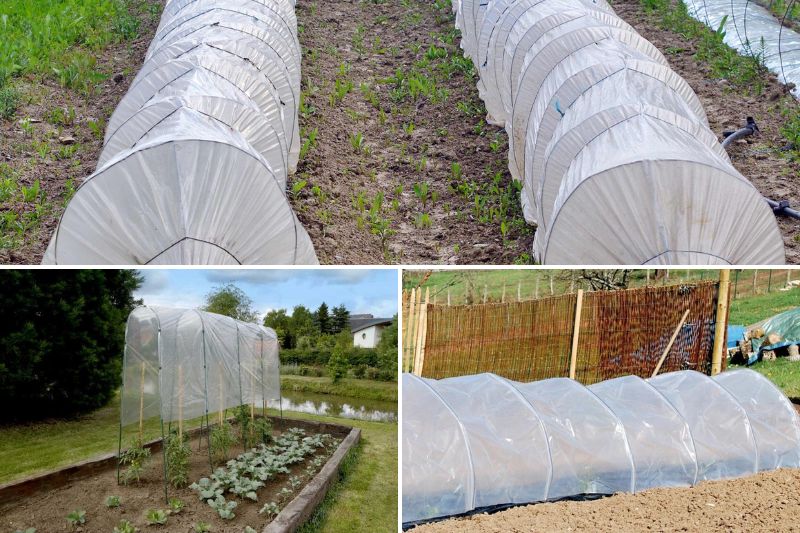
A forcing tunnel is used in the vegetable garden to extend the plants' growth period by creating an environment that is warmer and more protected than outdoors. This enables plants to start growing earlier in spring and to continue producing later in autumn, thereby extending their growth period.
The forcing tunnel usually consists of a metal or PVC frame covered with a transparent plastic cover. The cover helps retain the sun's heat and create a greenhouse effect inside the tunnel. It also protects plants from external elements such as wind, rain, cold and harmful insects.
Forcing tunnels are commonly used to grow vegetables such as lettuce, spinach, radishes and carrots, as well as aromatic herbs. They are particularly useful in areas where growing seasons are short or weather conditions are unpredictable.
Take care of your forcing tunnel and it can be reused for several years.
How to install a forcing tunnel?
Here are the general steps to install a forcing tunnel in the kitchen garden:
1. Choose a suitable location: the tunnel should be installed on flat ground, sheltered from wind and receiving plenty of natural light.
2. Prepare the soil: remove weeds, stones then level the soil.
3. Assemble the frame: assemble the tunnel frame following manufacturer's instructions. Frames are generally metal or PVC and come in sections to assemble.
4. Install the cover: place the cover over the frame and secure it using the clips or fasteners supplied with the tunnel. Ensure the cover is taut with no folds or air pockets.
5. Secure the tunnel: if the tunnel is to be used for a prolonged period, it is advisable to secure it to the ground using stakes or pegs to prevent movement or collapse in strong winds.
6. Create an access: to make access to the tunnel easier, you can create an opening by cutting a section of the cover.

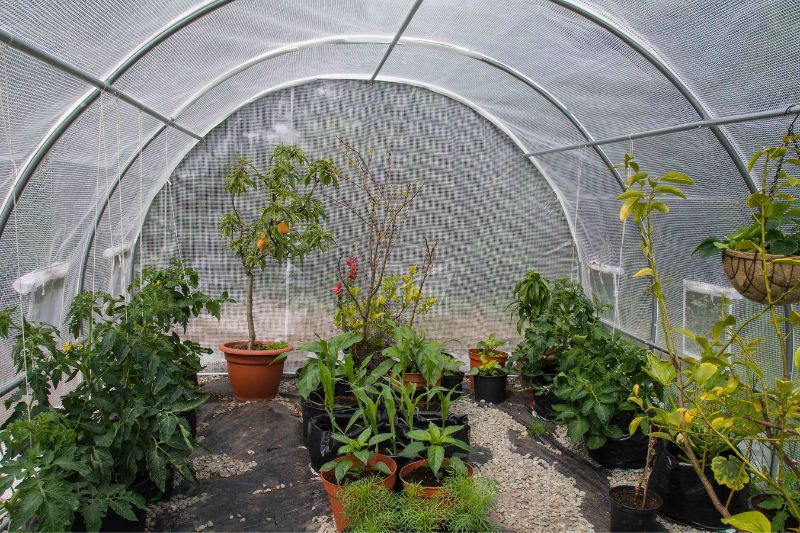
7. Add interior elements: add items such as plant supports, filaments to protect against insects or water trays to maintain humidity inside the tunnel.
Once installed, you can start planting your vegetables and enjoy benefits of a protected, controlled environment for the plants' growth.
Necessary equipment
- Tunnel frame: this is usually a PVC or metal frame, sold in sections to assemble. You can also build your own frame using PVC pipes, wooden posts or other materials.
- Cover: the cover should be large enough to cover the frame and able to withstand weather. Transparent polyethylene covers are commonly used for forcing tunnels.
- Fixing stakes: if you plan to use the tunnel for a prolonged period, you will need to secure it to the ground with stakes to prevent movement or collapse in strong winds.
- Clips or fasteners: you will need clips or fasteners to attach the cover to the frame.
- Basic tools: you will need a hammer, saw and wire cutters to assemble the frame, secure the stakes and cut the cover if necessary, as well as a spade and a rake to prepare the soil.
- Interior elements: to optimise the growth environment inside the tunnel, you can add plant supports, filaments to protect against insects and water trays to maintain humidity inside the tunnel.
Depending on size and complexity of the tunnel you wish to build, you may also need other specific tools or materials.
→ Find everything you need to install a forcing tunnel within our online shop here.


Comments