


Raised beds are appealing for several reasons: aesthetically pleasing to look at, they can be considered when you have limited space available, and they save time on preparing bare ground. If you can find them as kits in garden centres, it's quite simple, even for non-DIYers, to make them yourself.
How to go about building your own raised beds? We’ll tell you everything!
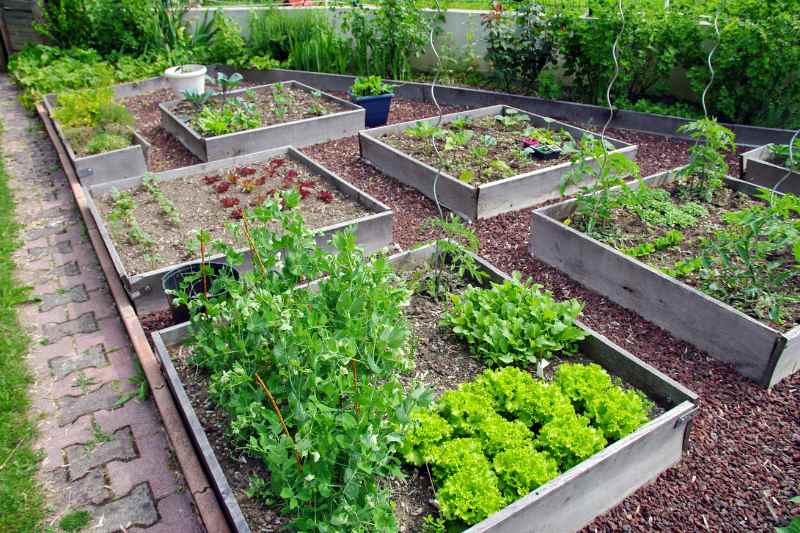
The many advantages of raised beds
Simplified above-ground cultivation, more ergonomic for people who struggle to bend down or work at ground level, space-saving for small gardens, aesthetic, easier to manage weeds, simplified crop rotation, and easier maintenance... In short, all advantages compared to traditional in-ground vegetable gardens!
If your garden soil is too hard, compacted, or stony, making it difficult to grow carrots and other root vegetables, raised beds are perfect for you!
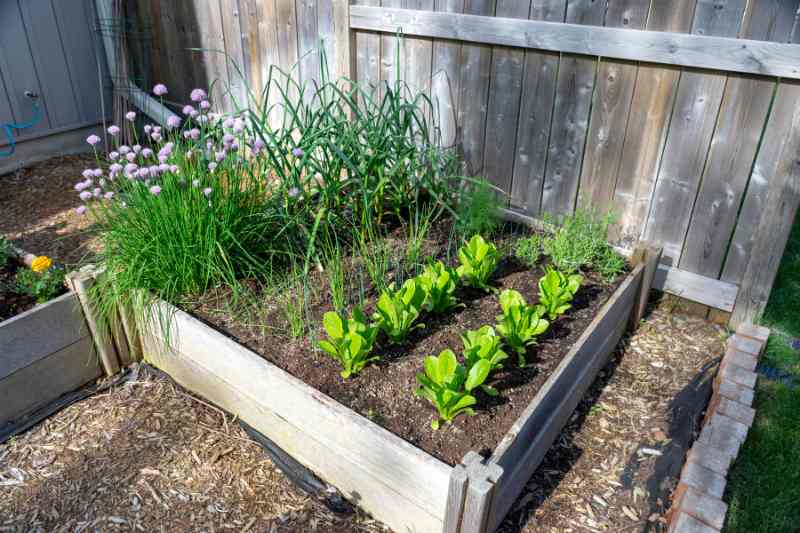
If you want to grow many aromatic plants that require improved drainage and loose soil, raised beds are again the solution.
Choosing the location
As with in-ground vegetable gardens, exposure is very important. Choose a sunny spot, sheltered from the wind. A south or west-facing exposure is crucial for growing fruiting vegetables. If it's a courtyard or a small garden that's too shady, opt for raised planters or beds that will receive more light, or settle for growing mainly leafy vegetables, salads, or herbs that require less sun.
The ground should be relatively flat to avoid too much "DIY" on the structure. You can place your raised bed structures directly on grass, provided you water the surface well before placing the beds.
When to build your raised beds?
You can do it all year round, but autumn or winter, when activity is lower, is ideal for building them so they’re ready for sowing in the early months of the year. You can fill them only in spring during the planting season.
Which material and how many beds to plan?
The traditional raised bed is made of untreated wood. It's essential to choose the most durable wood over time, such as chestnut, Douglas fir, larch, or thermally treated wood (retified wood), and avoid any chemically treated wood. The charring technique—burning the wood before use—slightly increases its durability while adding a certain aesthetic, provided the wood is cleaned well after burning to avoid any residue transfer into the soil.
Create from 1 to 12 beds if you like! The ideal is to make 4 beds for a visually pleasing result (4 beds form a large square), but it all depends on the space you have: if the small garden is long, you might align 1 to 3 beds, for example. The key is to define your needs in terms of consumption (read our article: How to create a vegetable garden tailored to your needs?).
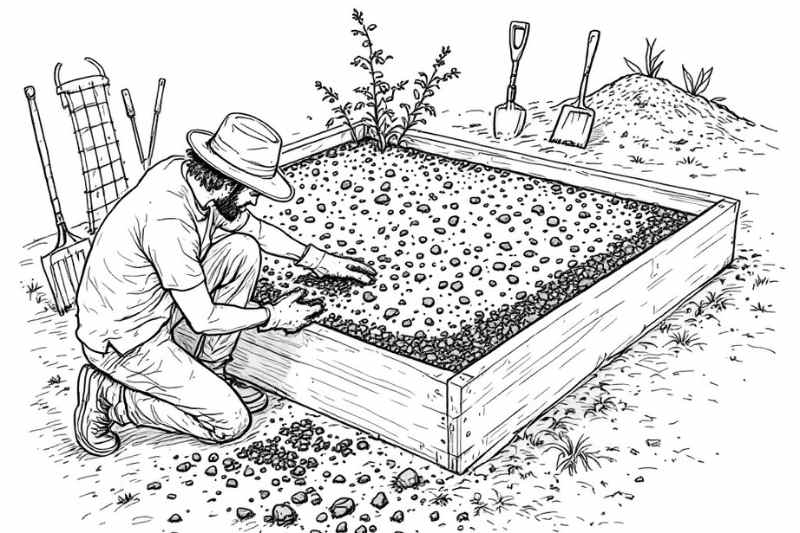
Building the raised bed structure
It’s not as complicated as it seems, as it involves assembling four planks at right angles. For even more ease, have the planks cut to the desired dimensions in the wood-cutting section of your DIY store.
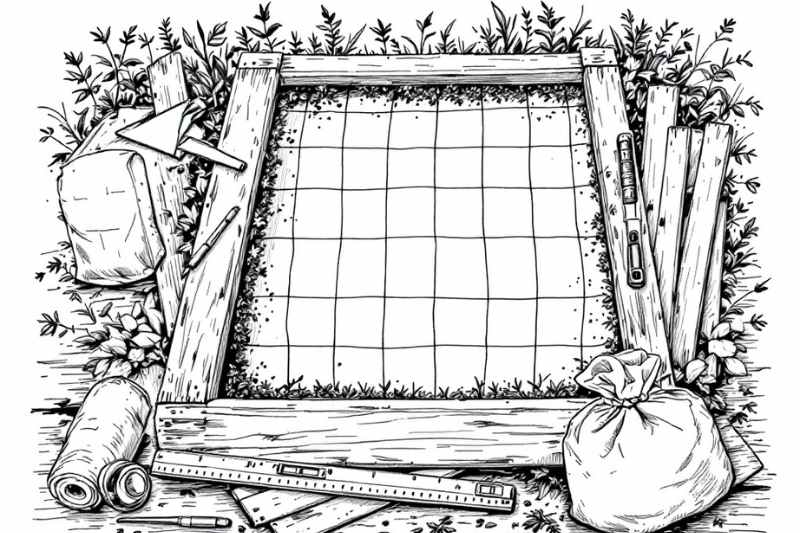
Materials needed
- Untreated wood to obtain planks 20 to 30 cm high, 1.20 m long, and 2.5 cm thick
- Screws and a screwdriver
- Saw
- Tape measure
- Spirit level
- Wood chips, compost, leaf mould (count on 200-300 litres of organic matter)
- String or thin wooden slats to draw the grid (optional)
- Wheelbarrow/big bag to fill the beds
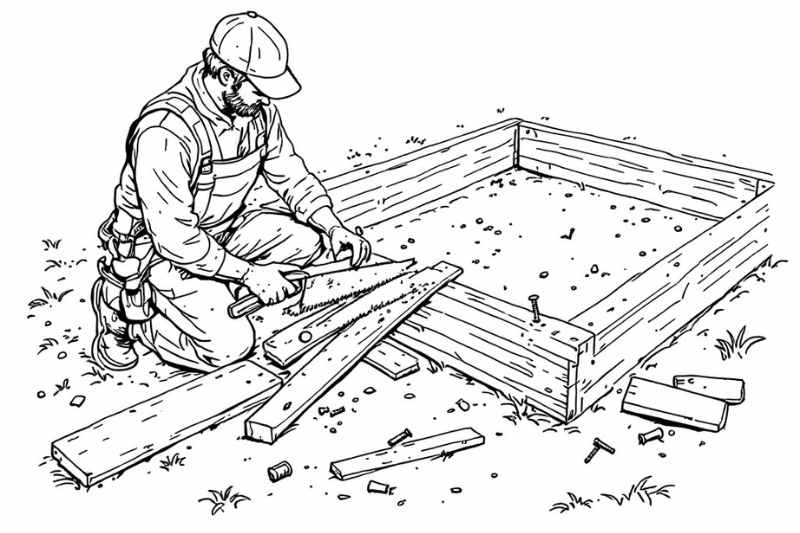
1- Build the structure
- Cut the wood: cut four planks of the same length to form a square (1.20 metres per side will allow you to make 9 mini squares of 40 cm each inside). A height of 30 cm is sufficient to hold a good amount of compost while allowing easy access for maintenance and harvesting. But you can increase it for root vegetables or for aesthetic reasons.
- Assemble the frame: use screws and corner brackets to assemble the planks into a square frame. Use the spirit level to ensure the frame is straight.
2- Prepare the placement of the raised bed
Optionally place unprinted cardboard at the bottom of the bed, which will decompose. This is optional. It will be really beneficial for increasing your soil’s fertility and rationalising watering to place the frame directly on grass or bare ground (and minimally worked if needed).
It’s not mandatory to bury the planks in the ground. The frame can rest directly on the soil. However, for more stability, you can slightly sink the planks (a few centimetres) or use corner stakes to secure the frame.
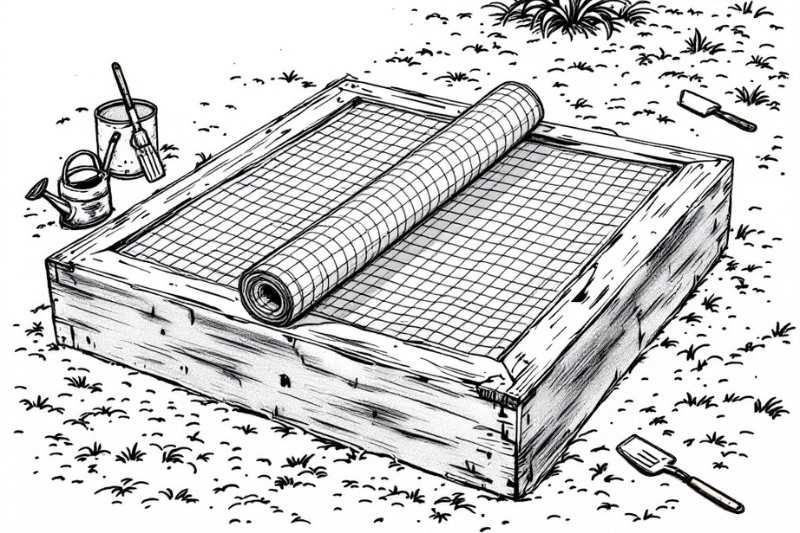
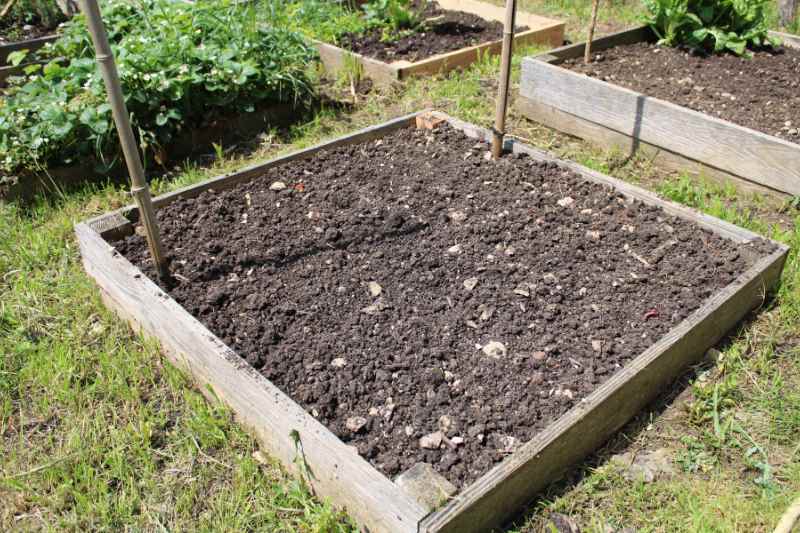
3- Fill the beds
1- Optionally add a layer of gravel at the bottom. This drainage layer is important to avoid waterlogging in taller raised beds. It will allow excess water to drain and prevent plant roots from rotting. For a bed placed directly on grass, water generously, then spread a good layer of wood chips first.
2- Fill the bed with a mix of compost and potting soil. Fill the rest of the bed with a mix of compost (more or less decomposed) and high-quality potting soil to ensure optimal plant growth. Finish with a layer of light, well-draining soil. The soil should reach the top of the beds, as it will settle. Level with a rake at each stage, lightly compacting.
3- Optionally, using string or wooden slats, create as many squares on top of the soil to define divisions and the placement of different vegetables/herbs/flowers.
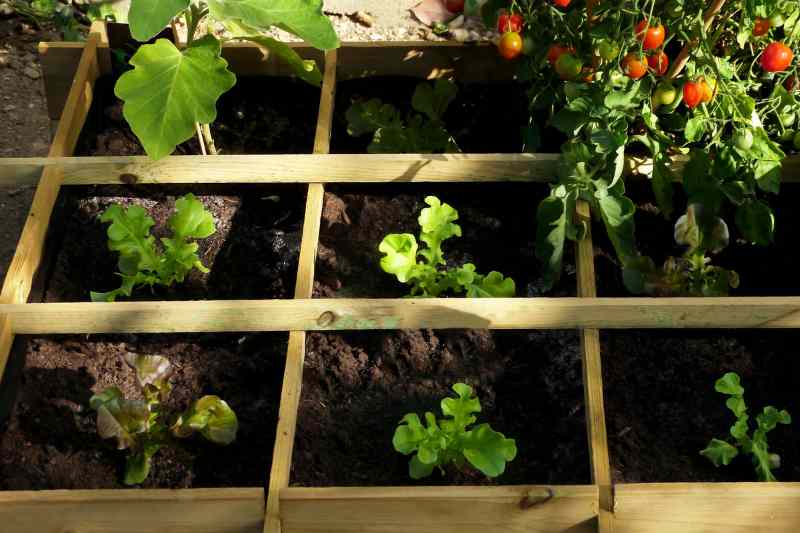
4- Planting
- Don’t leave the soil bare. Plant or sow as soon as possible, following the specific needs of each type of plant (depth, spacing), exactly as you would in a traditional vegetable garden. And as we’ve just seen, either in a grid layout or in rows.
- Mulch! Wood chips, dried grass clippings, miscanthus chips...
- Use a sketch each year to note the locations of different vegetables and plan crop rotation. It’s easy with a raised bed divided into 9 inner squares.

Raised beds always square... or always wooden?
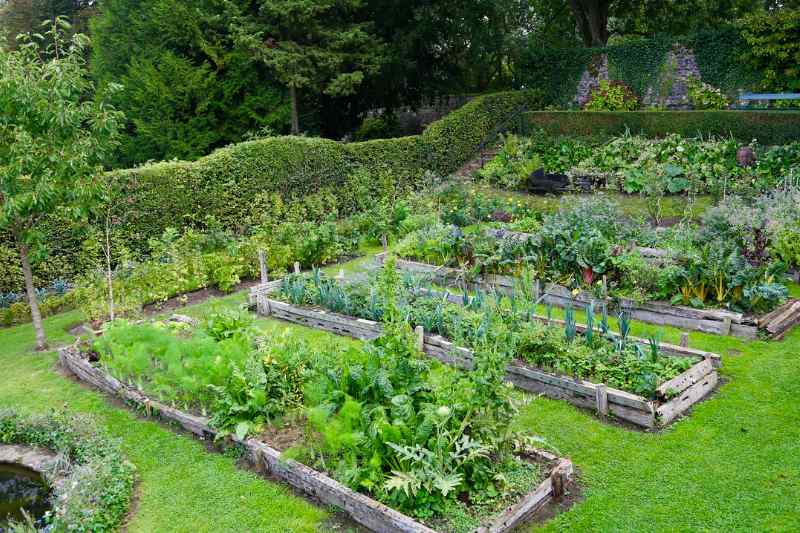
Of course, the traditional shape that gave this cultivation system its name is square, originally 1.20m x 1.20 m. But depending on space, location, and preference, you can absolutely opt for rectangular or even round raised beds in an extra-wide version to accommodate cucurbits, as seen in the beautiful scenography at Le Jardin du Puygirault in Anjou. In the example below, at Le Jardin des Ifs in Gerberoy, they come in a charming elongated shape.
You can also choose raised beds on legs or taller ones (these will require more watering). Finally, regarding materials, bricks can replace wood advantageously


Comments