


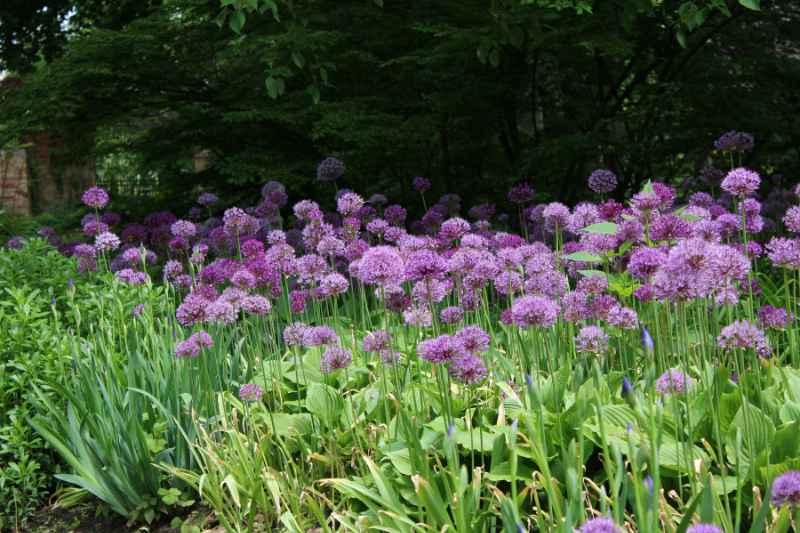
You can never have enough Alliums in the garden! These stunning bulbous plants are indeed magical, creating a spectacular effect when planted en masse in borders. A great way to see them thrive in numbers is to divide them yourself.
In this tutorial, I will explain how and when to divide bulblets or bulbils.
Why multiplying Allium bulbs?
While requiring little maintenance once planted in the garden, Allium or ornamental garlic tends to flower less after a few years.
Dividing them helps ensure their longevity and can bloom other areas of the garden for free, or share with friends! Some varieties, especially larger ones, can be quite expensive per bulb. This is also a relatively quick multiplication method that guarantees the fidelity of the mother plant.
Note: sowing from seeds not only has the drawback of being random, as you may not get the same flower colour or shape, but it also often takes three to four years of cultivation to see them bloom again.
The Allium bulbs in question are those that produce bulbils around the mother bulb, such as Allium giganteum, Allium christophii, and others.
When and how often to divide Alliums?
You should be alerted by a decrease in generous flowering with smaller flowers or plants that suddenly grow less tall.
The ideal time to divide Alliums is at least a month and a half before frost, in early autumn, between September and November. You can do this as early as July for early Alliums like Allium christophii or Allium bulgaricum. Just ensure that the flowering cycle is finished and the foliage is completely dry, indicating that the plant is in dormancy.
Generally, Alliums are divided every 3 to 5 years after planting, not before, allowing the mature bulb to form bulbils.
How to divide Allium bulbs?
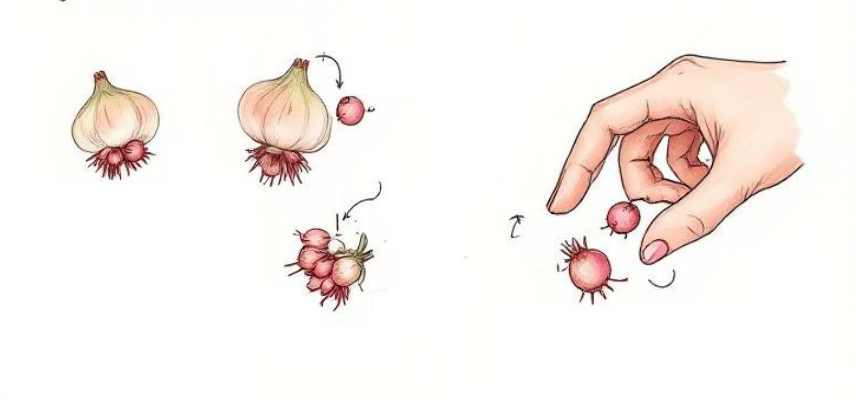
For Alliums, we proceed with the division of bulblets, these baby bulbs that grow and develop around or above the main bulb (also referred to as bulbils). They are recognisable by their small size (1 to 2 cm in diameter).
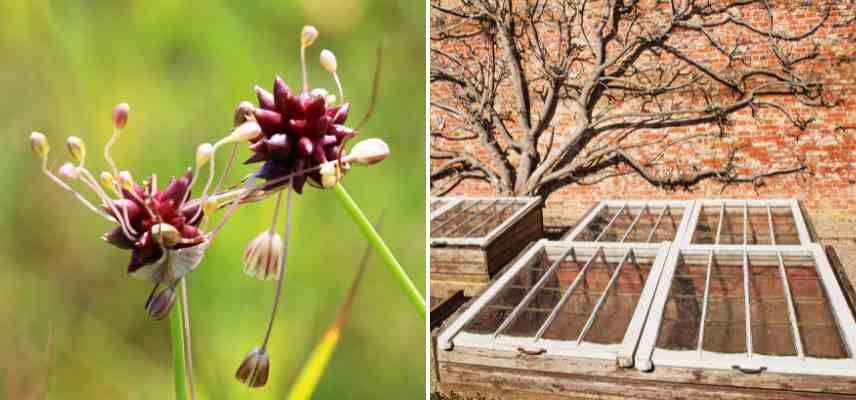
Some Alliums, however, develop aerial bulbils like vine garlic (Allium vineale, including the eccentric Allium 'Hair') or Allium scephalaron: these should be collected at the end of summer.
Note: this tutorial focuses on Alliums with bulbs and bulbils, not those with a root system like Allium millennium or Allium Serendipity, which develop clumps that can simply be divided by root division. This multiplication method, while quicker than sowing, requires patience: your Alliums will generally take two, sometimes three years to flower.
Necessary materials
- Fork
- Clean and disinfected pruning shear
- Basket or container for collecting the bulbs
- Labels (to identify varieties)
- Pots or trays + compost for pot planting
Whether collecting bulbils or aerial bulbils, two options are available: direct planting in the ground or pot cultivation.
Planting Allium bulbils in place
Planting them directly in the ground requires very well-drained, loose, and light soil. You should also mark the spot with a series of small stakes or bits of wood pushed into the ground, to avoid disturbing them until the following spring.
- Lift the clump with a fork to unearth the adult bulbs: carefully dig around the clump, at a sufficient distance to avoid damaging the bulbils (about 20 cm from the collar).
- Remove the entire clump and shake it to remove excess soil.
- Gently detach the bulbils from the mother bulb by hand, pulling gently to separate them. If necessary, cut the roots connecting them with clean pruning shears.
- Select the largest bulbils (greater than 1 cm in diameter): they will allow for quicker flowering. Smaller bulbils will not have accumulated enough reserves for vigorous and rapid growth.
- Replant the bulbils taken from around the bulb immediately to densify, or in another part of the garden, point upwards, at a depth equivalent to 2 or 3 times their size. The location should be sunny or in light shade.
- Let the autumn rains do their work, or water lightly if the autumn is very dry.
- Keep the mother bulb: if it is still firm, you can replant it for new flowering the following year.
Planting Allium bulbils in pots or under a frame
- Lift the clump with a fork.
- Gently detach the bulbils from the mother bulb.
- Prepare pots or a planting tray by filling them with an equal mix of compost and garden soil (if too heavy, add a bit of sand). They can also be planted under a cold frame.
- Replant the separated bulbs in each pot, 1 cm below the surface.
- Keep the substrate moist (note that Alliums dislike excess watering and humidity);
- Place your pots/tray in a semi-shaded area, ideally in a frame, throughout the winter.
- Plant your new Alliums in their final location the following spring.
Note: it is worth mentioning that Allium 'Globemaster' is a sterile hybrid, which produces fewer bulbils than many other varieties.

Comments