Do you want to beautify your garden with Dutch Iris? That's an excellent idea! This detailed tutorial will provide you with all the necessary information to successfully plant these magnificent flowers and make the most of them. So, grab your gardening tools and get ready to add a touch of brilliance to your green space!
What is a "Dutch iris"?
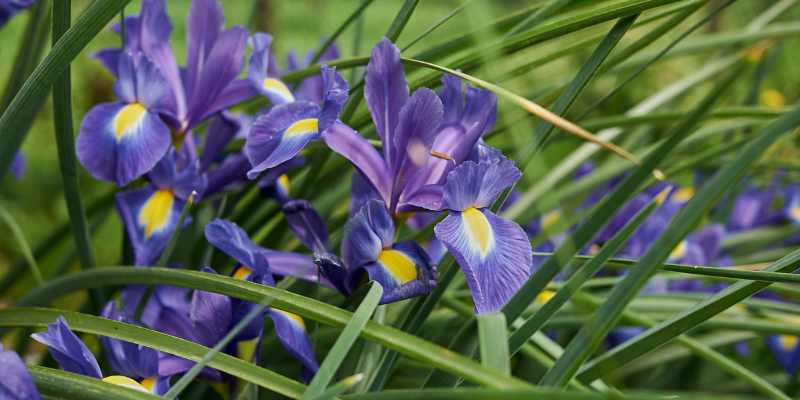
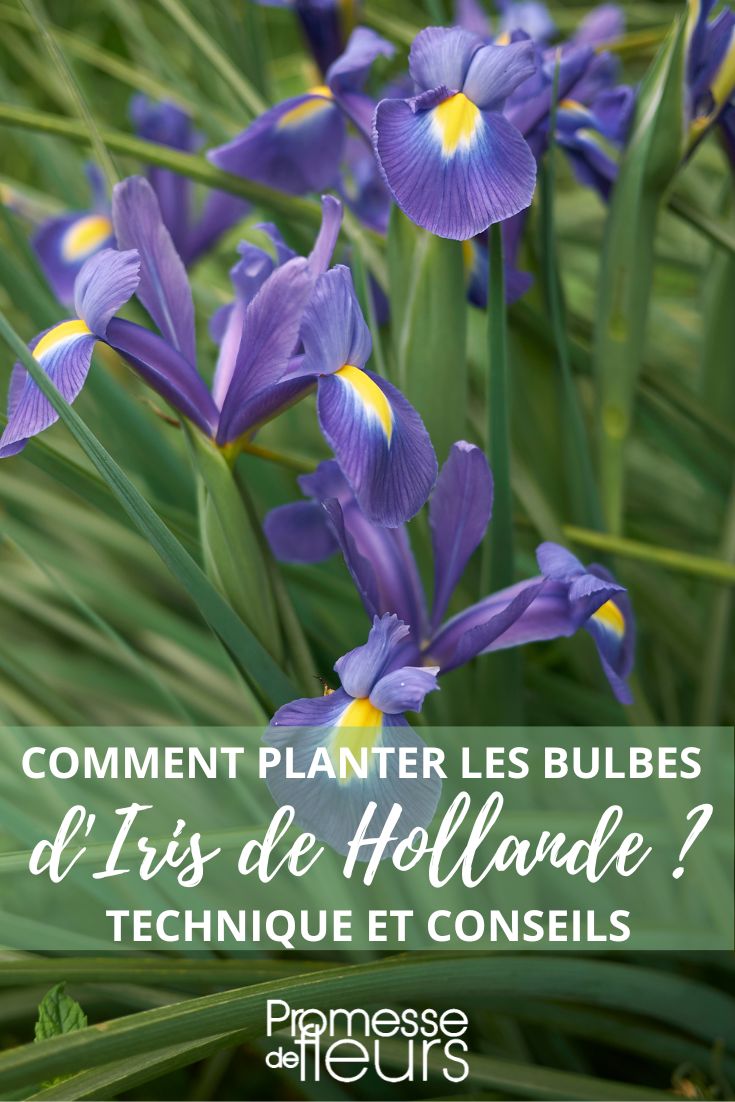
Dutch Iris, scientifically known as Iris hollandica or florist's iris, is a perennial plant valued for its elegant and colourful flowers. Native to Europe, these varieties of Iris are distinguished by their often bicoloured petals that offer a range of colours from May to June, including blue (Iris 'Blue Magic') and purple (Iris 'Rosario') to yellow (Iris 'Royal Yellow') and even white (Iris 'White Excelsior'). Unlike other types of Iris that prefer wet areas (like the Yellow Flag Iris), the Dutch Iris thrives in well-drained soils and sunny locations. Additionally, these irises grow from a bulb rather than a rootstock. This popular choice among gardeners is ideal for flower beds, borders, and even cut flower arrangements.

When to plant Dutch iris?
The ideal time to plant Dutch Iris is in autumn, from September to November, when the soil is still warm and outdoor temperatures begin to drop. This planting window allows the bulbs to acclimatise to their new environment and develop strong roots before winter arrives. In theory, these bulbs can also be planted in spring, but in that case, flowering may sometimes be delayed until the following year.
How to plant Dutch iris?
First, choose a sunny location in your garden, as florist's irises thrive in sunlight. The soil must be well-drained to prevent any risk of bulb rot. Before planting, work the soil to a depth of about 12 to 15 centimetres and amend it with potting soil and/or compost. The latter will add substance to overly light soil and improve drainage in overly heavy soil.
- Make holes about 8 to 10 centimetres deep and spaced 10 to 15 centimetres apart from each other. The easiest way is to use a graduated bulb planter.
- Place one bulb in each hole, point facing upwards.
- Cover the bulbs with soil and lightly firm down.
- Water thoroughly after planting to establish good contact between the bulbs and the soil.
Don't forget to add an organic mulch like straw or fallen leaves to help retain moisture and regulate soil temperature. By following these steps carefully, your Dutch Iris will be ready to brighten your garden with the first spring flowering.
Necessary equipment
- Spade or digging fork
- Transplanter or bulb planter
- Gardening gloves
- Watering can


Comments