


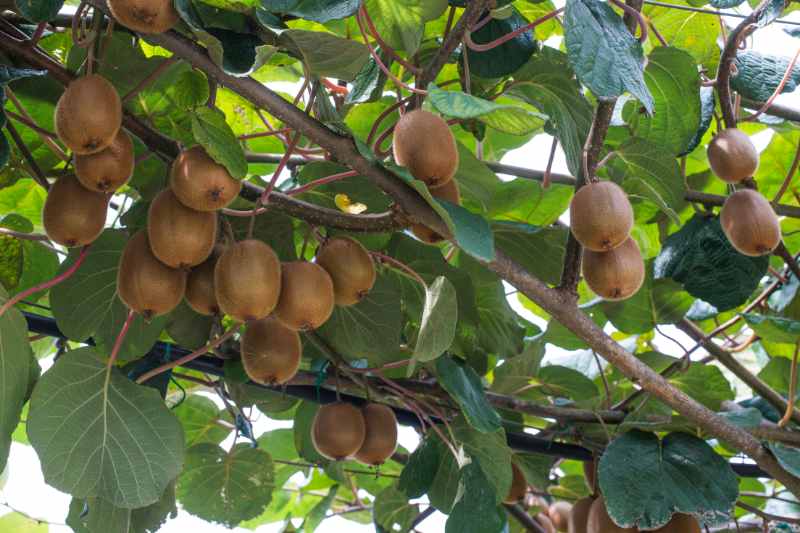
Kiwi (Actinidia chinensis or deliciosa) is a fruiting liana imported from New Zealand, known for its tasty fruits rich in vitamin C. Hardy, it grows very well here once established in a cool, fertile, light and free-draining soil, preferably non-calcareous and properly trained. Kiwi is multiplied by propagation by cuttings of semi-lignified shoots in summer, under a humidity dome. Propagation by cuttings lets you multiply your kiwi quickly and reliably and obtain vigorous young plants. Find out when and how to take kiwi cuttings very easily!
When to take kiwi cuttings?
The ideal time to take kiwi cuttings is in summer, preferably July and August, when the current season’s shoots have started to lignify, that is to say to turn into hard wood. At this stage semi-lignified cuttings are generally the most likely to root.
How to take kiwi cuttings under a humidity dome?
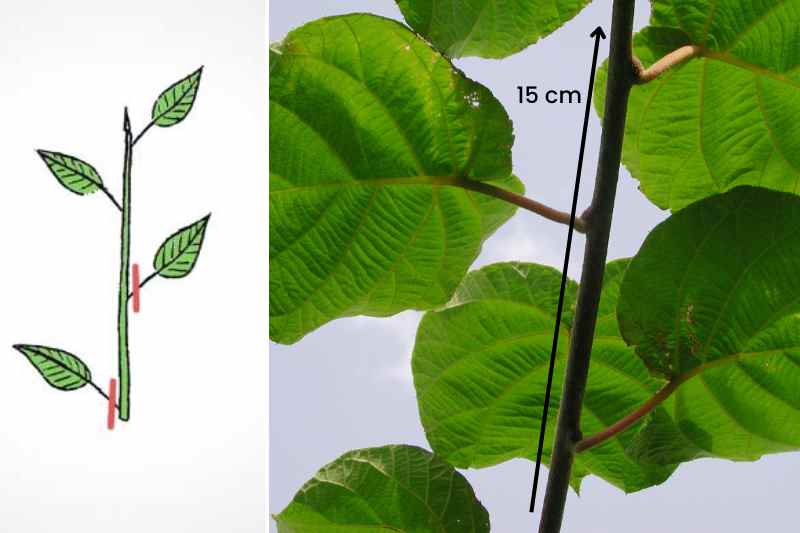
- Using clean, disinfected pruning shears, take a semi-lignified shoot about fifteen centimetres long from the tip of the current season’s shoots. Propagation by cuttings produces young plants genetically identical to the parent, and because kiwis have male and female plants, take shoots from both a male and a female plant
- Remove lower leaves, leaving only two at the tip; this avoids the cutting wasting energy through excessive leaf transpiration
- Fill your pot, tray or biodegradable buckets with seed and potting compost
- Lightly moisten the compost with a sprayer
- Insert the cutting into the hole with the pencil, burying about one-third of its length
- Gently firm the compost around the cutting to ensure good contact
- Keep the cutting under a humidity dome at about 25 °C, maintaining a humid atmosphere
- Place a cloche, a plastic bottle without its base, a mini-greenhouse or simply a plastic bag over the pot to create a favourable environment with high humidity, encouraging rooting. Make sure neither the stem nor the leaves touch the cloche to avoid any risk of mould.
- You can also insert cuttings into mineral water plastic bottles cut in half at mid-height with their cap on
- Place the cutting in a warm but shaded spot to avoid excessive heat
- Keep the compost slightly moist, but not waterlogged
- Check the cutting regularly to ensure it remains moist
- Lift the cloche or bottle, or remove the cap regularly to allow the cutting to breathe
- During winter, keep your young plants in a bright room that is not over-heated
- When roots are well developed after 2 to 3 months, remove the cover
- When cuttings are well rooted, pot them into larger buckets to allow them to toughen up
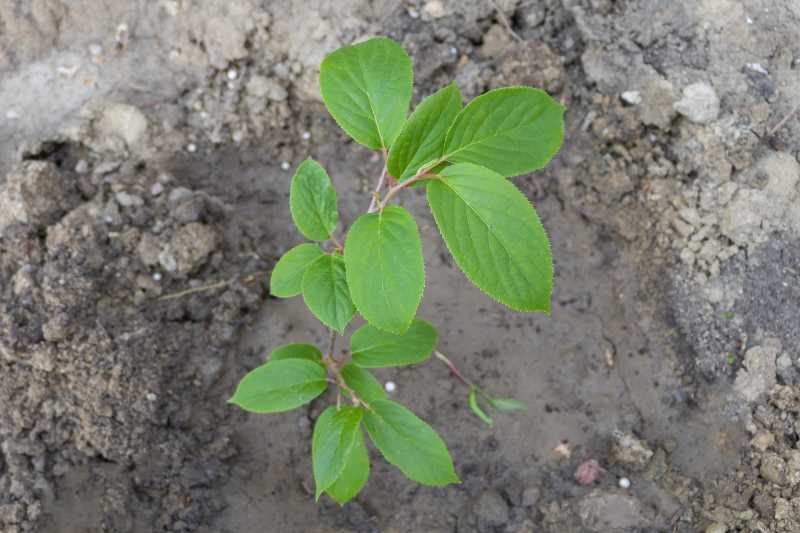
The following spring, you can plant out your kiwi cutting in full sun in a spot sheltered from cold winds and spring frosts. Provide a sturdy support (wire mesh, pergola or well-exposed arbor) so its shoots can climb.
Equipment needed
To take kiwi cuttings you will need:
- A pot, a tray or biodegradable buckets
- A pencil
- A pruning shear thoroughly disinfected with alcohol
- A cloche, a plastic bottle, a plastic bag or a mini-greenhouse
- A sprayer
- Seed and potting compost (seed and potting compost) or a mix of two-thirds turf and one-third sand for the garden
- A root activator (facultative)
To go further
- Discover our advice to propagate your plants successfully


Comments