


Anthurium, with its elegant flowers and glossy leaves, is a much-loved houseplant. If you are lucky enough to own one, did you know it can be propagated easily? Whether you want to give a cutting to someone or simply expand your collection, this tutorial will guide you step by step to succeed.
Anthuriums in general
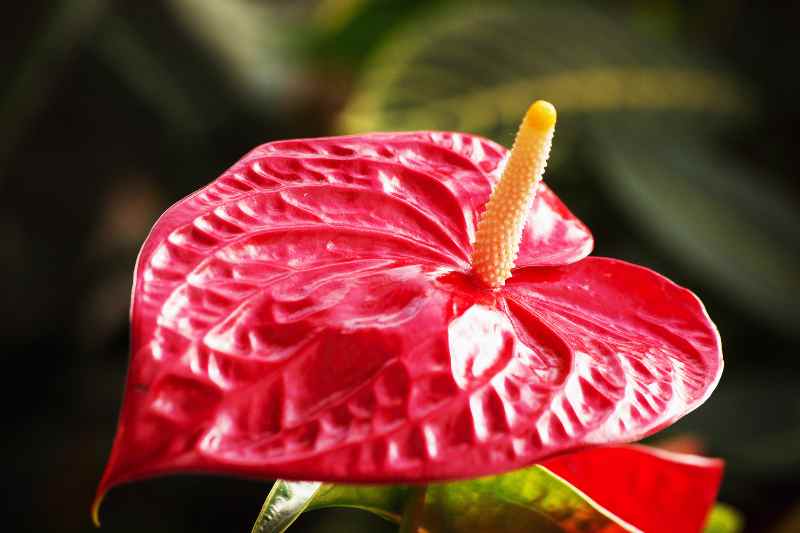
Anthurium, often called "flamingo flower" or "flame tongue" because of its elegant shapes and vivid colours, is a tropical plant native to the lush forests of Central and South America. It belongs to family Araceae, like Philodendron, Spathiphyllum or Dieffenbachia.
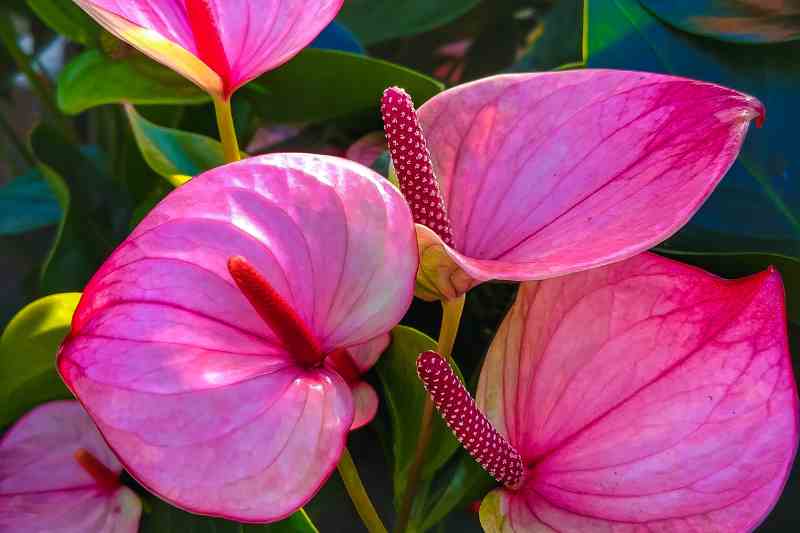
The real appeal of anthurium lies in its colourful spathes, often red, pink, white or sometimes even green. Contrary to what one might think, these spathes are not flowers, but bracts that surround and showcase a central inflorescence called a spadix.
Besides its looks, anthurium has air-purifying qualities. It is known to absorb certain indoor air pollutants, such as formaldehyde, xylene and ammonia.
With appropriate care, such as proper watering and indirect light, anthurium can flower year-round. Each spathe can remain colourful and attractive for several weeks, making it more economical and longer-lasting than cut flowers.
When to propagate anthurium?
The best time to propagate anthurium is in spring or summer, when the plant is actively growing. Avoid periods of dormancy (autumn and winter), as the plant will be less vigorous and young growth will take harder to establish.
Dividing anthurium is also a good way to rejuvenate the plant. It’s time to divide if roots start to overflow the pot or the plant looks crowded, with dense foliage and visible offshoots. A slowdown in growth or reduced flowering can also indicate the plant lacks space to thrive.
Materials needed
- A pruning shear or a clean, sharp knife
- Potting compost for houseplants
- A pot with drainage holes
- Gloves (recommended, as sap can be irritating)
- Plastic bag, bottle base or mini-greenhouse
How to propagate anthurium?
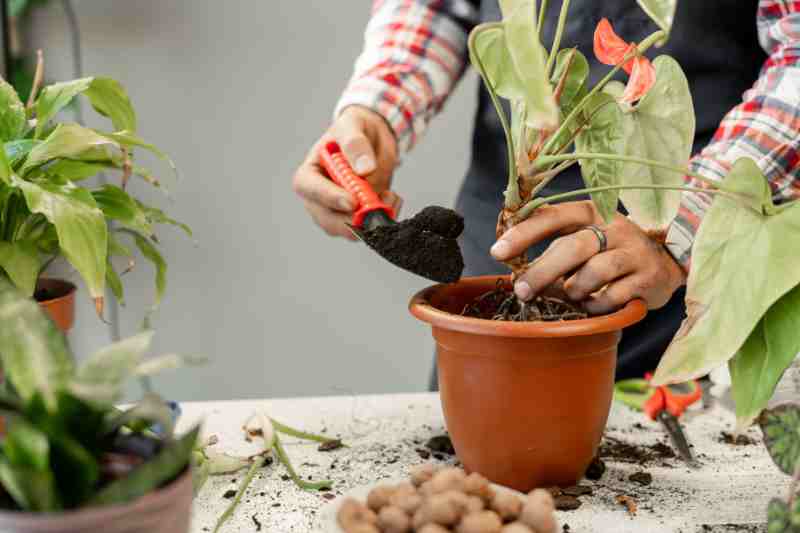
Prepare the plant
Gently remove anthurium from its pot to examine roots. Identify offshoots or sections of the plant that have their own roots.

Separate offshoots
Using your disinfected pruning shear or knife, carefully separate offshoots or divide the rootball into several sections. Make sure each young plant has at least one or two roots.
Plant the offshoots
Fill a new pot with prepared potting compost. Place the cutting in the centre and gently cover the roots without compacting them.
Water
Water thoroughly after planting to moisten the potting mix, then allow water to drain away.
Place the young plant
Position the new plant in a bright spot, but out of direct sun to avoid burning its young roots.
Oli's note: you can also try propagating anthurium in water using an offshoot with well-developed aerial roots. Place only the roots in a container of water, taking care not to submerge the stem or leaves to avoid rot. Change the water every 3–5 days to prevent bacteria and monitor root growth. Once roots reach 2–3 cm, it’s time to pot your cutting into suitable potting compost.
Care for the young cutting
After repotting, your cuttings will need particular attention:
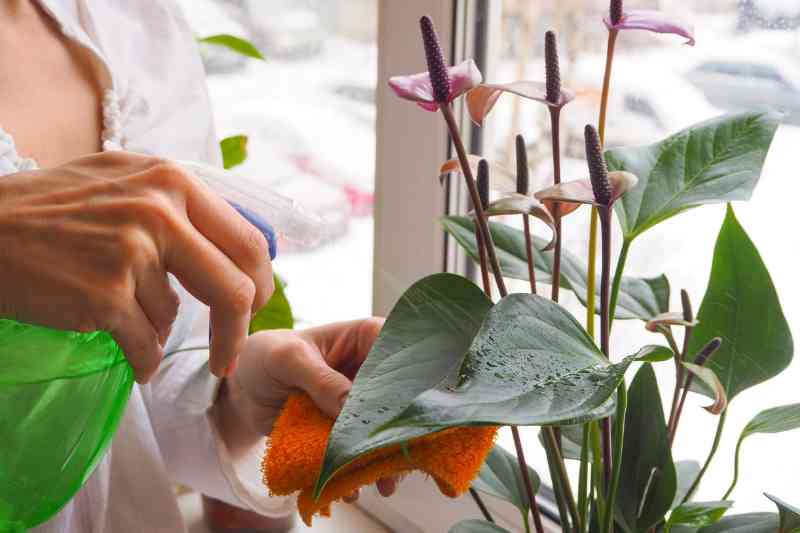
- Maintain consistent humidity, but avoid excess water.
- Lightly mist leaves if air is dry, as anthurium prefers humid environments.
- Be patient! Roots will take a few weeks to establish and plant to develop. Once well rooted, resume usual care.
Oli's note : after propagation, it is normal for your anthurium to take a few weeks to show signs of recovery, such as new leaves or active growth. Be patient and continue providing adapted care: proper watering, soft light and a humid atmosphere will help it thrive at its own pace.
Mistakes to avoid
- Using non-disinfected tools: a poorly cleaned pruning shear or knife can introduce disease. Always disinfect your tools before cutting.
- Overwatering: excess water is fatal. It can cause root rot and jeopardise survival of your cutting. Opt for moderate watering and use a pot with good drainage.
- Exposing to direct sun: young cuttings are sensitive. Place them in a bright spot but protected from direct sun to avoid leaf burn.


Comments