


Photinia is a shrub with evergreen, glossy foliage, often used to create hedges. It is very decorative in spring, with its young shoots taking on bright red or bronze hues depending on the variety. It can also be grown as a specimen plant, at the back of a border, or even in a pot on a terrace or balcony for the more compact varieties. It also offers a lovely spring flowering, in the form of cream-white umbels, appreciated by pollinating insects. Propagation by cuttings is the most effective technique to multiply this bush and easily obtain new plants! In this tutorial, we explain how to proceed.
When to propagate Photinia?
The ideal time to propagate Photinia is at the end of summer, in August or September, using semi-lignified stems. However, it is also possible to take cuttings in late spring to early summer.
How to propagate Photinia?
- Start by identifying a healthy, disease-free branch from the current year on your Photinia, without any signs of pests. If you are taking cuttings at the end of summer, the branch should be semi-lignified, brown at the base and still green at the top.
- Using pruning shears, cut a section of branch about 15 to 20 cm long, making a slanted cut just below a node. Ensure the cut is clean and neat to avoid any infection. You may optionally take a stem with a heel, the base of the shoot from which it grows.
- Remove the terminal bud located at the top of the cutting.
- Remove the leaves from the lower part of the cutting. Leave just 2 or 3 leaves at the top of the stem, and optionally reduce their surface area by cutting them in half. This helps prevent the cutting from drying out due to evapotranspiration.
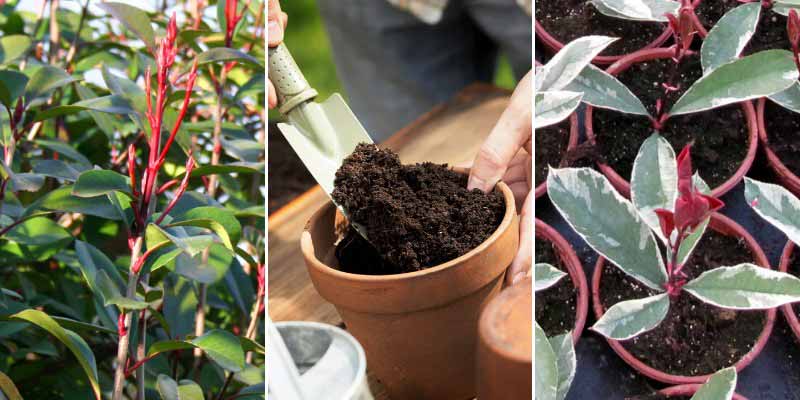
- Prepare a pot by filling it with special potting soil for sowing and propagation. You can also use a mix of potting soil and coarse sand. The important thing is that the substrate is well-draining and aerated. Firm it down slightly and water.
- Make a hole in the centre using a pencil or stick.
- You can dip the cut end of the cutting in rooting hormone powder. This step is optional but encourages successful rooting of the cutting.
- Insert the cutting into the hole and firm the potting soil around it to ensure good contact between the stem and the soil, thus eliminating air pockets. The cutting should be buried at least 7 or 8 cm deep.
- Cover the pot with a plastic bag or a cut plastic bottle (for propagation under glass). This helps maintain a humid atmosphere. Ensure that the leaves of the cutting do not touch the sides.
- Place the pot in a warm, bright location under glass, but out of direct sunlight.
- Continue to water regularly and ventilate to avoid the risk of rot.
- Occasionally check the cutting to ensure it shows no signs of disease or rot. After a few weeks, when you notice the growth of new leaves, this indicates that the cutting has taken well.
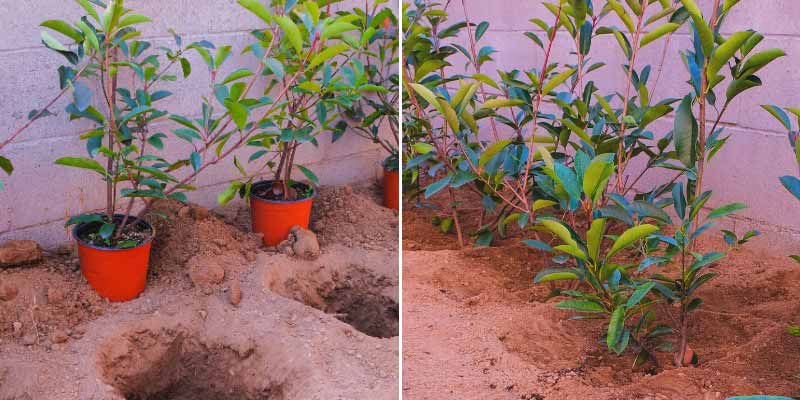
- In spring, you can transplant the rooted cuttings into larger pots.
- Wait another year before planting them in the ground at their final location.
Necessary materials
- Sharp and disinfected pruning shears
- Pots with drainage holes
- Special potting soil for sowing and propagation, or a mix of potting soil and sand
- Rooting hormone (optional)
- A pencil or stick
- A plastic bag or a plastic bottle
- A watering can with a spout


Comments