


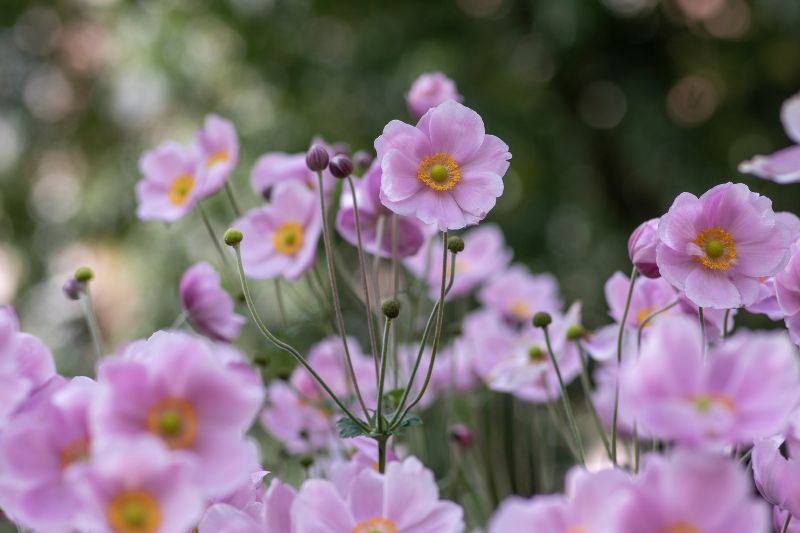
Ah, Japanese Anemone! Who can resist its delicate flowers that brighten our gardens in autumn? This ornamental plant is a must-have for adding a touch of colour and grace to your garden. If you are captivated by Japanese anemones, you are probably wondering how to propagate this beauty in your green space. Good news: you are in the right place! In this comprehensive tutorial, we will guide you step by step to successfully propagate Japanese Anemone roots, a simple and effective propagation method. Learn how to enrich your garden with this autumn wonder today.
When to propagate Japanese Anemone?
Timing is crucial when it comes to propagating Japanese Anemone. The best time to do this is in autumn, just after flowering or in early spring. During these periods, the plant is either dormant or just starting to grow, which favours successful propagation.
Necessary equipment
Before you begin, make sure to gather all the necessary equipment for successful propagation:
- A mature Japanese Anemone plant.
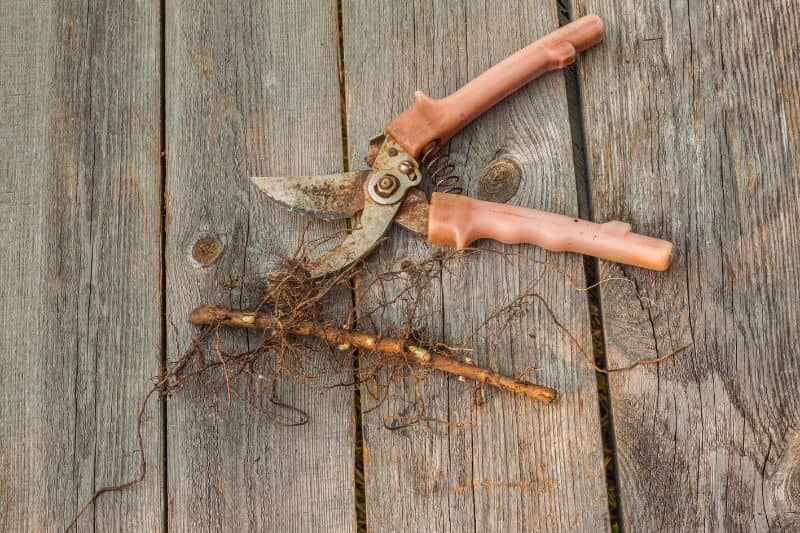
- A disinfected pruning shear (to prevent the spread of diseases).
- One or more pots or buckets or a seed tray.
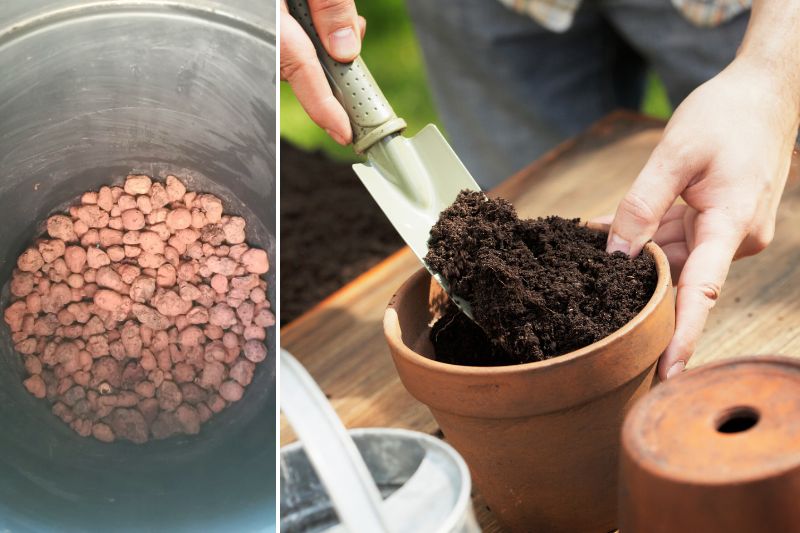
- Some clay balls for good drainage.
- Special propagation and sowing compost or a mix of 2/3 compost and 1/3 garden sand.
- Optional: propagation hormone.
- Labels to mark your cuttings.
Steps for root propagation
1- Choose a Japanese Anemone that is at least two to three years old, showing vigorous growth and free from diseases or pests. Water the base of the plant the day before to facilitate root extraction.
2- Prepare your pots:
3- Use a garden fork to gently dig around the clump of Japanese Anemones. Make sure to push the tool deep enough to retrieve the entire root system without damaging it.
4- Carefully lift the plant from the soil and gently shake to remove any excess soil.
5- Using your disinfected pruning shear, cut a root section about 5 to 10 cm long. Choose a root that already has a few small shoots or "eyes", which will encourage growth.
6- Optional: dip the cut end of the root in the propagation hormone before planting to stimulate its growth.
7- Plant the root cutting in the prepared pot, ensuring that at least one "eye" or shoot is buried below the soil surface.
8- Water lightly, but do not soak.
9- Place the pot in a bright location, but out of direct sunlight. Keep the soil slightly moist and wait for new shoots to appear, indicating that the cutting has taken.
Note: it is also possible to place your cuttings directly in the ground without using a pot, but the success rate is better with this technique.


Comments