


The Opuntias include several varieties of cactus, especially appreciated for their pretty fleshy stems shaped like a prickly pear. Best known is the prickly pear (Opuntia ficus-indica), famous for its edible fruits. Needing little maintenance, Opuntia enjoys full sun and tolerates drought very well. These succulent plants are perfect for enhancing a rockery, a dry or exotic garden and even the home. Another advantage: it multiplies easily by propagation by cuttings.
Discover how to propagate a prickly pear cactus with our step-by-step tutorial and tips.
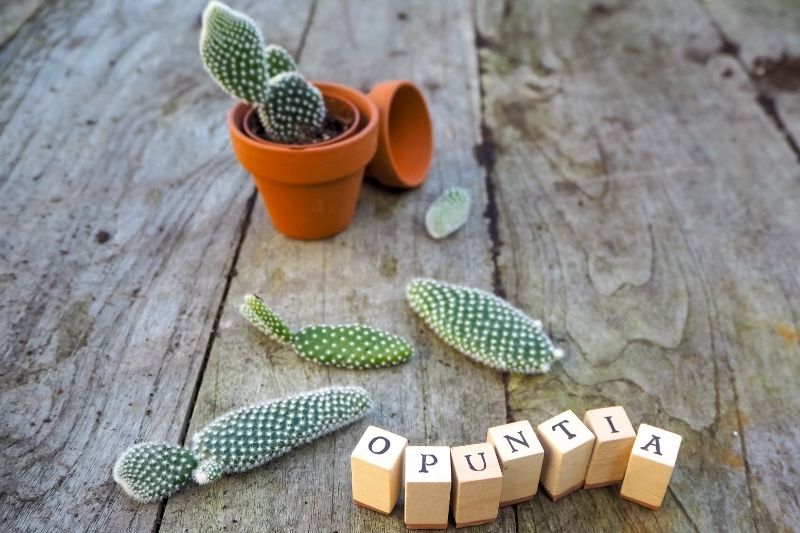
As with all Opuntias, the variety 'microdasys' is easy to propagate
Why propagate an Opuntia?
Propagation by cuttings is the simplest method to obtain a new cactus, ready to decorate a rockery or interior. This technique also allows saving a struggling cactus suffering frost damage or rot caused by excess water.
When to propagate an Opuntia?
Propagation by cuttings is best done in spring, the period most favourable to good root development in cacti. In general, avoid periods of heatwaves or severe cold.
How to take prickly pear cuttings?
Required equipment
For successful prickly pear cuttings you will need:
- one or several pots or large buckets
- a sprayer or a watering can
- a pencil
- clay pebbles
- a pair of thick gloves
- potting soil for cacti or a mix of half general potting compost with half garden sand. Sand can also be replaced by perlite.
- facultative: a pruning shear cleaned with alcohol before use, to avoid spreading disease
- facultative: a piece of cardboard to protect against nasty thorns
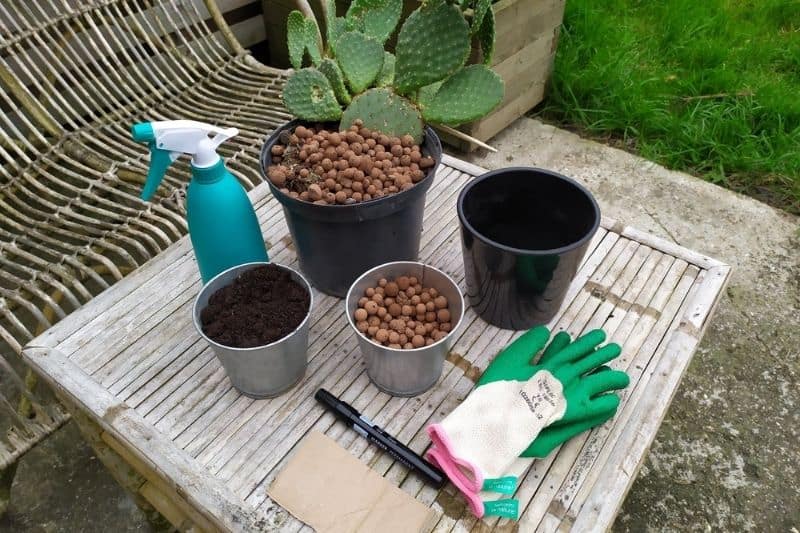
Equipment needed to propagate an Opuntia
How to take an Opuntia cutting
1 - Put on gloves. Even if some Opuntia varieties seem sparsely thorned, they are still prickly! Their tiny thorns can cause irritation and are hard to remove. Ouch!
2 - Inspect your Opuntia and choose one or several healthy, green prickly pears.
3 - Grip the pad taking care of the thorns. You can also use a small piece of cardboard as a clamp to avoid getting pricked, without damaging the cactus pads.
4 - Twist the pad to detach it. If you are worried about damaging it, you can cut the base of the pad with a pruning shear.
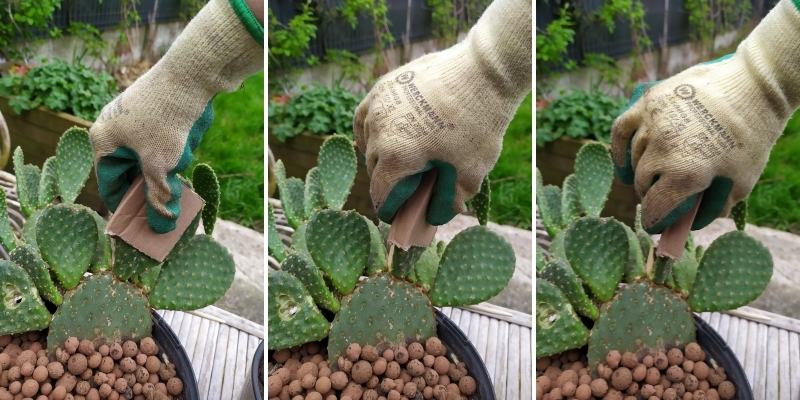
Twist the pad to detach it easily. A small piece of cardboard will help you avoid being pricked
5 - Some gardeners plant the pad immediately in its pot, while others recommend leaving it to dry for about ten days. This stress seems to encourage root development.
6 - Pour a 2–3 cm layer of clay pebbles into the bottom of the pot to improve drainage.
7 - Fill pots with potting soil for cacti or the soil-and-sand mix, then firm with your hands. Fill the pot to about 3 cm from the rim.
8 - Water the substrate, preferably with rainwater.
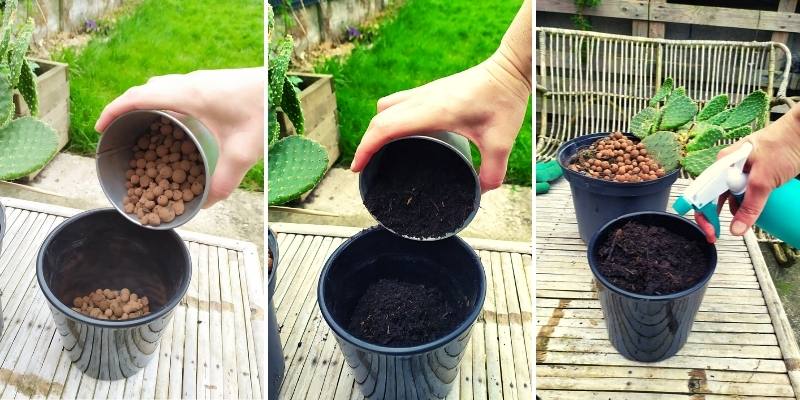
A layer of clay pebbles, covered with suitable substrate and a gentle watering for a thriving Opuntia cutting
9 - Using a pencil, make a hole 3–4 cm deep in the compost.
10 - Place the base of your cutting in the hole and firm the compost around the stem.
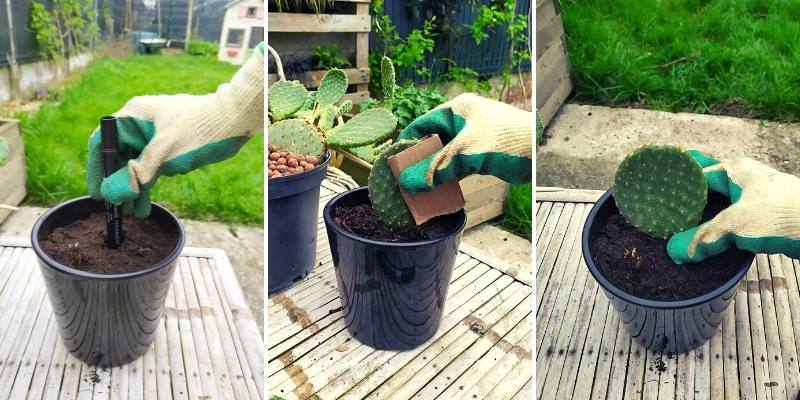
Make a hole, plant the Opuntia cutting and firm the soil at the base. Simple and effective.
11 - facultative: cover the soil with a layer of clay pebbles. The pebbles will also help keep the cutting upright while rooting.
12 - Place the pot in a bright spot, but out of direct sun. Water no more than once or twice a week, as Opuntias dislike overwatering and stagnant water. Let the substrate dry out between waterings.
13 - After about 2 months, roots will be developed enough to repot or plant outdoors. Then give it a sunny spot.
For further reading:
- Discover our collection of Opuntia to grow in pots or the garden!
- To learn all about these handsome succulents, see our sheet on the Opuntia, prickly pear cactus: planting, cultivation and care.


Comments