


Whether in mackerel form or in clusters, with white or red berries, redcurrant bushes are much loved by fruit-loving gardeners and birds for their small round, juicy and tart fruits. Hardy, this fruit bush is very easy to grow and requires little maintenance, provided it is given a rich soil that stays slightly moist and even acidic. It is valued for its long productivity, which can exceed 12 to 15 years. So why not multiply it to obtain even more redcurrants?
Discover when and how to take a redcurrant cutting, with our illustrated tutorial.
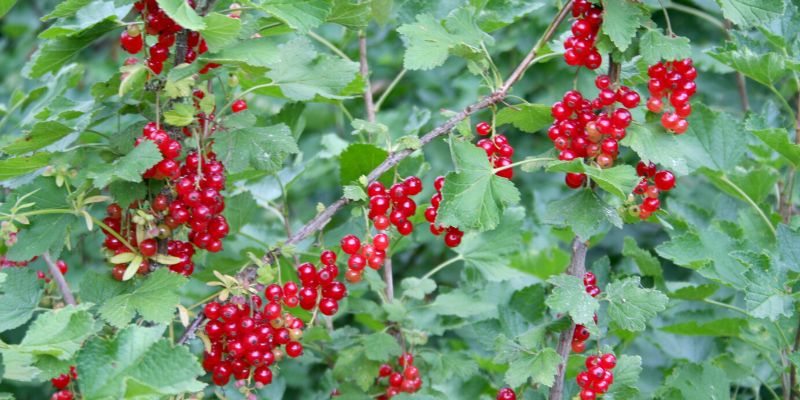
Redcurrant bush with clusters (Ribes rubrum)
When to take redcurrant cuttings?
There are two periods in the year for taking redcurrant cuttings. The first, known as hardwood cutting, is done in winter, between December and February, when the bush is dormant. The second period, called semi-ripe cutting, is done in summer, in August or September, even early October. With recent heatwaves and especially droughts, I do not recommend taking semi-ripe cuttings from June to early August or before a prolonged absence.
The equipment required
For successful redcurrant cuttings, you will need:
- one or more pots or several large buckets
- a sprayer
- a pencil
- clay pebbles
- a pruning shear (remember to clean it with alcohol to avoid spreading disease between plants)
- seed and potting compost or a mix of 2/3 general-purpose compost and 1/3 garden sand
- Facultative: a root activator
Note: many semi-ripe cuttings are taken 'enclosed', which means covering the cutting with a cloche for 1 to 2 months. For redcurrant cuttings, this is not necessary.
How to take semi-ripe redcurrant cuttings?
1- Place a layer of clay pebbles at the bottom of the pot to improve drainage.
2- Fill with seed and potting compost or a mix of 2/3 general-purpose compost and 1/3 garden sand, up to 2 cm from the rim, then firm lightly by hand.
3- With your sprayer, wet the compost so it becomes moist but not waterlogged. Preferably use rainwater, better for your plants.
4- Make a 4 to 5 cm deep hole with the pencil.
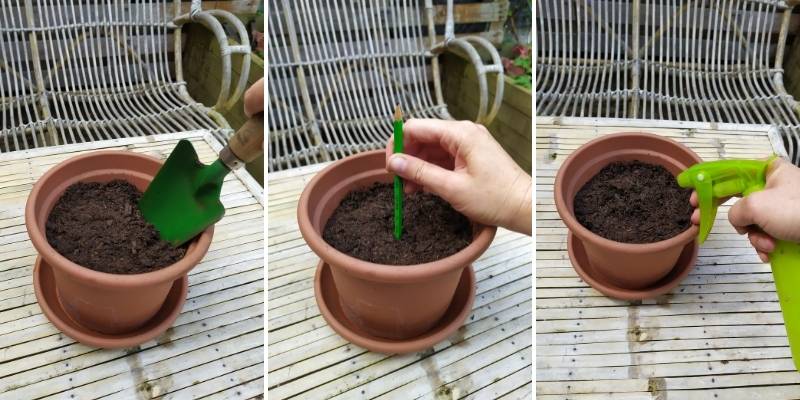
Make a 4 to 5 cm deep hole and moisten your compost
4- Inspect your bush and select healthy shoots. Using a pruning shear, cut shoots about 30 to 40 cm long. Take as many as the number of cuttings desired, bearing in mind an expected loss of one in three cuttings.
5- On each shoot, cut just below a node, i.e. below a leaf. Future roots will emerge from that node. Then remove the leaves from the lower half of the shoot.
6- Remove the top of the branch by a few centimetres. Your cutting should thus measure approximately 20 centimetres.
7- Keep only half of the upper leaves to avoid tiring the cuttings through excessive leaf transpiration.
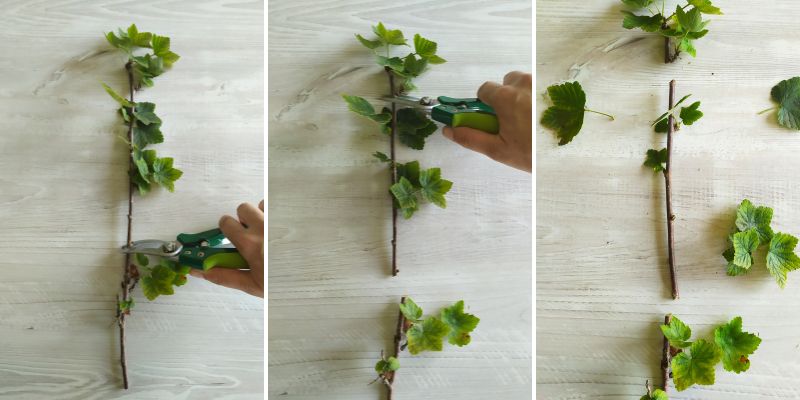
Cut the base and the top of the shoot, then remove half of the leaves
8- Facultative: you can use a plant hormone for cuttings to encourage root development by gently tapping the base of your cuttings into the powder.
9- Plant your shoot in the hole and firm the compost around it to keep it upright.
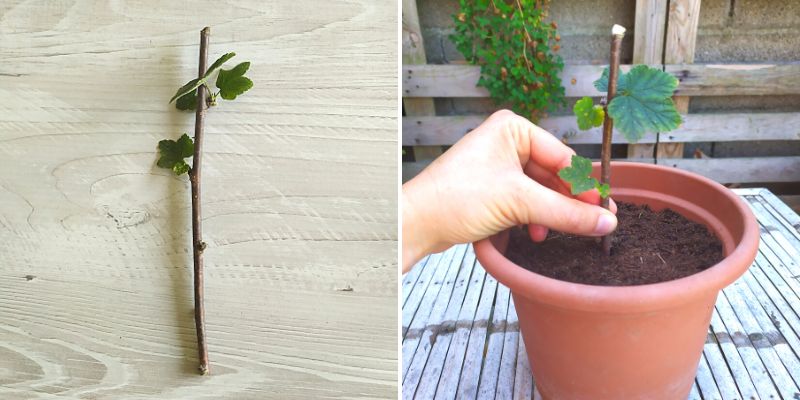
Once the cutting is stripped, plant it in the pot
10- Place the pot in a bright spot, but not in direct sunlight. Prefer light shade for the next 2 to 3 months.
11- Keep the compost slightly moist at all times, but without excess.
12- After 2 to 3 months, roots should have developed.
13- During winter, you can keep your pot outdoors, taking care to protect it from cold winds, for example by placing it against a wall. You can place it in a cool greenhouse or wrap the pot in cardboard in case of severe frosts to protect the roots of the young shoots. Reduce or stop watering in case of frost.
14- The following spring, plant your young bush directly in the ground. It will appreciate being installed in light, moist but well-drained soil, in partial shade or in sun. Undemanding, simply place a handful of well‑rotted compost at the base of the bush when planting.
WARNING: in case of heatwave and drought, water your redcurrant bush during the first two years after planting.
Want to know more:
- Discover all our varieties of Redcurrant bush.
- For full guidance, find our advice on redcurrant: planting, pruning and care.
- Discover our advice sheet: "Propagation by cuttings: everything you need to know about different techniques and our advice".

![[multiplication type="groseilliers"]](https://en.promessedefleurs.eu/blogwp/wp-content/uploads/2022/08/multiplier-les-groseilliers.jpg "[multiply quantity=\"2\"]Redcurrant bushes[/multiply]")
Comments