


10 tips to successfully grow dipladenia
All tips to help you enhance your garden!
Contents
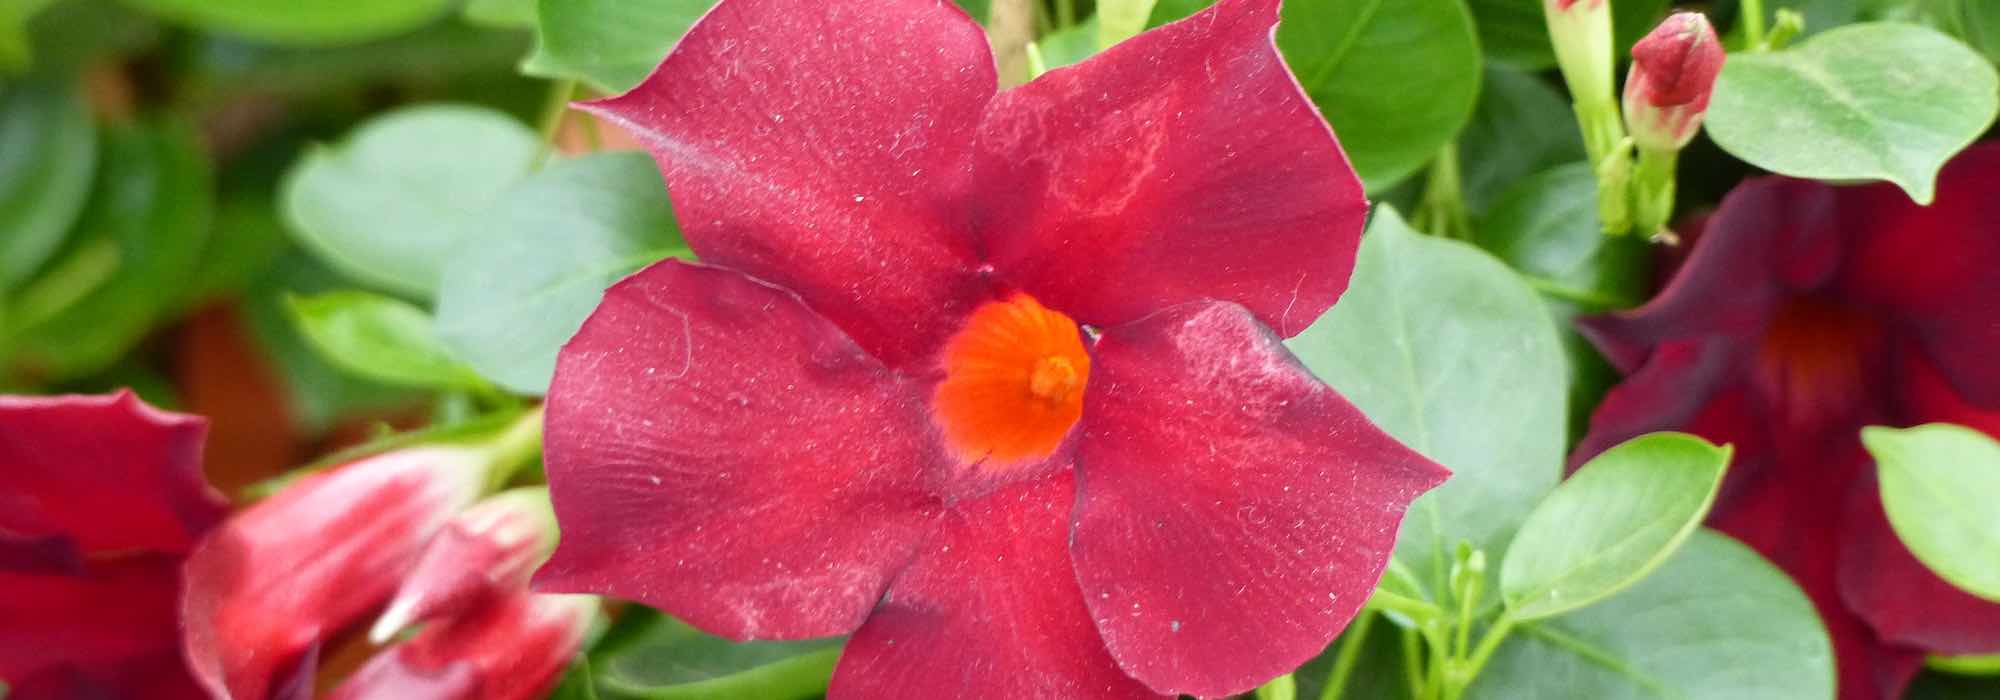
Appreciated for its magnificent flowers with a beautiful star-shaped form, the dipladenia is one of the species many dream of for their garden. Climbing and voluble, it also has the advantage of growing quite rapidly, which will please the most impatient.
It is also a fairly robust plant, capable of coping with summer heat without trouble, requiring little maintenance and little watering. Despite being very accessible to amateur gardeners, dipladenia still deserves a minimum of care… Here are 10 tips to help yours be as sublime as possible.

Mastering soil quality
In general, dipladenia can thrive in different types of soil. However, we recommend favouring well-drained and ideally humus-bearing soil. Lightness is also an important factor, as is punctate dryness, which enables dipladenia to fare even better.
To grow in pots outside Mediterranean climates
Don’t forget that dipladénia is a plant native to South America, particularly Argentina, where warmth prevails year-round. If you live in the south of France, you can try planting in the ground, provided you choose a spot in full sun. However, if you live in a cooler region, opt for planting in a pot and mix potting compost with sand for good drainage.
Discover other Dipladenia
View all →
Available in 1 sizes

Available in 0 sizes

Available in 2 sizes

Available in 1 sizes

Available in 2 sizes

Available in 1 sizes

Available in 1 sizes

Available in 1 sizes

Available in 1 sizes

Available in 1 sizes
Adjust watering amounts
If you plant your dipladenia in the ground, water regularly during first two summers to encourage better establishment. In a pot, water throughout summer but avoid excess. Above all, avoid stagnant water in the saucer, which can cause the roots to rot. If you experience a particularly dry summer, you can also lightly mist the foliage daily. Then, from autumn, reduce watering and allow the surface to dry out well between waterings.
Install stakes on this climbing plant
Dipladenia is a climbing plant, although not all varieties climb in the same way. Make sure you check the one you choose and, if necessary, feel free to use a stake. It is important to know that you should stake at planting or at the start of growth, taking care not to damage roots, which are still fragile at this stage. The stake should be firmly anchored in the soil and placed a few centimetres from the main stem. Remember to use a sufficiently strong tie to secure it. If not staked, dipladenia can be grown into a pretty shrub in a sunny rockery.
Expose your plant to sunlight
Throughout the year, your dipladenia needs around 20°C to grow well and remain healthy. If you choose to grow it in a pot, you can place it outdoors from May to September. Always be sure to anticipate late frosts, which are more frequent in northern France. If you have a greenhouse or conservatory, don’t hesitate to leave your dipladenia there, where it will particularly thrive — like all tropical plants!
Choosing the right fertilisers
Dipladenias planted in the ground require an application of slow‑decomposing organic fertiliser. Carry out this operation in early spring to stimulate flowering as much as possible. In a pot, use a liquid fertiliser suitable for flowering plants, applied on average once every fortnight from May to August. Also, don’t forget to repot your dipladenia at the start of every spring so it remains in better shape.
Prune your dipladenia regularly
If you want your Dipladenia to produce beautiful flowers, it’s best to prune lightly from early spring. Simply take the initiative to remove all faded flowers and don’t hesitate to do so as the plant develops. Pruning can also be carried out when repotting. At season’s end, prune all spent stems to encourage branching and achieve even better flowering the following season.
→ Learn more about Dipladenia pruning in our tutorial!
Protect your plant from winter chill
You’ve no doubt realised your dipladenia is a tropical plant, and therefore dislikes winter chill and, naturally, frost. This slightly hardy species rarely tolerates temperatures below -5° and begins to fare poorly as soon as the mercury falls below 10°. When temperatures no longer favour your plant’s wellbeing, bring the pot indoors. Do everything possible to keep it in a warm room and exposed to sunlight: you can, for example, simply place it facing a well-positioned window.
More tips to listen to in our podcast:
Prevent common diseases
Aphids can attack your dipladenia, as can red spider mites and scale insects. These pests particularly favour dry, confined indoor conditions: potted plants brought indoors are naturally more exposed. Ensure a minimum level of humidity: to do this, set the pot on a saucer containing damp clay pebbles, and remember to mist the foliage. Finally, if leaves start to yellow, plant is suffering from cold. If they fall, it usually means potting mix is too dry.
Multiply correctly
You can multiply your dipladenia fairly easily through propagation by cuttings. Take cuttings by cutting 20 cm from the tips of the stems. Remove leaves from the lower half and insert that part into a bucket filled beforehand with cutting compost. Remember to moisten the substrate and place a plastic bag over the bucket (this “stifling” will help optimise rooting conditions). On average, if you maintain a temperature between 20 and 24°C, you will see results after 3 or 4 weeks, provided you do not propagate before spring!
With all these tips in mind, you’re now ready to care for your dipladenias, beautiful flowers you would be wrong to miss out on in the garden, on the terrace or in a conservatory.
- Subscribe!
- Contents

Comments