


Growing hops in pots
Our tips for successfully growing hops in pots
Contents
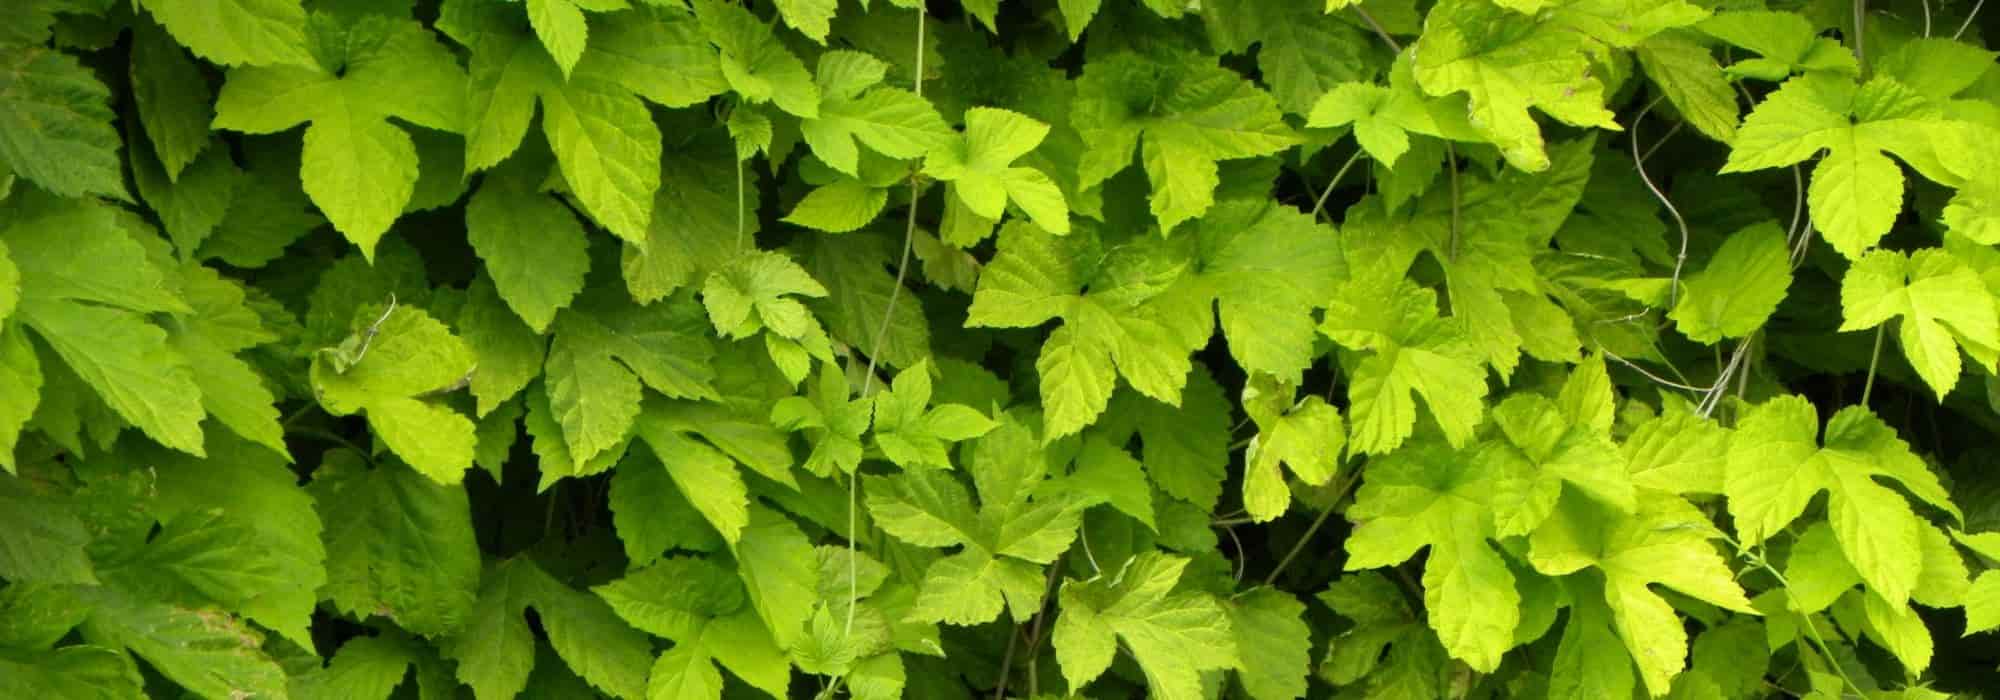
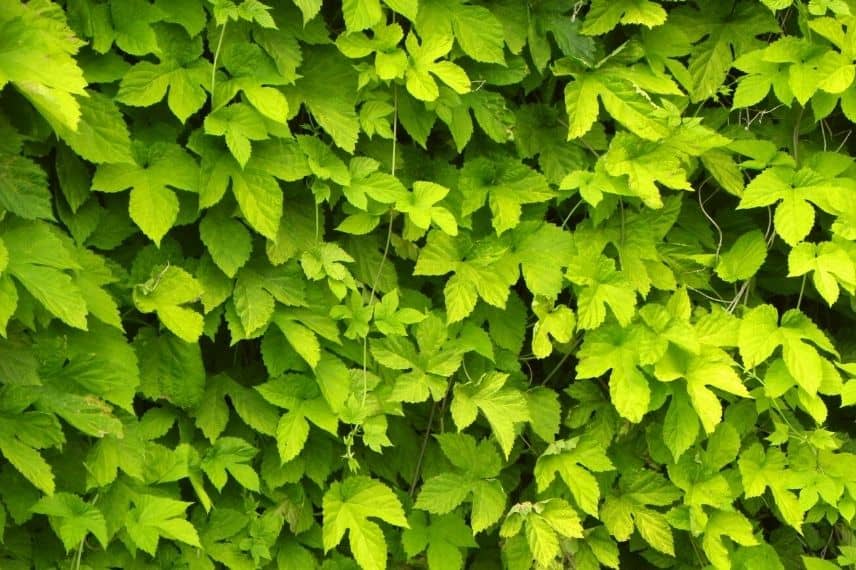
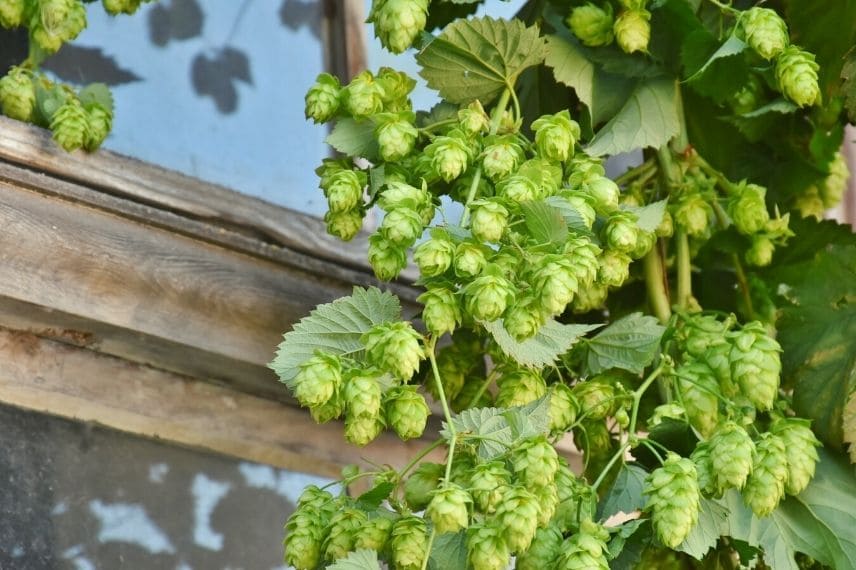
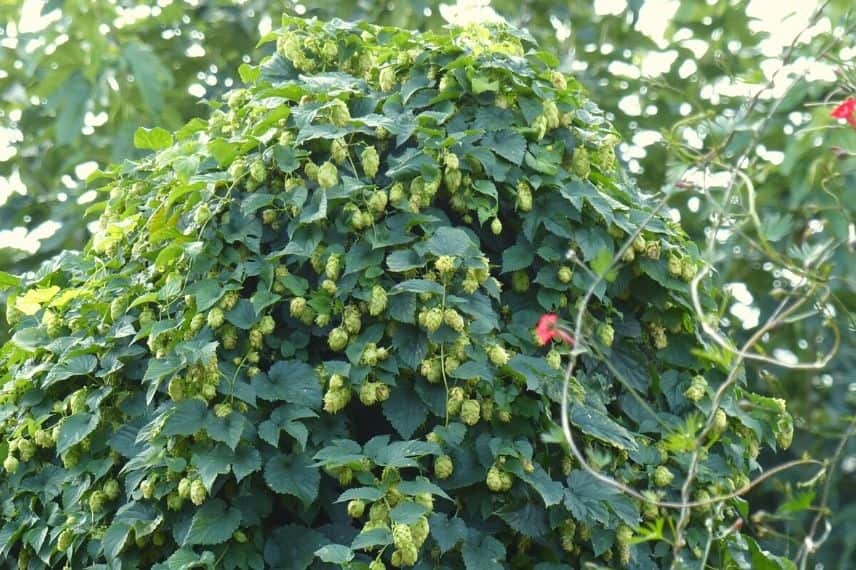
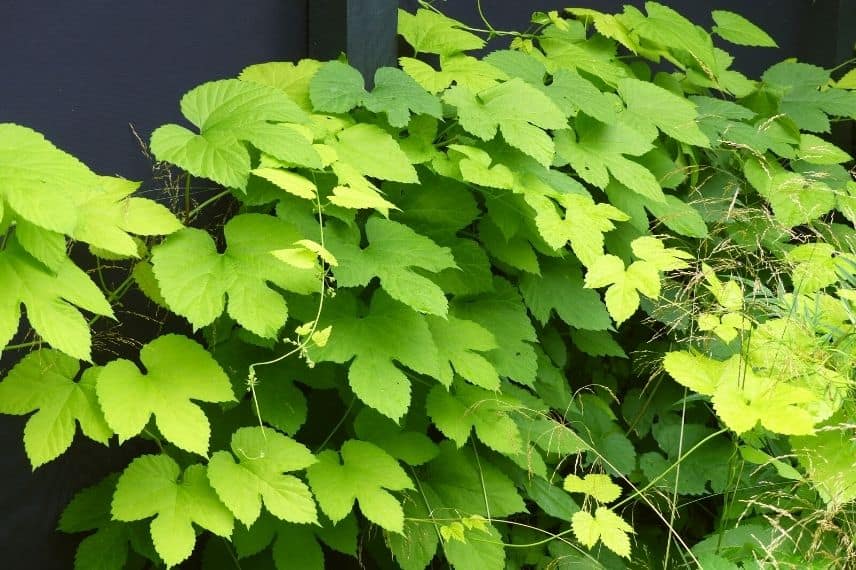
Hops is a perennial climbing plant, very voluble and interesting for its lovely decorative foliage of a beautiful green. This hardy plant is easy to grow, resilient, and requires little maintenance. The beautiful flowering of the female plants reminds us that, in addition to being decorative, this plant is also edible and used for flavouring beer. Humulus lupulus will quickly create a stunning green decor and will easily climb on a support, wall, pergola, or trellis. Moreover, hops have another ornamental advantage: they adapt perfectly to pot or container cultivation.
Discover all our tips for successfully growing hops in pots to enhance a terrace or balcony.

What type of pot?
For hops, choose a pot with a diameter of at least 40 cm and a depth of 40 cm. Preferably, opt for a terracotta pot, which will promote good aeration of the rootstocks.
A plastic pot can also be advantageous due to its weight (especially if you live on the 5th floor without a lift) and its frost resistance.
It is also possible to use a large trough, particularly if you wish to install several climbing plants of the same or different varieties.
Whatever your choice, it is imperative that your container has drainage holes to allow for proper water drainage. This will help you avoid the risk of root rot.
Final step: place a saucer under your pot.
Read also
7 climbing plants with rapid growthWhich substrate to choose?
For good drainage, we recommend placing a layer of clay balls at the bottom of your pot.
Easy to grow, Pot Hops will simply thrive in a mix of 50% potting soil and 50% garden soil. Add a good handful of manure or well-matured compost to your mix.
If your garden soil is too heavy, you can add clay balls or pumice to improve drainage.
Discover other Humulus - Hop
View all →
Available in 2 sizes

Available in 1 sizes

Available in 1 sizes

Available in 2 sizes

Available in 1 sizes

Available in 1 sizes

Available in 1 sizes

Available in 1 sizes

Available in 1 sizes

Available in 1 sizes
When and how to plant?
When to plant hops?
The planting of hops is best done in early spring in March or in autumn in October. Whether in pots or in the ground, avoid planting during frost or extreme heat periods.
How to plant hops in pots?
- Soak the root ball of your hop plant in a basin of rainwater for a few minutes to hydrate it.
- Pour a layer of 5 to 10 cm of clay balls into the new pot.
- Fill the pot three-quarters full with a mix of 50% garden soil and 50% potting soil, along with a handful of manure or well-matured compost. Note that if your soil is very heavy, you can add pumice or clay balls to improve drainage.
- Place your root ball in the centre of the pot, then fill around it with your soil mix up to 2 cm below the rim of the pot.
- Firm the soil with your hands, then water thoroughly.
- Apply a mulch at the base of your hops to prevent the substrate from drying out too quickly.
Where to place your potted hops?
Position your hops in partial shade. Avoid full sun if possible, as it may dry out the substrate too quickly, unless you are diligent with watering.
Caring for a hop plant in a pot
Watering
Hops prefer consistently moist, well-drained soil and are sensitive to drought. Therefore, water twice a week during the growing season, taking care not to saturate the substrate. In the event of a heatwave, water your hops every 2 days, or even daily depending on the pot size and exposure. In winter, limit watering during the dormant period.
Fertiliser
In spring, apply organic matter such as manure, blood meal, or well-matured compost at the base of your hops. Avoid chemical fertilisers if you wish to harvest and dry its cones.
Support
Hops are climbing plants that will appreciate a trellis or any other support to spread out. Their lianas grow rapidly and will naturally wrap around a support. You can guide their stem along a string, a pergola, a support made of bamboo, or even horizontally along the railing of a balcony.
Growth and pruning
Hops are perennials with deciduous foliage that will thicken year after year. They can grow several centimetres per day under good conditions, especially from the second year onwards. In autumn, hops will lose their decorative foliage and enter dormancy underground during winter. You can then prune and remove the dry stems towards the end of winter, between February and March. It will regenerate all its vegetation in the following spring.
For further reading
- Discover our article with everything you need to know about Hops, Humulus Lupulus: planting, growing and use
- Find all our Hops varieties.
- Subscribe!
- Contents

Comments