


Do you love flowers that brighten up your garden and want to see even more? Multiplying bulbs by scaling is a simple and effective technique to increase the number of your favourite plants without having to buy new ones. Admittedly, this method requires patience, but it is economical and also allows you to ensure the quality and vigour of your future flowerings. In this article, we will guide you through the key steps of this multiplication technique, enabling you to obtain new bulbs with ease.
What is the best time for scaling?
Generally, the ideal time to practice scaling bulbs is at the end of the plant's dormancy period, just before the start of the new growth season. For spring-flowering bulbs such as tulips and daffodils, this often means late summer or early autumn.
In contrast, for summer-flowering bulbs such as lilies, the most suitable time would be late winter or early spring.
Ingrid's tip: It is essential to follow the plant's natural cycle to ensure that the original bulb has enough time to recover after scaling and before the next flowering season.
Which bulbs are ideal for scaling?
Scaling is not a universal method that applies to all types of bulbs. Some are more suited to this technique than others due to their structure and ability to regenerate. Lilies, daffodils, tulips, crocuses, Alliums, Irises, and fritillaries are particularly well-suited to this multiplication method.
The bulbs chosen for scaling must be healthy, with no signs of disease or mould.

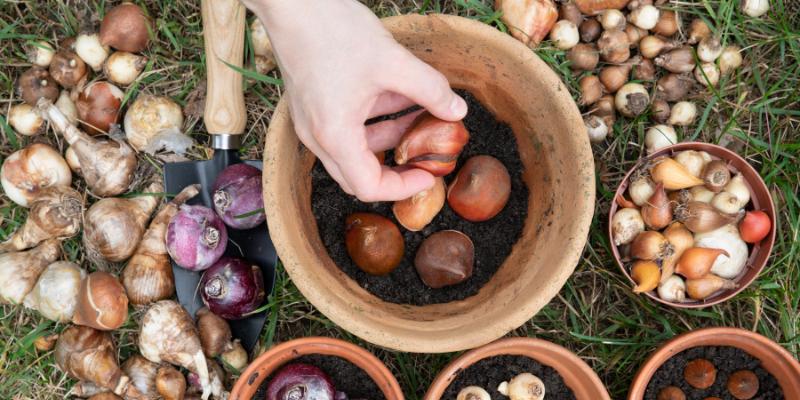
The steps to scale a bulb
1- Prepare your buckets or pots that will receive the bulb scales. Fill them halfway with a mixture of seed compost and garden sand to ensure good drainage.
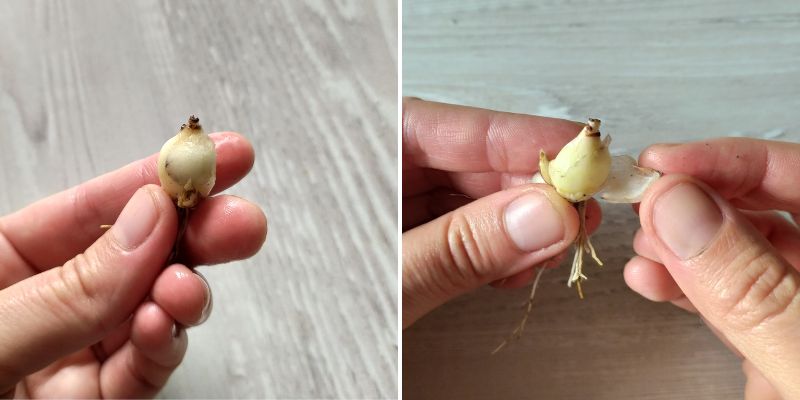
2- Choose a healthy and vigorous bulb. Ensure there are no signs of disease or mould.
3- Carefully dig up the bulb and gently remove the excess soil. Be careful not to damage the roots. You can also use bulbs that you have stored or recently purchased.
4- Gently remove the outer scales, from top to bottom, taking care not to damage the heart of the bulb.
5- Insert each scale into the prepared substrate, positioning the pointed end upwards. You can place several scales per pot.
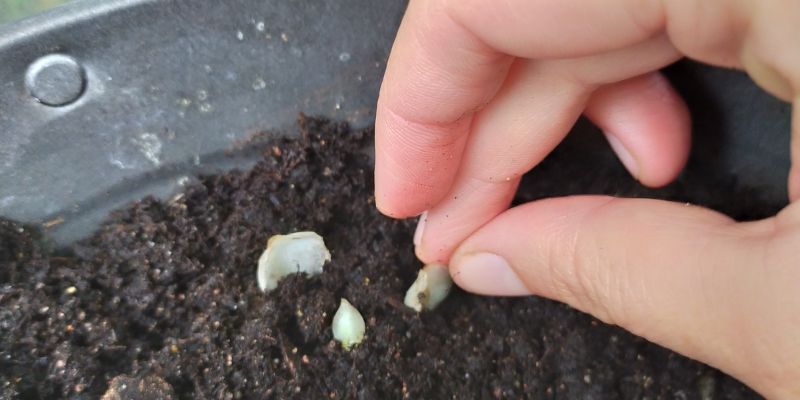
6- Cover the scales with a few centimetres of substrate and water.
7- Place the buckets in a warm location, ideally in a greenhouse or a room between 10 and 20°C, and keep the substrate slightly moist, but not overly wet.
Note: don't forget to replant the mother bulb without delay!
9- The first leaves should appear within 4 to 8 weeks, depending on the type of bulb.
10- Once these young shoots have appeared, allow them to continue growing uninterrupted. You can keep them in a sheltered room, ideally in a greenhouse or under a frame, in partial shade. Take care of them until the foliage begins to dry, indicating that the plant is entering dormancy.
11- Once the leaves are dry, you can then repot the bulbs into a larger pot.
Ingrid's tip: these small bulblets obtained are still young and fragile. Keep them in pots for an additional year before permanently planting them in the garden.
Scaling, a matter of patience
One of the most rewarding aspects of scaling bulbs is, of course, the flowering of the new plants. However, keep in mind that the young bulbs resulting from this technique may take time before they bloom. Depending on the type of bulb and the growing conditions, it may take one to three growing seasons (and thus years!) before you can admire their vibrant flowers.


Comments