


Camellia, with their opulent flowers and glossy leaves, are a stunning addition to any garden. Propagating camellias can be a rewarding and enriching experience. Most importantly, it’s an excellent way to propagate species or varieties of camellias that you cherish. In this tutorial, we will describe the best method for propagating camellias. Get your pruning shears ready!
Camellias in a nutshell
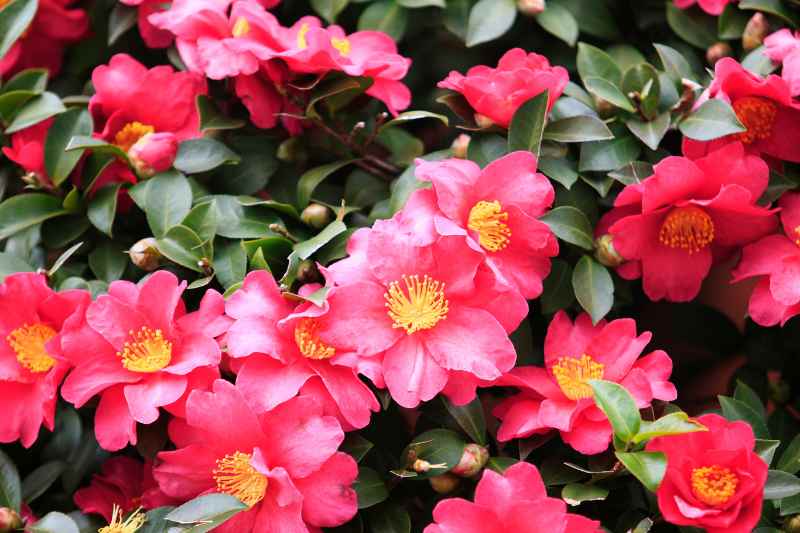
Camellias are evergreen or sometimes deciduous bushes native to Asia, generally renowned for their large opulent flowers that can range from white to red, including pink. Blooming mainly in late winter and early spring, they add a splash of colour when there is little in the garden. Their dark green, glossy foliage provides a beautiful contrast with the flowers and remains attractive all year round. Camellias prefer acidic, well-drained soil and should be planted in a sheltered spot away from scorching sunlight.
However, the Camellia genus is more diverse than one might generally think. Most people think of Camellia japonica with its evergreen, glossy leaves and flowers ranging from white to pink and red. It blooms late in winter and early in spring.
In the case of Camellia sasanqua, flowering occurs earlier, in autumn and early winter. The flowers are often smaller, and the plants are more tolerant of sunlight.
Let’s also mention some botanical species and hybrids such as Camellia sinensis (the tea tree), Camellia (x) williamsii, or the Camellia (x) reticulata which is more frost-sensitive.
Finally, we can mention wild camellias that bloom in winter and into early spring but with smaller, more irregular flowers, often simple and highly fragrant. These are wonderful in a free and wild hedge.

When to propagate camellias?
Propagating camellias is generally most successful when done during the summer months, particularly from late June to mid-September. During this period, the stems from the previous year begin to mature but remain flexible enough for propagation.
How to propagate camellias?
Propagating a camellia is a delicate task but achievable with a bit of care and patience. Here’s the best way to do it.
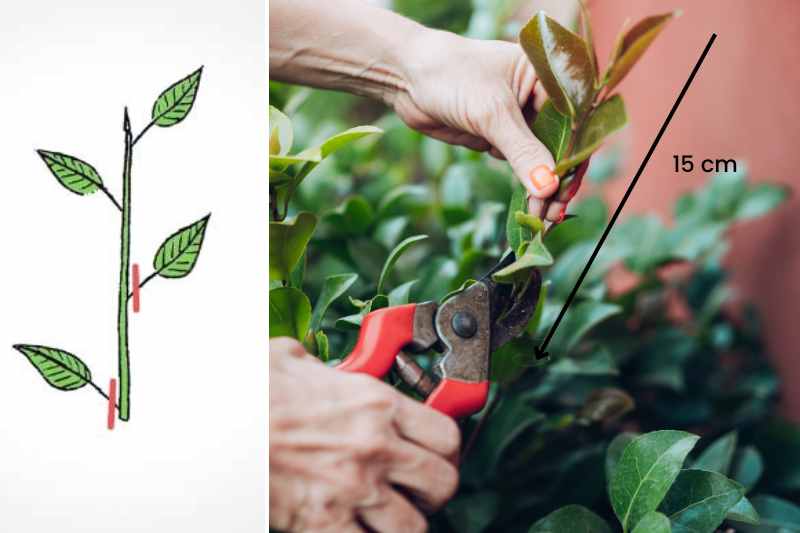
- Select a healthy stem from the previous year, which has started to mature but is still flexible. The cutting should be about 10 to 15 cm long.
- Cut the chosen cutting with clean, sharp pruning shears just below a node.
- Remove all the lower leaves, leaving only a few upper leaves. This will limit water loss through transpiration while keeping enough leaves for photosynthesis.
- Fill a pot with drainage holes with a mix of potting soil and sand or perlite or a special "sowing and propagation" potting mix.
- Insert the cutting into the substrate about 3-4 cm deep. Lightly firm the soil around the stem with your fingers to ensure good contact with the cutting. Water thoroughly.
- You can cover the pot with a clear plastic bag or place it in a greenhouse to maintain a humid atmosphere.
- Then place the pot in a warm spot but out of direct sunlight.
- Afterwards, monitor the cutting and water as needed to keep the soil moist but not soggy. After a few months, when the cutting has established roots, remove the plastic bag and start acclimatising the young plant to less humid conditions.
- Once the cutting has developed a strong root system, it can be transplanted into a larger pot or into the ground, in partial shade and in cool, well-drained soil.
The success of camellia propagation can vary, so don’t hesitate to take several cuttings to increase your chances of success.
Necessary materials
- Pruning shears or garden scissors
- Pots with drainage holes
- Potting soil: A lightweight special "sowing" potting soil or a mix of potting soil with sand or perlite ensures good drainage.
- A clear plastic bag, glass cloche, or mini-greenhouse
- Labels (optional)
- Gardening gloves
- Stick or pencil
- Spray bottle


Comments