


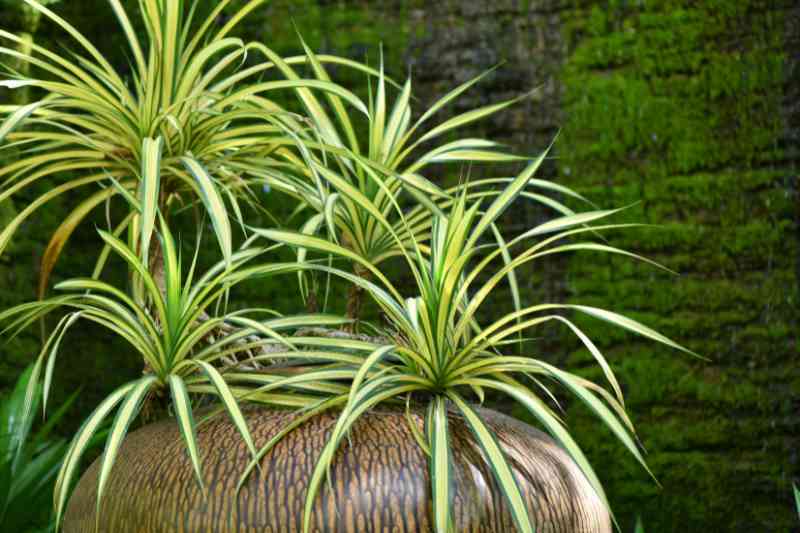
Spider plant (Chlorophytum) is one of easiest houseplants to live with. Its green foliage striped with white or cream forms pretty trailing clumps, perfect for hanging baskets. With a few simple actions, you can obtain new plants from mature specimens by taking spider plant cuttings from its offshoots. In this tutorial, discover when and how to multiply a Chlorophytum simply!
When to propagate a spider plant?
Propagation of spider plant is best done in spring or early summer, when plant resumes active growth.
Avoid winter: plant is dormant and recovery is slower.
A well-established Chlorophytum produces long flower stalks adorned with mini-plants (seedlings) almost all year, but their rooting is quicker in warm periods.
How to make a cutting of Chlorophytum?
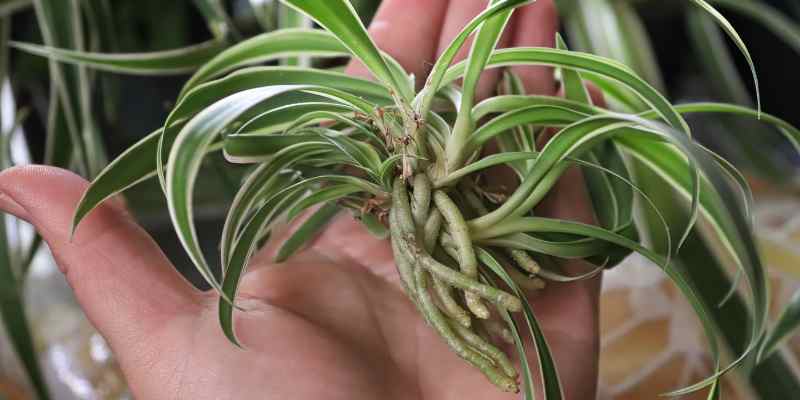
Spider plant is not propagated by cuttings. What are called “cuttings” are in reality the offshoots (or seedlings) that appear at the end of long stems which are removed and rooted, either in water or directly in potting compost. Propagation by offshoots is the simplest and quickest method to multiply a Chlorophytum. Already equipped with small roots, they are ready to root quickly. The offshoot, or seedling, is almost independent already: it is this mini-plant that you detach or let root. Here is how to proceed in each case.
Materials needed
- Disinfected scissors
- Small pots with light potting compost or a glass of clean water
- Potting compost for houseplants (if propagating in potting compost)
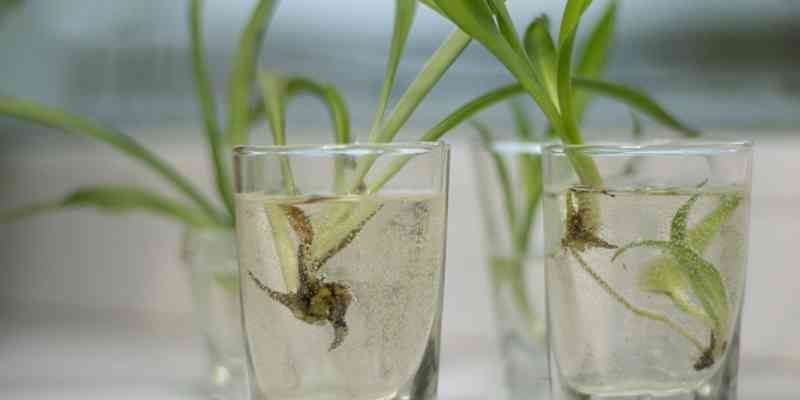
Spider plant cuttings in water
- Choose a well-formed seedling with small roots visible at the base.
- Leave the spider plant offshoot attached to the mother plant so it continues to receive nutrients.
- Place the base of the seedling in a glass of clean water, taking care that the rosette is not submerged.
- Change the water every 2 to 3 days to avoid stagnation and the development of bacteria.
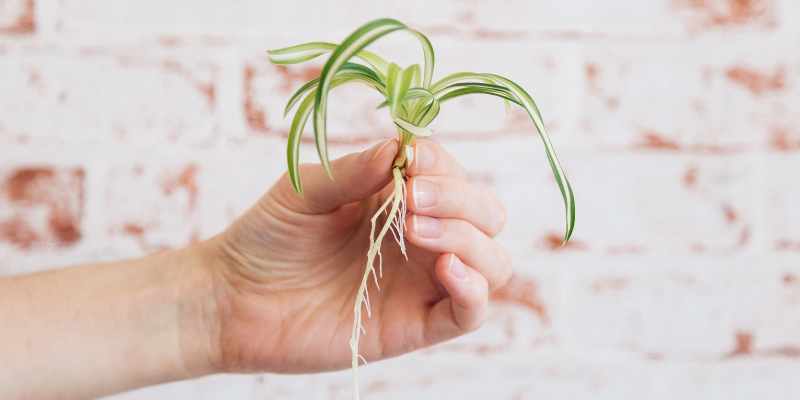
- Wait 2 to 3 weeks until roots reach about 3 cm.
- Sever the connection with the mother plant using disinfected scissors.
- Pot the spider plant cutting into its final pot, water lightly and place in a bright spot out of direct sun.
Taking spider plant cuttings in potting compost
- Prepare a small pot with a light, well-draining potting compost.
- Choose a vigorous seedling with visible or developing roots.
- Leave the seedling attached to the mother plant and place its base on the surface of the potting compost.
- Water lightly to moisten the potting compost without soaking it.
- Keep the potting compost moist and place the pot in a bright spot out of direct sun.
- After 2 to 3 weeks, check rooting by gently pulling on the base of the seedling.
- Once well rooted, cut the link with the mother plant and continue regular waterings.
Advantage: the spider plant cutting adapts immediately to its final substrate and often resumes growth faster than when rooted in water.
Care of spider plant after propagation
A few simple care steps will ensure quick recovery and good growth.
- Place spider plant in a bright spot but protected from direct sun which could burn its still-fragile leaves.
- Keep a mild temperature, around 18 to 22 °C, to encourage rooting.
- Avoid cold draughts that can slow growth.
- Keep potting compost slightly moist for the first weeks, then space out waterings by allowing the surface to dry between each.
- Wait 4 to 6 weeks before resuming a fertiliser for houseplants, to be applied every 3 to 4 weeks during growth.
- If foliage loses vigour, check that plant is not lacking light and adjust waterings.
Comments