


When admiring the delicate flowering of an orchid, one may think it is a difficult, even capricious, plant to care for. A plant of tropical origin, it grows well indoors in a bright position without direct sun, ideally between 18 and 22°C. Indoor-flowering orchids such as Phalaenopsis, but also Cymbidium or Dendrobium, are simple to grow, resilient and floriferous despite their precious appearance. They do, however, have very specific needs, quite different from other plants. Even when grown indoors, repotting an orchid must not be done in a potting mix for houseplants. Beautiful flowers of these orchids deserve a few adjustments!
When to repot?
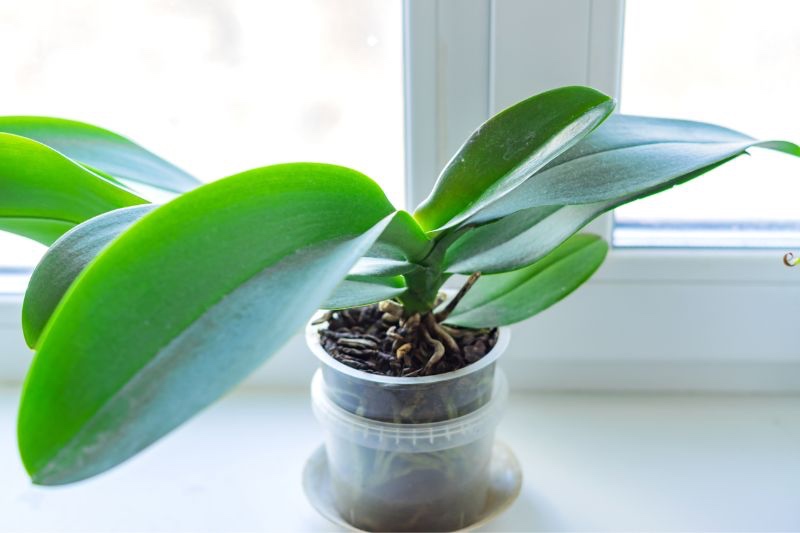
Orchids are often given or sold in flower in very small transparent plastic pots, well suited to their culture even if they seem cramped. Repot when plant no longer produces flowers and then every 2–3 years, outside flowering period and avoiding winter. Ideally, repot in spring or autumn. In addition to this guideline, know that repotting is required when many roots emerge from pot and/or new shoots form outside pot.
Which pot to choose?
Epiphytic plant, orchid in its natural environment grows on bark of trees. It needs little substrate and therefore a small pot. Also, when repotting try not to move far from original pot size. Choose a pot slightly larger, but not much larger. Ideally, choose an orchid pot only 2 cm larger than original pot, 4 cm maximum. Two types of pots are suitable for orchid culture:
- Unglazed terracotta pot, porous, which allows good root aeration. But given very free-draining substrate suited to orchid, you may need to water a little more often.
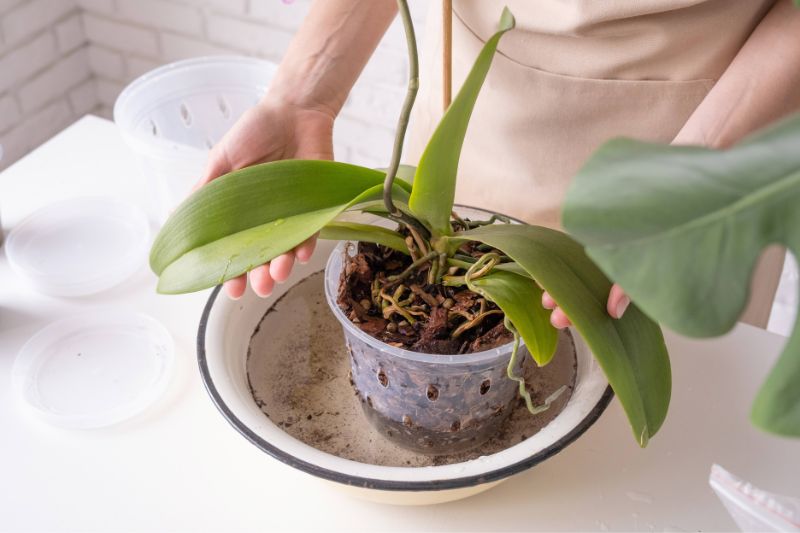
- Transparent plastic pot, which allows easy checking of root condition. With an appropriate substrate, plastic pot does not cause root asphyxiation because substrate is sufficiently draining to avoid risk. As it is transparent, roots can be checked to ensure they remain green/white and firm. You can place this plastic pot in a decorative outer pot, provided you do not leave standing water in base of pot after watering. It is all a question of balance and a plastic pot has advantage of retaining moisture better than terracotta.
Which substrate?
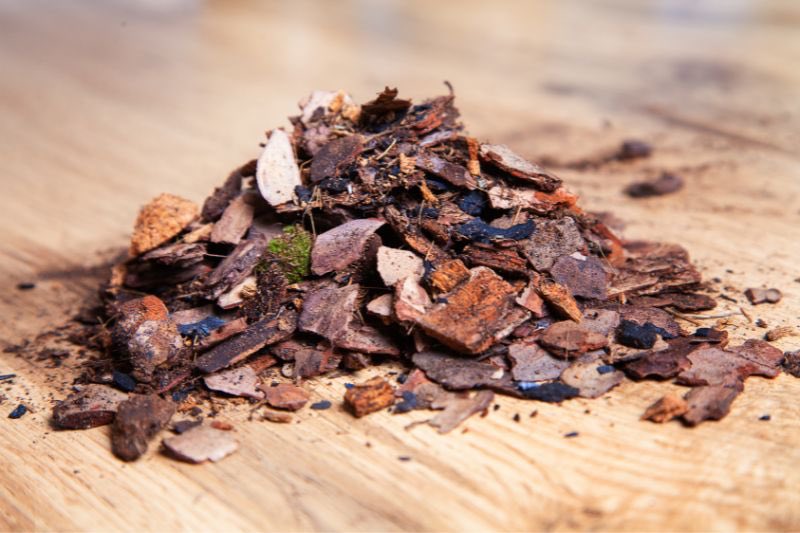
Substrate for these epiphytic plants is very specific. It is a mix of bark and fibres, made of fairly large, non-compacting pieces, an aggregate of different growing media chosen carefully. It is very far from potting mix for houseplants that sticks to roots. It is based on pine bark. You can buy a special orchid potting mix already prepared. Depending on blend, it may also contain pumice, perlite, coconut fibres, charcoal...
These growing media reproduce natural environment of orchids which most often grow on bark of trees, feeding on humus and decaying plant debris trapped in crevices or on branches. These substrates have a porous texture, particularly airy and well draining, allowing thick, very specialised orchid roots to be well oxygenated and to develop without obstruction or risk of damaging their very vulnerable tips. These barks also favour development of micro-organisms that make nutrients available. Tannic acid present in bark helps fight soil pathogenous fungi. However, it is necessary to add fertilisation, not present in these mixes, in form of sticks or liquid fertiliser.
How to repot an orchid?
- Remove plant from pot and clean off dry leaves. Unwind roots and remove old substrate.
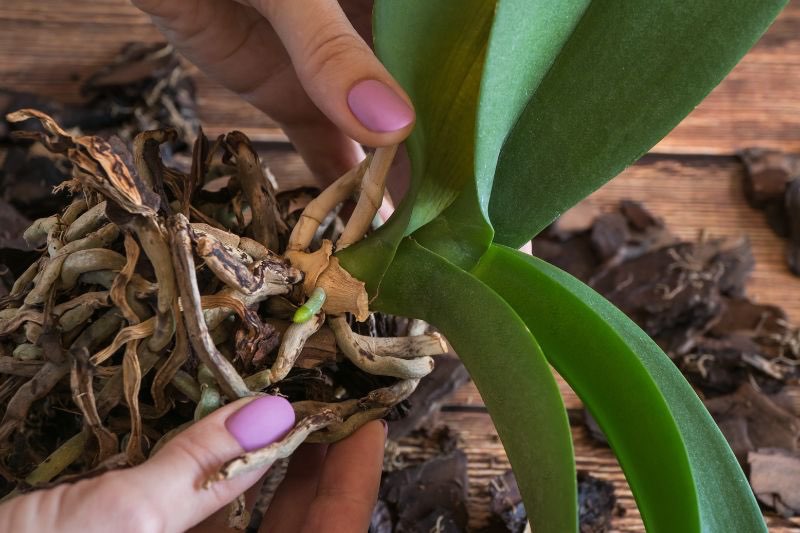
- Cut damaged roots and roots too long to fit in new pot with disinfected pruning shears.
- Pour a little of chosen substrate into bottom of pot.
- Install plant carefully.
- Fill with potting mix attentively, ensuring empty spaces are well filled.
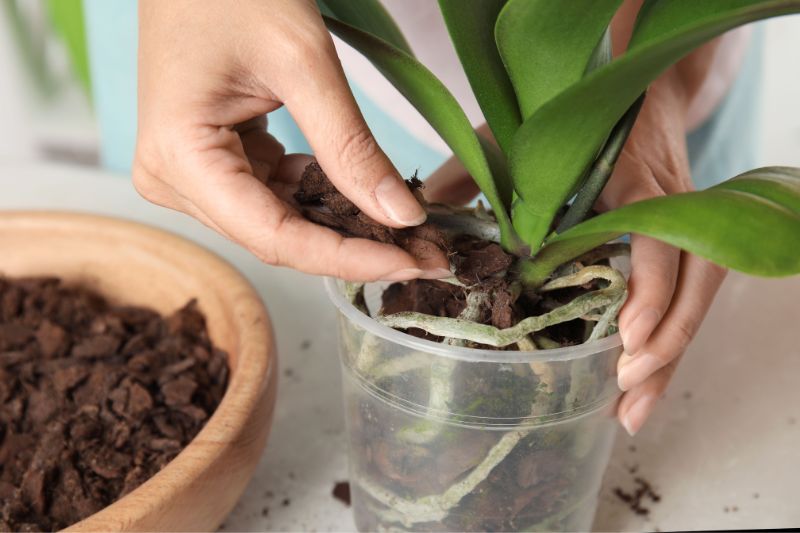
- Firm substrate well around plant and along pot.
- You should be able to lift pot by plant without plant coming away from pot.
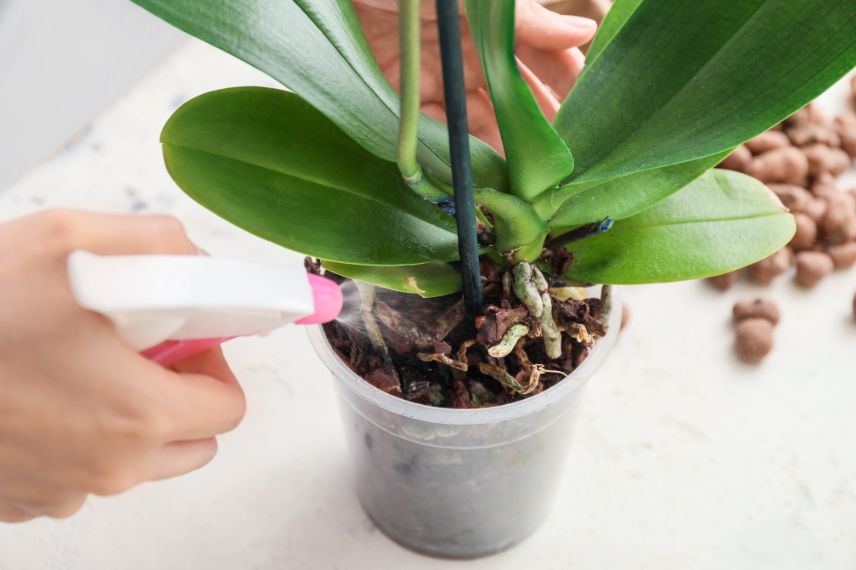
- Do not water; mist water onto potting mix. Do this daily for 1 month before resuming watering and fertilisation.
Maintenance
After one month, once new roots appear, resume regular watering and add fertilisation.
Watering
Water once a week is sufficient if done carefully to thoroughly soak substrate. You can immerse orchid pot for 10 minutes in water without submerging crown to avoid substrate falling apart. Drain well before returning pot to place. Alternatively pour into pot water equivalent to pot size using a fine-diffusion watering can (rose attachment). Use water at room temperature with low hardness: rainwater, filtered water, or tap water left standing for 24 hours to allow chlorine to dissipate.
Fertiliser
Add liquid fertiliser to watering every two to three weeks from spring to autumn. Apply to a pre-moistened substrate. Otherwise use fertiliser sticks placed in spring.
Required equipment:
- A new pot (choose appropriate size with drainage holes)
- substrate for orchids (mix of coconut fibres, bark and perlite or vermiculite)
- Clean, disinfected scissors
- gardening gloves (optional)
- Clean water
- A mister


Comments