


Potted camellia: choose, plant and grow
Everything you need to successfully grow your potted camellia
Contents
Camellias are magnificent heather soil flowering bushes. They flower from early winter through to spring and even in autumn for some. Slow-growing and easy to grow, they are perfectly suited to growing in pots. Indeed, growing in pots lets you dress your balcony or terrace and, above all, it is ideal if you have soil that is too alkaline preventing you from growing heather soil bushes. We reveal our secrets for successful growing in pots!

How to choose the right potted camellia?
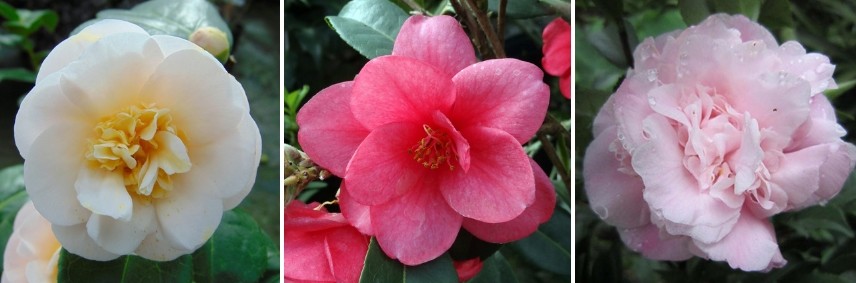
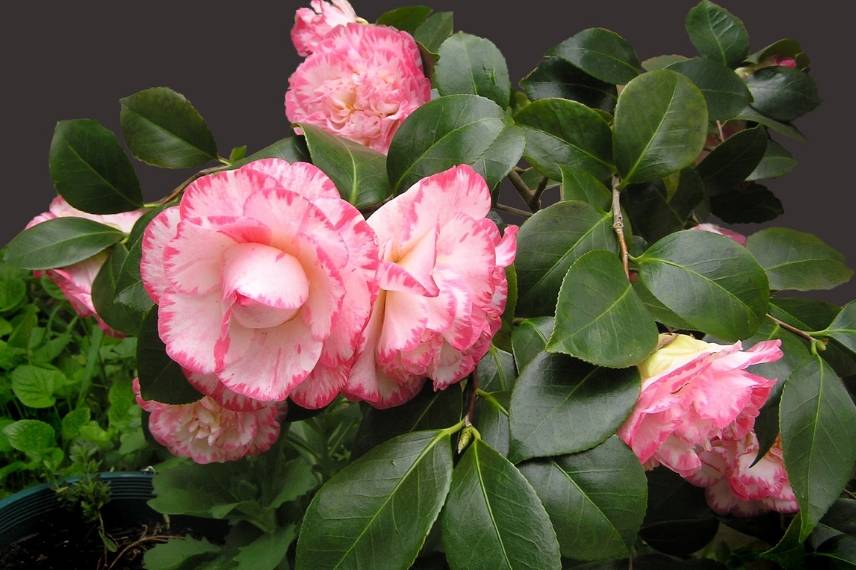
First of all, for a potted camellia to thrive, you must choose the right variety: small, dwarf camellia varieties or slow-growth varieties are ideal for pot culture. Prefer varieties whose size at ripeness is less than or equal to 1.20 metres in height for 1 metre spread. We particularly recommend 3 varieties suited to growing in pots or tubs :
- Camellia Botanyuki: 1 metre high by 1 metre wide, this dwarf camellia flowers from February to April with peony-shaped white flowers with salmon-coloured hues. Hardy to −15°C.
- Camellia Fairy Wand: this camellia, with deep-pink flowering between February and April, reaches 1 metre in height with a 0.80 metre spread. Hardy to −10°C.
- Camellia Sweet Emily Kate: besides its compact habit, the advantage of this variety is the scent of its cottage-style flowers. It flowers pink between March and May. Hardy to −12°C, this variety reaches 60 cm in height at ripeness.
Other varieties such as Donation, easy to grow, are well suited to pot growing. As a rule, Camellia japonica or Camellia williamsii are cold-resistant to −10°C and suitable for pot culture. However, large-developing varieties can only be grown in pots while young.
Read also
Camellias: planting, pruning and careWhen and how to plant your camellia in a pot?
You can plant your camellia in a pot preferably in spring but also all year round, avoiding periods of frost or drought.
To do this, proceed as follows :
- Choose a pot 1/3 to 2 times larger than the size of your rootball. A larger pot allows the soil to protect the camellia’s sensitive roots from cold. Ensure pot has drainage holes to evacuate water: camellias do not like standing water.
- Place clay pebbles or gravel at the bottom of the pot to ensure good drainage.
- Lay a piece of landscape fabric to prevent soil from mixing with your drainage material.
- Immerse the camellia’s rootball until no more bubbles appear.
- Position the camellia’s rootball so the collar is level with the soil surface. Top up the pot with a soil mix: 1/3 heather soil, 1/3 compost and 1/3 garden soil.
- Mulch the pot to preserve substrate moisture in summer and to protect against cold in winter. Pine bark mulch is ideal for acidifying the substrate.
Place the pot in shade or partial shade. A few hours of sunlight a day are sufficient. It prefers a north- or west-facing position. Avoid east as morning sun can scorch foliage, and keep it sheltered from cold winds.
In a sufficiently large container, you can optionally plant at the foot of the camellia low-growing acid-loving plants such as summer heather or creeping wintergreen.
Discover other Camellia
View all →
Available in 2 sizes

Available in 2 sizes

Available in 1 sizes

Available in 2 sizes

Available in 1 sizes

Available in 1 sizes

Available in 2 sizes

Available in 1 sizes

Available in 0 sizes

Available in 2 sizes
How to care for your potted camellia?
Watering camellia in a pot
Watering camellia in a pot is essential because it prefers fresh substrates. In summer and during flowering, ensure soil remains cool — that is, slightly moist, but never soaking. All water must be drained away and must not stagnate in the saucer. In summer, take care because heather soil dries out faster than other substrates. In winter, water more sparingly and only during thaw periods. After severe frosts, it is also advisable to water a little more generously to prevent flower buds aborting.
If your water is too calcareous, we recommend watering with rainwater or demineralised water.
Fertilisation of camellia in a pot
Camellias require a feed of fertiliser in spring after flowering. This should be done at least once a year, either by top-dressing or by using a liquid or solid fertiliser suitable for camellias.
- Top-dressing: this technique consists of adding well-rotted compost mixed with a little heather soil. To do this, start by removing the mulch and the top few centimetres of soil. Take care not to damage roots. Lightly fork the surface to increase the contact area. Then add a few centimetres of the mixture of compost (2/3) and heather soil (1/3), respecting the level of the camellia’s collar. Finally, replace the mulch.
- Liquid fertiliser: use a fertiliser for ericaceous plants or a special camellia fertiliser. Simply dilute it in the watering water following the recommended dosages. Never apply this type of feed to dry potting compost! Liquid fertiliser acts quickly — a “quick boost” feed.
- Solid fertilisers: these come as granules or sticks and provide slower, longer-lasting feeding than liquid fertilisers. They are inserted directly into the soil according to the instructions on the packaging.
After 3 to 5 years, it is advisable to repot the camellia completely and change the pot if necessary. This repotting is carried out in spring.
Pruning camellia in a pot
No pruning is necessary. Simply remove dead or diseased wood after flowering.
To prolong flowering, remember to remove spent flowers from camellia, except camellia x williamsii whose flowers fall naturally.
Common problems of camellia in a pot
Easy to grow, but there are some common problems with camellias in pots:
- Leaves yellowing: this is camellia chlorosis. It indicates an overly calcareous substrate. Simply apply an ericaceous fertiliser or top-dress with heather soil. If your camellia is becoming pot-bound, it is time to repot.
- Buds and leaves browning: this indicates excess water. This can be due to poor drainage or overwatering.
- Camellia buds falling off: this indicates lack of water during bud formation. Ensure watering during bud formation and flowering.
- Camellia not forming buds: this means exposure is unsuitable. North- or west-facing positions suit camellias best.
- Camellia languishing: it is probably lacking nutrients. Repot to change substrate and feed.
- Camellia has many aphids. You can treat with a mixture of water and black soap.
How to protect your potted camellia in winter?
When cold arrives, prepare your camellia for winter. Indeed, camellias are not all equally hardy. Single-flower varieties are generally more hardy than double-flower varieties. Check your camellia’s hardiness, but bear in mind roots are most fragile. Do not bring your camellia indoors, as this may cause flower buds to drop or even dry out the whole camellia.
To protect your potted camellia in winter :
- Mulch base of your camellia to protect surface roots from cold. Pine mulch is ideal because it acidifies substrate. Camellia prefers acidic soil.
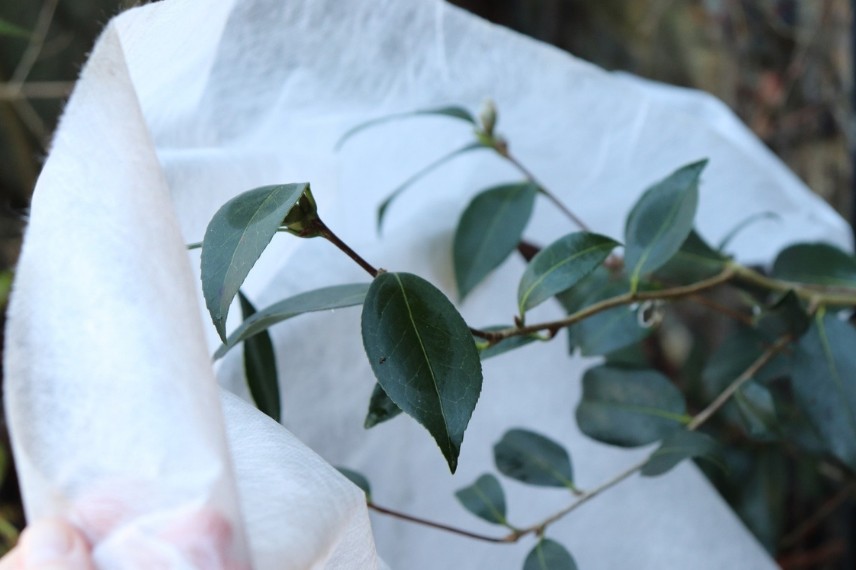
- Cover your camellia with winter fleece.
- Wrap your pot with bubble wrap or blanket bog if severe cold is expected. Roots are most fragile part of your camellia.
- Water only during thaw periods.
- Remove snow from camellia leaves to avoid foliage being scorched.
- Raise pot off soil using a small board or slatted base. This protects pot from cold conducted through soil.
→ read: “Overwintering potted plants to protect them from the cold”
Further reading
- Also discover 7 classic white camellias
- Subscribe!
- Contents

Comments